The Simple Potting Hack That Makes Multi-Plant Arrangements Effortless
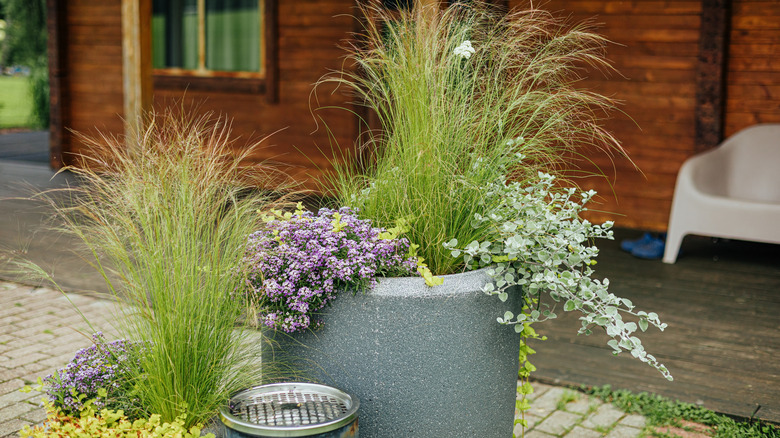
As a gardener, there's not much that's more satisfying than creating a perfectly designed container arrangement. Whether it's for houseplants, your patio, or front porch, a multi-plant arrangement is where gardening meets art. As a Master Gardener for almost 15 years, there are many hacks I avoid using in the garden, but having created many arrangements in containers, there's one I absolutely love: using the original nursery pot to create perfectly spaced planting holes and cultivate a gorgeous arrangement.
Although this hack works most efficiently when you're creating an arrangement with new plants from the garden center in their nursery pots, you can also make this process work if you're planting gifted divisions for plants like hostas, daylilies, or yarrow. This is the perfect time to practice using the thriller, spiller, filler formula for your container garden. All you need are some nursery pots, loose soil, and your container of choice. Choose a place to work where it can get a little dirty because soil will scatter. If you are planting a large outdoor container, put it in place first — it may be too heavy to move once it's full of soil. If you're working with smaller containers, a work bench or an outdoor table with a cardboard box will keep the mess corralled.
Creating the perfect planter arrangement using nursery pots
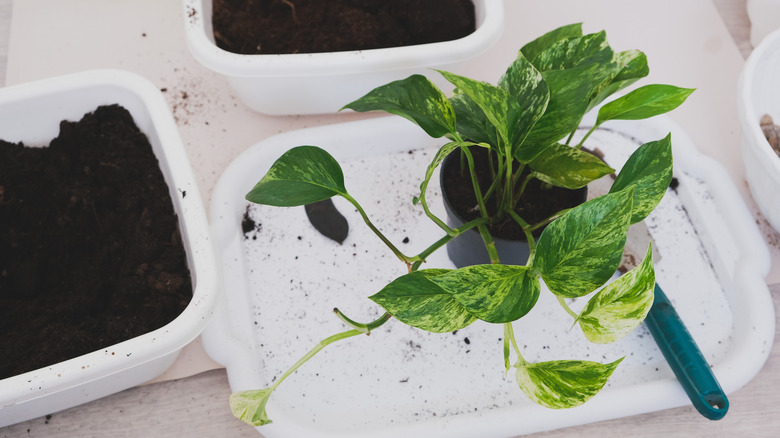
The basic process for this repotting hack is very simple. First, remove the plants from the nursery pots, gently loosen the root ball to encourage outward growth, and then carefully lay them aside (in your cardboard box, if you are using one). In a container that is half-filled or more with soil, place the pots they came in where you want to position those plants. The nursery pot for your tallest plant should go in the center. On one side, add the pot for the filler plant (for low-growing interest) and the spiller pot on the other (which will flow over the side). You should end up with a triangle of nursery pots.
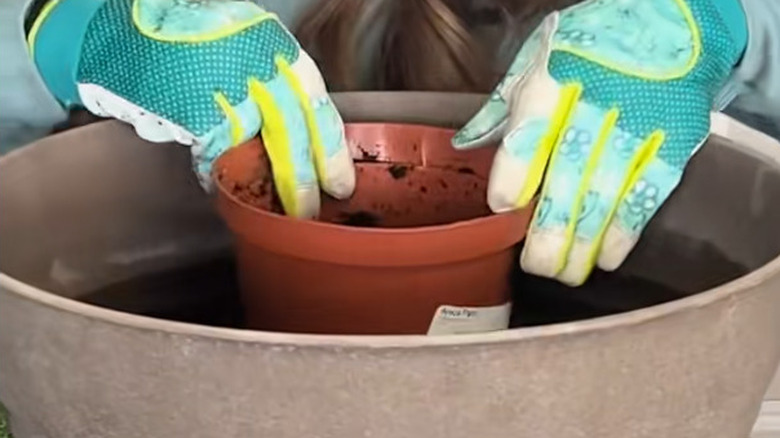
Now, fill the container — including the nursery pots — to about one inch below the rim with high-quality potting soil. Tamp down the soil with your hand so the surface is level with the top of the pots. Now, here's the real trick to make this work: To get the soil to stay in place after you remove the pots, water it thoroughly so it's moist enough to stick together. Gently remove the first nursery pot from the soil, put that plant in the perfectly sized hole, and fill the extra space around it with soil. Repeat the process with the other two, one at a time, then water the whole arrangement well. You can also use this viral repotting hack for potting up your houseplants, or if your container is big enough, you can add more plants. Feel free to get creative!
Using this hack for bare-root plants
Sure, this is a tidy little procedure for store-bought plants, but when you are gifted a division, it can come in any kind of container. I have received and given plants wrapped in old newspaper, plastic bags, glass jars, and so on. When I am dividing plants that I know will go straight back into the ground soon, I don't often take the time to neatly pot them up. Essentially, they are shared as bare-root plants. As such, they aren't in a pot to use for this hack. Luckily, most gardeners keep a stash of nursery pots; you know, "just in case."
If you aren't hoarding those small pots, you can use about any round object, like a kitchen cup or bowl or small decorative planter, for this process. Make sure it's the right size by ensuring the root ball of your bare-root plant fits inside with a little room to spare. Put those smaller containers in your planter and follow the same process. If you are using containers that don't have holes at the bottom, just be careful to water around them instead of filling them up to avoid a muddy mess when you pull them out.