Turn Regular Dollar Tree Items Into A Fairy-Inspired Tabletop Light With An Easy DIY
We may receive a commission on purchases made from links.
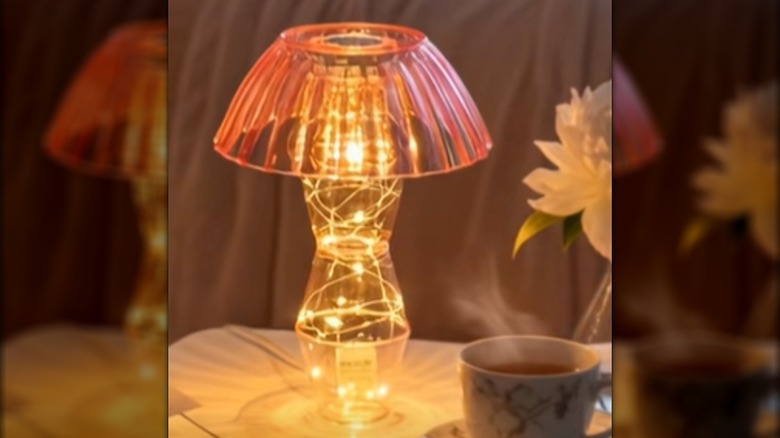
There's probably a room in your home that could use a fun lighting element. Glance around, and you'll likely find at least one spot in need of brightening. If you're worried that this simple task will entail spending a fortune on stylish lighting, put that concern to rest. You can make an enchanting table lamp fit for the fairies using Dollar Tree materials for a little more than the price of a venti frappuccino. You pack string lights inside a stem made of plastic cups and top it with a plastic bowl, fitted with an LED puck light, as a shade. Simple containers morph into charming room design-enhancers. If this sounds dubious, that's understandable, but trust us when we say it works.
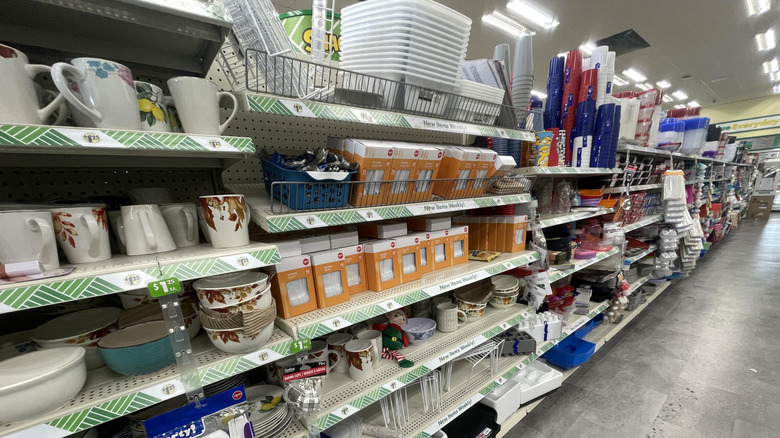
For cute, attention-getting décor that also lights a room, team up one Dollar Tree's Light Pink Wavy Plastic Bowls with a pack of Crafter's Corner Light Pink Tumblers. With the pink, this is a Barbiecore accent piece that'll transform your home into Barbieland. If pink (or Barbie) isn't your thing, these affordable plastic cups come in purple, red, and transparent, while the bowls boast hues like red, turquoise, purple, blue, and gray. Add to your cart a pack of Dollar Tree LED String Lights. A three-inch Good Earth Lighting Ecolight Battery-Operated LED Puck Light should fit inside the bowl. As for glue, take the time to source one that's a reliable fit for plastic. Epoxy is a strong type of glue that packs a punch when bonding plastic, and E6000 Multipurpose Clear Glue is a go-to for crafters. You'll also need a sheet of sandpaper and alcohol wipes to prepare the surfaces for gluing.
How to make your dreamy Dollar Tree lamp from plastic dishware
Ready to get started on this creative Dollar Tree lighting hack that'll brighten your home on a budget? With some smart gluing, this unlikely group of products becomes adorable lighting for any room or outdoor living area. Sand the bases of all four cups, and the mouths of two of them. Wipe off all the dust using alcohol swabs. Dab glue along the edges of one cup's base, and press another base to it. Repeat this with the other pair. To combine the two pairs of cups, stand one pair on the mouth that you didn't sand. Dot glue around the edges of the mouth of the cup you did sand on the other pair, and press the cups together firmly. Let the glue cure for 48 to 96 hours for the strongest bond.
@miss_vicky_tips You'd never guess this costs only $3😱🥰 Dollar tree 🌳 #dollartree #dollartreecrafts #dollartreefinds #diy #dollartreehack
Glue the end of the string lights to the cup rim at one end of the lamp post, and evenly wrap the pole with the lights. The battery pack will sit either behind the lamp or glued to the base of the pole (your choice), so leave a little slack in the string lights at one end. Remove the sticker from the underside of the wavy bowl, and wipe the interior with an alcohol wipe. If the puck light is self-adhesive, stick it inside the bowl, holding it for a few seconds to ensure a good bond. If not, use glue. Invert the bowl over the lamp post, forming a shade. Don't glue the light to the top of the post; you need to remove the shade to turn on the light and to change the batteries. Since you don't need to plug it in, you can place this lamp anywhere in your home.