Tidy Up Entryway Shoe Clutter With A Simple DIY That Keeps Boots Neat & Organized
We may receive a commission on purchases made from links.
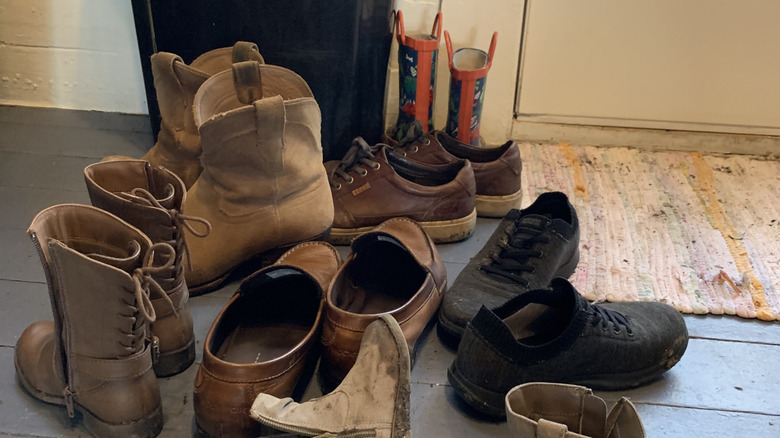
The winter season usually ensures your boots will become jumbled together in the entryway clutter. When boots are wet from the outdoors, you're not putting them away in the closet, but letting them dry out first. So, while it can be helpful to have a boot organizer that smartly doubles the shoe storage in your closet, you may want something handy by your doorway. Shoes cluttering your precious floor can be challenging, especially with limited and smaller spaces. You can tidy up your entryway with a simple DIY freestanding rack that is stylish and cost-effective, keeping boots neat and organized.
This project from Woodshop Diaries on TikTok is ideal for high-traffic entryways because it keeps your boots stored upside down, which can help them dry faster. It also ensures that they don't get squished or fall over and lose their shape. To make this creative storage idea for a clutter-free entryway, you'll need some lumber, preferably 2x4s for the base, and then 2x2 wood pieces for your posts, like these Barrington Hardwoods Square Turning Blanks. You'll need a miter or hand saw, your drill and wood screws, wood glue, some sandpaper, and stain or paint color of your preference for the finishing. This wood DIY solution is also portable, as there's no installation or wall mounting required. You don't have to keep it by the door year-round — just when you need it!
How to build a personalized boot rack for your entryway

First, note the shoes you'll need to accommodate, including how many pairs and which sizes, which may influence the length of your rack. Cut your baseboards to roughly 3 feet long (or longer if needed). Then, cut your posts to boot height. For instance, you can make a 16-inch cut for taller boots and a 10-inch cut for shorter ones. You can even use scrap wood if you have it, just customize the spacing and height to suit your needs, allowing you to fit shorter or taller boots. To accommodate children's boots, use 1x2s or dowel rods.
Lay the two long baseboards side by side and mark the locations for your boot posts. Space each pair at least 9 inches apart to prevent the boots from crowding. Pre-drill through your base to prevent wood splitting. Attach the cut 2x2 posts to your base pieces with wood screws and glue. Put taller posts in the back row for easy viewing and accessibility. Connect the front and back racks with shorter cross pieces at each end, pre-drilling holes, and then drive screws through the baseboards into the cross pieces to secure the assembly. Sand any rough edges and apply your paint or stain.
Fortunately, you can use the rack for more than just boots, such as muddy sneakers or Crocs. To take your DIY a step further, you can pair your boot rack with a bench or cubby for a complete entryway storage system, or clear more clutter by installing an entryway shelf. For an even simpler DIY, you can also try a stylish DIY boot tray.