Insect Netting: What Is It And How To Effectively Use It To Protect Plants From Pests
Although we love the natural world, we don't really love it when it starts attacking our veggies just as they begin to thrive. There is nothing as disappointing as going out to check your crops in the morning to see them all munched away again. However, you don't need to bring pesticides into your garden to keep things under control. Instead, you can buy insect netting and use it to protect your plants from harm.
Insect netting creates a physical barrier between the annoying garden pests you want to banish from your yard and the crops that they eat. They are particularly useful in the management of cabbage white butterflies, who lay their eggs on cole crops, which then hatch and damage the plants. Netting can even help manage thrips, which are known to damage a whole range of crops. These nettings are usually made out of polyethylene and allow light and air circulation to reach the plants. Furthermore, they give shelter against wind and heavy rain, protecting more vulnerable plants. However, to ensure that your crops thrive under insect netting, it is necessary to use them correctly and purchase the type that suits your needs; this often means fine mesh for small pests and large mesh for pests such as caterpillars.
How to select insect netting
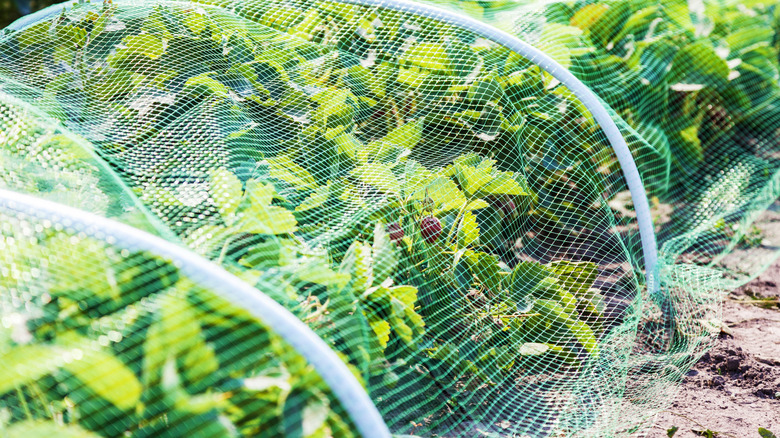
There is a range of insect netting variations out there, and the one you select depends on what animals are eating your plants and what may be hanging around in your region. If insects like caterpillars and beetles are a concern, you can go for a larger mesh, which also offers the best air circulation. However, for smaller pests, you need to get a finer mesh. The smallest size of mesh provides protection against thrips, whiteflies, and aphids. However, these meshes do not have the same amount of airflow as the larger types. This means that finer mesh types can promote excess heat and humidity beneath them, potentially damaging your crops.
Once you have picked the type of netting you want, you need to ensure that you get enough to cover the crops that need protection. If you are incorporating netting into a structure and using supporting hoops, you will need to consider the extra amount of netting that is necessary. Plus, think of any accessories you will need to install the netting, such as hoops, ties, and pegs.
How to correctly use insect netting
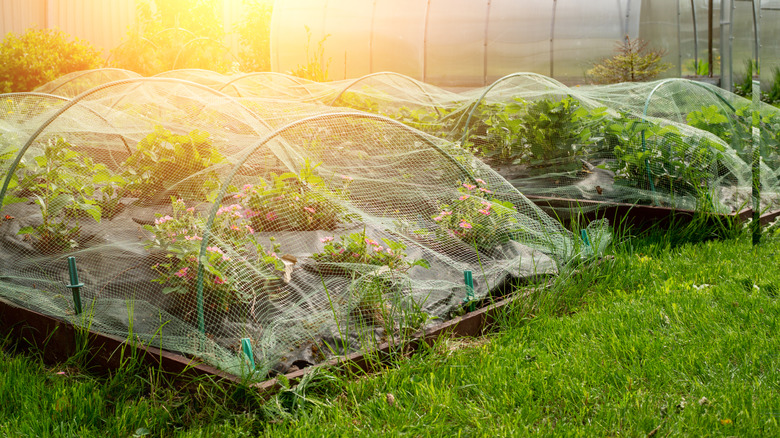
If you don't install and maintain your insect netting, there is a good chance that those pests will find their way through and start eating your prized crops. You have a few options when installing insect netting. You can place them over the crop without any structure, or you can use hoops to create a larger area for your crops. If you are placing the netting directly on top of your crops, ensure that you allow for plant growth by leaving the material slack. You can use pegs, bricks, or ties to secure the netting. However, burying it 2 inches into the soil will provide extra protection.
Another way to install insect netting is by creating a small tunnel with hoops. There are some benefits to this. When insect netting is lying directly on the crops and touches their foliage, certain pests lay their eggs on your garden plants through the material. Hoops provide some space between the mesh and your plants. It may also be easier to weed and harvest your crops, depending on how big the hoop tunnel is. When using insect netting on hoops, make sure you do not stretch the material, as this can damage it and create bigger gaps where insects can enter.
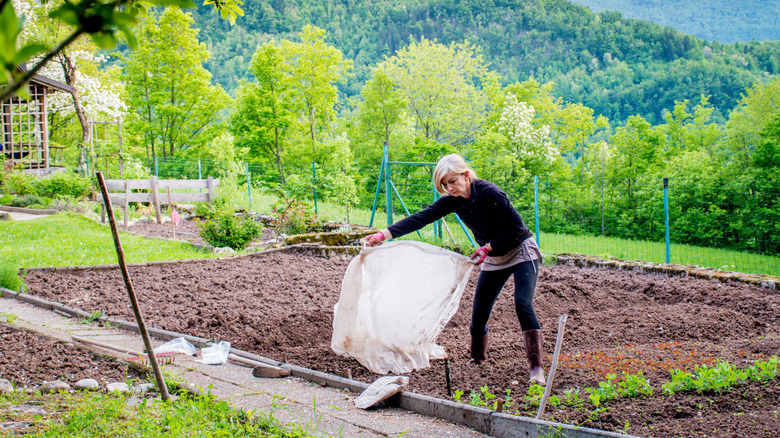
You should place your insect netting over your crops when transplanting them or when they start to sprout. This will provide them with protection from day one. If your vegetables rely on insect pollination, such as strawberries, squash, and watermelon, take your insect netting off when they have flowered.