The Best Method For Prepping An Interior Wall For A Mural
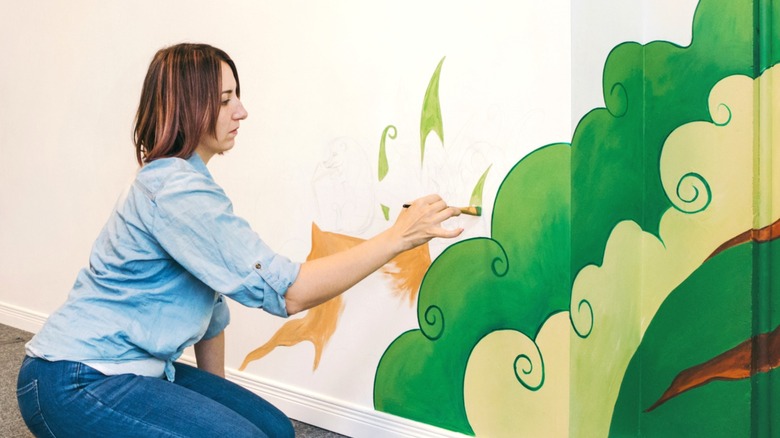
Designers are coming back around to the 40,000-year-old practice of painting murals on interior walls. Wallpaper and paint are taking a back seat to vibrant depictions of nature scenes, abstract explosions of color, and trompe l'oeil trickery. They personalize a room in a way traditional wallpapers can't. A full-scale mural becomes a feature wall in a room, and smaller murals add interest to alcoves, doors, and even furniture. Investing your time and talent in a mural requires a little bit of initial effort, though, if you want your artistic work to last and look its best. It doesn't matter if you're painting your own mural or applying a graphic — prepping the interior wall is an essential first step toward adding your personal touch to the room.
A mural begins with a blank surface free of dirt and damage, whether you already know what the finished product will look like or you need to gaze at the prepped wall before designing the perfect wall mural. Start by laying down floor protection along the wall. Remove dust and surface dirt with a dry tack cloth or microfiber towel. Then, wash the wall with warm, soapy water. When tackling stains or stuck-on grime, try cleaning them with a baking soda and water mix before moving on to harsher chemical cleaners. If you find yourself working on a wall with stubborn, heavy soil that's worked its way into the surface, wipe it down with trisodium phosphate (TSP). Generally, dissolving ¼ to ½ cup of TSP in 1 gallon of warm water should do the trick. TSP is toxic, so wear protective gear, including long sleeves, gloves, eye protection, and a mask. Provide good ventilation in the room, and rinse each wall section after cleaning.
How to prep a wall for a mural
After the wall is clean and dry, repair holes and cracks by filling them with spackle. Allow the patches to dry, and sand them smooth. Give the wall a once-over with your tack cloth or microfiber rag to remove sandpaper dust, and then tape the edges of the area you're going to paint. Before installing the mural, you'll need to prime the area.
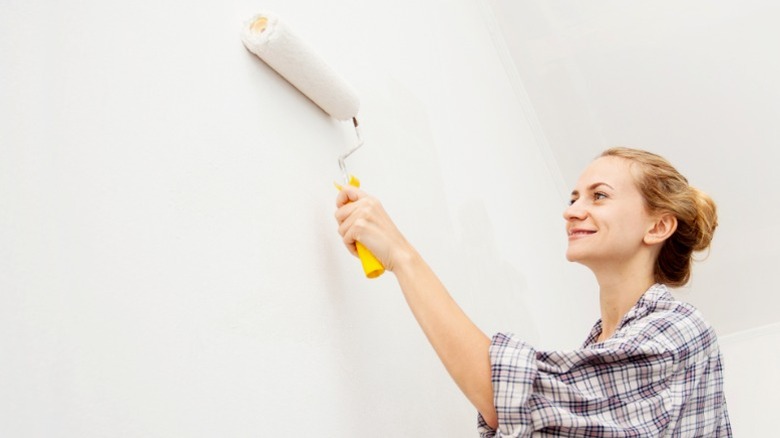
Primer is critical for ensuring the vibrancy of the colors in your mural. After the repaired wall is clean and dry, lay down drop cloths, grab your ladder and paintbrush, and pour a high-quality bright white primer into a paint tray. Roll a thorough coat over the surface. If you're priming brand new drywall or the mural colors are significantly lighter than the original wall color, use two coats of primer. Using a high-quality primer will prevent any persistent stains from reappearing on the surface and seal unpleasant odors in the walls. An oil-based primer is ideal if you're going to be using any oil-based paints in your mural. Let the primer dry thoroughly before you start the installation.
Graphic murals also require wall preparation before you can affix them. The process has the same steps as preparation for a painted mural but with one exception. After you've washed the wall and repaired it, prime it with two coats of latex primer. If you plan to use a graphic on concrete, wood paneling, or another textured surface, you'll need to apply a layer of wallpaper liner and a coat of primer first. With those steps out of the way, you're all set to install your mural.