Tips For Painting Your Own Wall Mural
A wall mural is a great way to funk up your living space. They're personalized, unique, vibrant and if done right, catch and keep the eye of any house guest. However, unless your name's Banksy or you can paint with the flair and skill of a Michaelangelo, wall murals can seem like a bit of an uphill challenge. Don't be disheartened. With a few tips and pointers in the right direction, a colorful, engaging, and expressive wall mural is within reach of us all.
Much like winning the Tour de France, the key to painting a successful wall mural is to take one stage at a time. If you fall into the trap of gazing nervously at the blank wall and wondering how you'll ever turn it into an enchanting work of art, you'll become easily overwhelmed and likely never even start. Make no mistake about it, you've got the talent, time, and tenacity to attack that wall and create a thing of beauty. All you need is self-belief and some top tips to get you on track and keep you there. So let's get creative with those colors, be bold with those brushstrokes, be daring with our vision, and paint the wall mural of our dreams with these top tips.
Plan your design
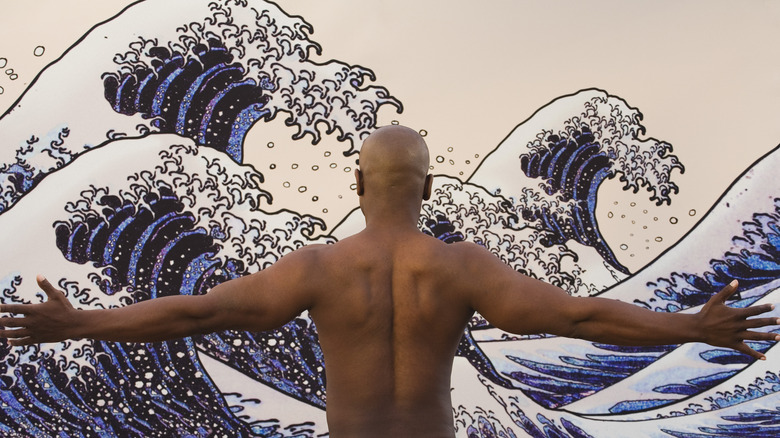
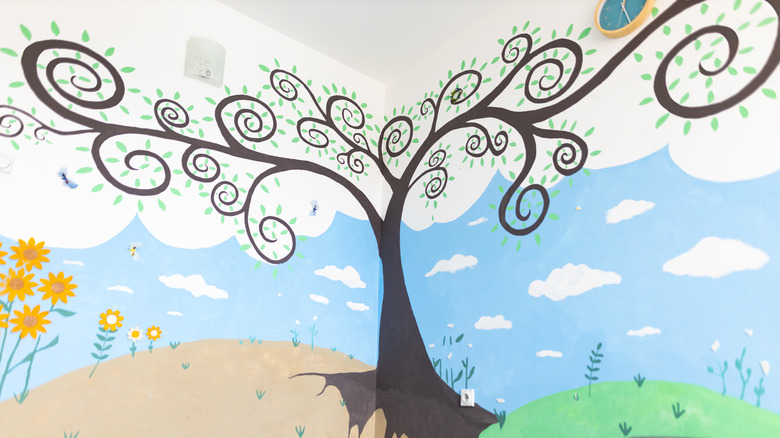
When it comes to wall murals, if you fail to prepare, then prepare to have your grand schemes and designs fall to ruin around your feet. It's no good throwing paint at the wall like some demented Jackson Pollock and hoping some of it sticks. You need a solid plan of action. Your first port of call is to decide upon the design. What will look good on your chosen wall is purely subjective, but it should complement and not clash with the theme of your room. Natural scenes such as woodland scenes, birds in open skies, fluffy clouds, vivid rainbows, and mountain ranges are popular choices, but Salvador Dali-type excursions into the surreal and abstract also work well.
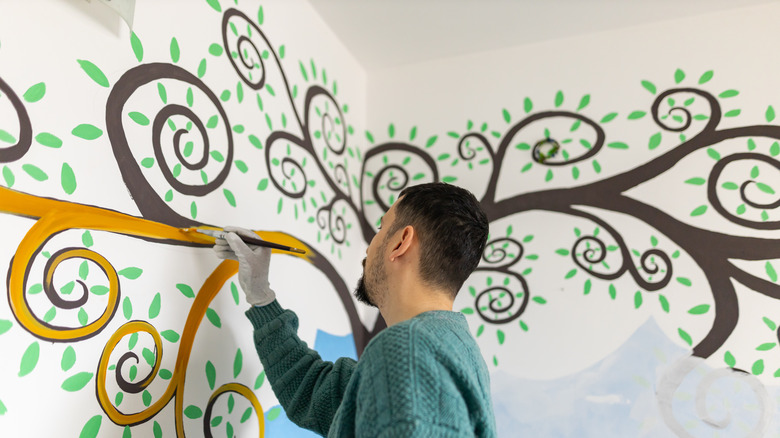
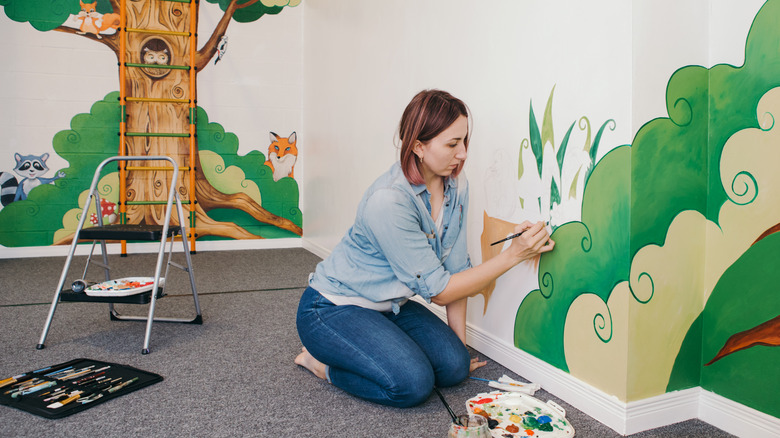
Once you've decided on what wall mural design will work best, you need to determine if you're going to paint it freehand or use a stencil. When stenciling, you can hold the stencil outline to the wall and paint in the color, but be careful to paint the wall and not the edges of the stencil. This option allows you to stencil a basic outline, such as the shape of an animal, and fine-tune some more intricate details later, like its eyes. If you're confident enough to paint your wall mural freehand, ensure you draw the outline of the design in chalk first. After you've painted between the lines, chalk is a lot easier to erase or wipe away than pencil marks.
Consider your space
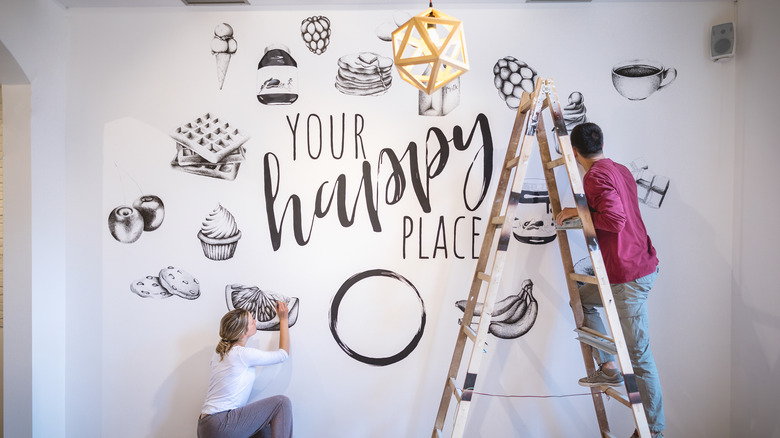
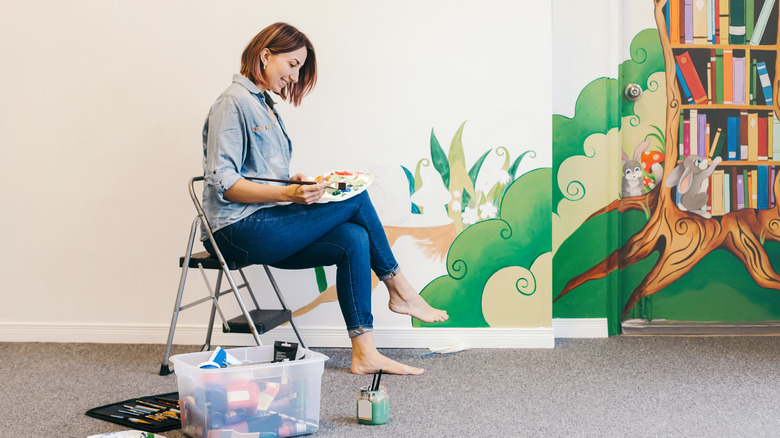
It's important before you begin your wall mural to take into account just how much available space you have for your masterpiece. Don't let your ambition exceed your reach. A full wall mural can have a huge impact and transform the most pedestrian room into a bohemian work of art. Yet in a small room all that color and detail can go from a chic statement to a claustrophobic eyesore in the space of a brushstroke. Alternately, a partial wall mural can give your room the space it needs to breathe whilst adding some color, vibrancy, and texture to your wall.
Study the other walls in your room. Are they already cluttered with shelves and pictures? Would dedicating the one spare wall to a full-size mural be a good idea? If however, you have a room with a relatively clear wall, a mural could just be the ticket to add a bit of personality and flavor to the space. Work within the confines of your chosen wall and visualize exactly how your design will look on the wall before you place a lick of paint upon it. Try experimenting with your chosen design on different-sized canvases to get a feel for its dimensions and scale. If you like the idea of a digital representation, there are wall art visualizer apps that can help you get a feel for how your planned design might look on your wall. To use one of these apps, you'll need to have a digital sketch of your planned mural to work with.
Protect your furniture and prepare your walls
As with anything involving paints, wall murals can get messy, and fast. So ensure you protect your furniture from any mess that may result from your artistic endeavors before you begin. Covering anything within reach with a dropcloth or some old duvet or mattress covers should do the job. Next on the agenda is to prepare and prime the walls. It's important to inspect your walls. If you find any tell-tale signs of mold, mildew dirt, oil, wax, or grease, wash them off before painting. If there is mold present ensure you deal with any underlying moisture problem before you begin your mural. If there are any cracks, fill them. Bear in mind, if there's a deep-rooted structural problem the crack may return and ruin the integrity of your mural.
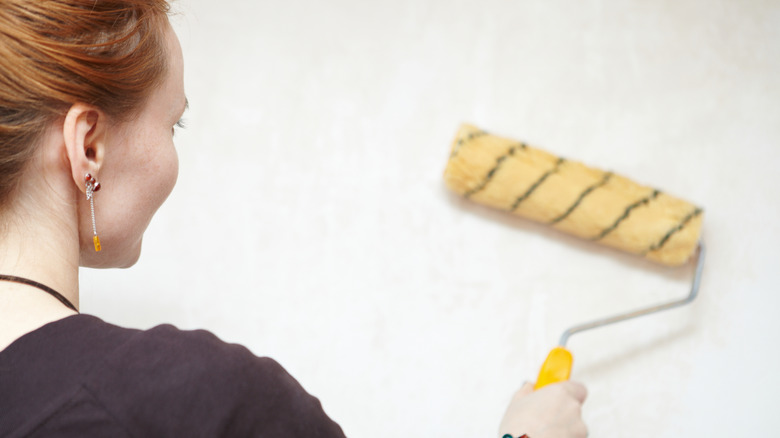
After you have cleaned the wall, it's time to begin the priming process. Do not neglect this step because a little primer is the paint's best friend in terms of helping it stick to the wall. You can apply the primer over any existing paintwork before you paint the mural. However, if you are planning on creating a mural that will last for a number of years it's best to strip away any existing paint work with a sanding block. Once you've sanded to your satisfaction, coat the wall with an acrylic primer and the canvas is ready for your masterpiece.
Make a projector if you're struggling
If you're struggling to paint your wall mural free form or stencils aren't your thing, you might want to consider using a projector. Artist Minnie Small explained, "I love the freedom of painting on the massive canvas of a wall, creating something on a much bigger scale than usual, but sometimes it can get a bit fiddly, a bit overwhelming, translating a smaller image or an original sketch into a much larger size." To bypass such problems, Minnie and millions of others have opted to use a projector when creating a wall mural.
The first step is to find an image online, preferably from websites that offer royalty-free images or subscription-based services. Stealing another artist's work is not cool and is also illegal! Next, download the image and print it out. Place a sheet of clear plastic over the image and trace it onto the plastic using a permanent marker. Make your projector by cutting a square or rectangle out of a decent size cardboard box. Place the plastic sheet over the window and place a phone or flashlight inside. Turn off the lights in your room and shine the image on the chosen wall. Adjust the settings until it meets your requirements, grab your paints, and you're good to go.
Pick your colors
A wall mural shouldn't exist independently of the room it belongs in. Ideally, your mural should incorporate and emphasize the color palette of your decor and furniture. Pick one color that appeals to you and matches an existing tone in the room and then select others that will provide balance and harmony. For example, if you find your mural begins to be predominantly made up of warmer colors such as soft sun yellow and sunset red, it's wise to add a cooler tone such as sky blue to prevent the overall effect from being too overwhelming. Don't go overboard with the variety of colors though or the mural will end up looking far too busy.
When it comes to actually painting the mural, take a methodical approach. You don't paint a rainbow all at once. Apply a color to see how it looks and then add another to see if it enhances the overall effect. If it clashes, try slightly altering the color until you get the effect you're looking for. As the work progresses, step back and see how the mural ties in with the overall theme of your room. You're going to be living with it for a long time so you need to love it, not just like it. Interior designer Sophie Robinson explained, "So the mural doesn't sit out like a fly on a wedding cake it's essential to think about other colors in the room and aim to pick a mural with accent colors that will work tonally with the items in the space."
Take regular steps back to refocus
With the paint flying on and the mural taking shape, it can feel like you've got the wind in your sails and there's nothing but sunlit uplands ahead. However, this is the exact point when you need to tread carefully. When a soul is caught up in the whirlwind of artistic frenzy it's easy to lose sight of the little things such as the overall proportions, design, and color coordination of your mural. So it's important to not forget the big picture. Take regular steps back and refocus to ensure things are going to plan. A mural is a work in progress and don't be afraid to change things if it's beginning to venture down a different path to the one you visualised. Rome wasn't built in a day and neither is a wall mural.
It's normal to make mistakes in the process of creating a wall mural. Experiment with different brush strokes and techniques to get the effect you're looking for. Try rollers, sponges, and brushes, and if all else fails, use your hands to create that elusive and desired effect. By its very nature, a wall mural takes time and it's important to not rush any part of the process. It may take several attempts to get the precise look you're going for, and that's okay! It'll be worth the time and attention to detail when you're admiring your work on a daily basis.
Take breaks and don't get overwhelmed
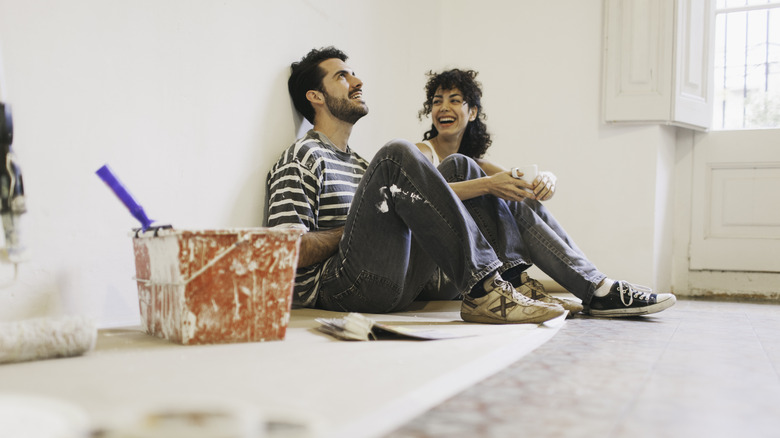
Painting a wall mural isn't a sprint it's a marathon. You need plenty of rest stops otherwise you risk becoming overwhelmed and jaded before the race is won. When you feel fatigue kicking in, call time out. When you're tired you get sloppy and can accidentally self-sabotage all the hard work you've put in up until that point. Use the rest time to clean your brushes and rollers and prepare everything for the next day. Taking breaks is also a good way to take stock of what you've achieved to date. Ask yourself, is the wall mural going to plan? What further work do you need to do? And, what needs revising?
Professional artist Katrina Crouch advises taking regular breaks as part of your routine when painting wall murals. She explained, "It can help us refocus, get clarity on the "big picture" and not waste time on something unimportant or (worse) something that's wrong or off!" She added, "Art carries a lot of emotion and mental weight. If you're not in the right head space you might not be able to push through it. Take a break, eat a snack, or go for a walk and try again later." When you approach the wall mural with a fresh pair of eyes and renewed enthusiasm you'll be surprised how different things look. Painting a wall mural should be a rewarding experience, so take the breaks you need to keep the process positive and fun.
Use a sealant to protect your mural
When you've finally finished your wall mural it's a cloud-nine moment. There's nothing quite like taking a step back and contemplating just what a little hard work and vision can achieve. It's now time to rest on your laurels a little and let friends and family toast the work of the artist in the clan. But wait! If you want your wall mural to be the sun that keeps on shining and the gift that keeps on giving for years to come, you need to protect it with a little sealant. Professional artist Jae Johns explained, "In a perfect world, everything that you paint would be immortalized for all to behold. In reality, there are many steps that you must take to keep your mural on the wall."
Johns recommends never painting a mural on a wall that has any visible signs of structural damage without repairing them beforehand. He also stresses that cleaning and priming a wall is essential if you want the paint to stick around. Once the mural is complete and its radiance illuminates everything in its immediate vicinity, it's time to apply the sealant. This will prevent it from aging and keep it looking sharp for years. Varnish, also often labeled as "sealant" or "polyacrylic," is the best tool you have for preserving a mural.
Sealant comes in many varieties. You'll want to find one that works well with the type of paint you used for the mural, and has the right level of sheen. For indoor murals, it's best to use a matte or satin sealant. Shop around and find the one that works best for indoor murals. Follow the instructions on the bottle and your mural will keep working its magic for a long time to come. Happy painting!