Turn An Old Tin Can Into Beautiful Vintage-Inspired Countertop Decor With An Easy DIY
Thank goodness recycling is — for most of us — as simple as filling a bin and rolling it to the curb once a week. What's better than recycling, though, is reusing. And if you can create something adorable with a few recyclables, you have a nearly free product that was also fun to make. Tin cans are great for crafting due to how durable they are. Once they're clean and stripped of their labels, the exterior becomes a canvas for something pretty, while on the inside, they can hold nearly anything, from a bouquet of flowers in water to sewing notions to cotton balls.
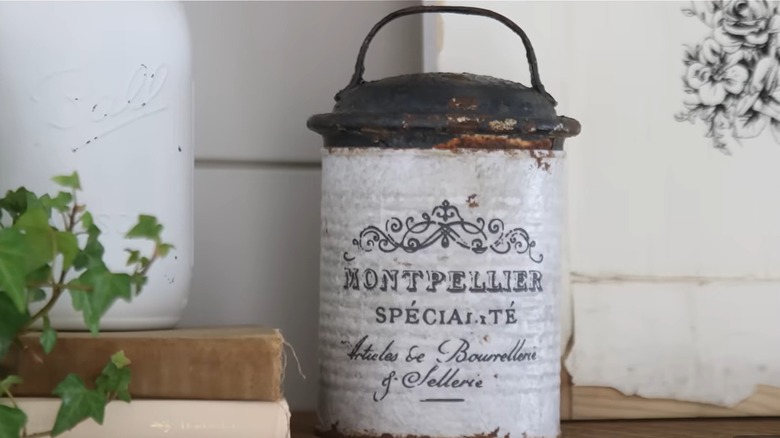
With a couple of sheets of white tissue paper (Reused is ideal.) and Mod Podge, what once held crushed tomatoes or chili takes on the look of a vintage tin can with shabby chic flair. A cute old-timey accent, like a product label, caps off the antique finish. Quaint rub-on transfers, stickers, a stencil, or even decoupaged paper cutouts all potentially dose the upgrade with old-school appeal.
For this project, a can of any size will work, but if you have a large one from coffee or bulk food, this size will probably be the most useful and visible once it's on display! Best of all, this DIY touch of rustic charm will cost you nearly nothing.
Make a decoupage vintage-look container from a can
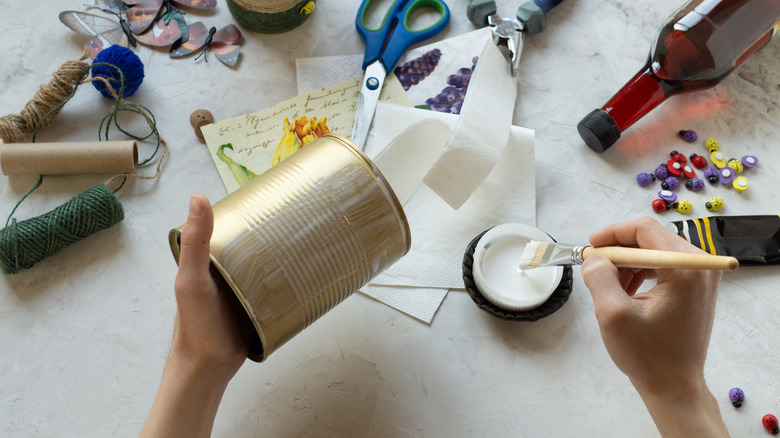
Before diving into your can makeover, sharp edges around the inner mouth of a reused can are a serious cutting hazard, so file down any rough edges or burrs. If it still feels like it might cause an injury, you can cover the edges with hot glue.
The sheets of tissue paper are what will give the can a whitewashed appearance, and to do this, you'll be attaching it to the can's exterior with Mod Podge. Smooth out your sheets of tissue paper, and paint a 2-inch section of the can with Mod Podge from mouth to base. Line up one edge of the tissue paper with the can's seam with the corner as close as possible to the can's mouth. Smooth the first few inches of the tissue paper onto the Mod Podged surface, gradually painting the glue onto a few more inches of the can at a time and pressing on the paper as you go. Once you've encircled the can with one sheet of tissue paper, trim off any excess paper at the seam, and repeat the process with the second sheet of paper.
Cut the excess paper at the can's base into flaps, both 2 inches wide and long, and fold and glue them with Mod Podge onto the base. Adhere the transfer label, stencil, or paper you're decoupaging on one side of the can, and coat the entire papered area with another layer of Mod Podge. Filled with whatever you like, this creative way to repurpose old or unwanted items will be a welcome addition to any room.