Give A Thrifted Teacup New Life As A Chic Jewelry Storage Solution
We may receive a commission on purchases made from links.
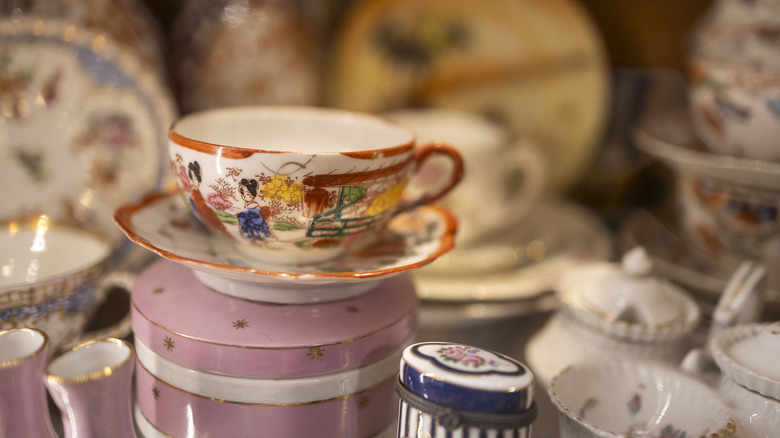
A dainty teacup and saucer, sitting all alone, has clearly lost the rest of its ceramic family. This adorable find is pretty common at thrift stores and has too much cuteness potential to pass up. There are heaps of clever ways to repurpose old teacups and saucers, but a two-tiered jewelry holder isn't one you see often. With carefully drilled holes and cake stand hardware, the saucer becomes a charming base for a jewelry stand topped with a cup to catch small pieces, like earrings and rings.
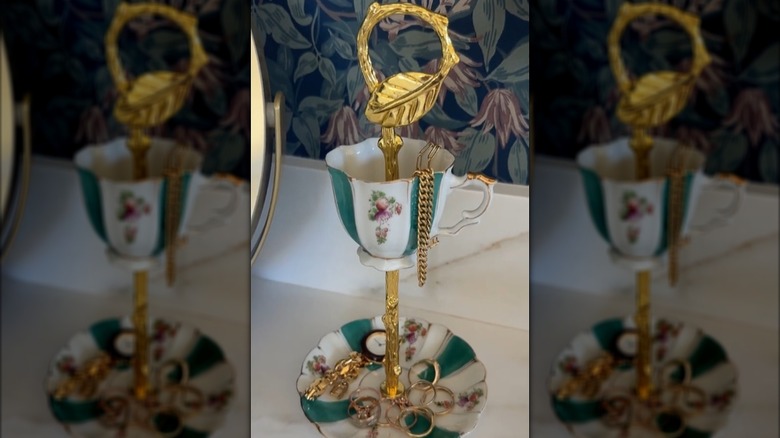
Once you've located the ideal cup and saucer — they don't have to match, either — scan the web for cake stand hardware for a style that complements your pair. Cake stand hardware comes in lots of styles, from sleek to ornate. If you want your stand to be even more jewelry-ready, order hardware with tops that you can use to store rings or hang necklaces or bracelets, too. This uxcell T-shaped cake tray stand hardware has a small, but still useful, horizontal bar at the top that's just big enough to hold a few necklace chains or rings. The ¾-inch spherical topper on the uxcell round bead cake stand hardware may be just the right size to allow larger rings to slide onto the post.
To make the center holes in the ceramic, you'll need a diamond bit, a drill, painter's or masking tape, a couple of folded towels, a permanent marker, and a cup of water. Eye protection and a mask are a must, too. If you don't have the tools, you can give this method of making holes in ceramics without a drill a try.
Drilling the ceramics and assembling the stand
Fold the towels to cushion the ceramics while you drill. Cover the center of the plate and inner center of the cup with a strip of tape, and mark the center point of both with a permanent marker. The tape will help keep the tip of the bit from slipping off-target as you begin to drill. Set the cup or plate on the towel, and add a bit of water onto the taped area. Drill straight down very slowly, hardly adding extra pressure to the drill. Let the drill's weight and the bit do the work. Stop frequently to let the bit cool, and add more water to keep the bit from heating up too much and cracking the ceramics. (If the worst happens, save the shards to create a unique statement decor piece.) Once you've drilled the holes in the cup and saucer, remove the tape, and wipe away any dust.
Now, you're ready for the finishing touches. Most cake stand hardware is made of metal, providing the perfect canvas for painting or adding details with a product like Rub n' Buff. Do this before you assemble your stand if you choose to customize it with finishing techniques.
The hardware kits come with two plain posts, a top post, and screws and washers to secure everything. Slide a washer over a screw, and send it through the back of the saucer. Screw one of the plain posts onto this. Slip another washer over the threaded end of the post, followed by the cup. Add a washer over the exposed end, and screw on the top piece. Your DIY jewelry stand is now ready to hold your sparkling accessories.