Upgrade Your Boring Headboard With A Clever Tile DIY

We may receive a commission on purchases made from links.
If you've ever considered a bedroom transformation, you may want to look into changing your headboard. You can introduce subtle patterns and visual interest without overtaking the room, creating a unique, custom backdrop for your bedding. Instead of buying a new headboard piece, there is a clever solution to add some texture and color: tiling your boring headboard with penny tile. Penny tiles have become a popular and affordable classic tile trend. Often utilized in bathrooms, on floors, or for backsplashes, the lightweight and DIY-friendly penny tile can be adapted for your headboard, turning it into a stunning, textured piece that looks expensive and makes a statement.
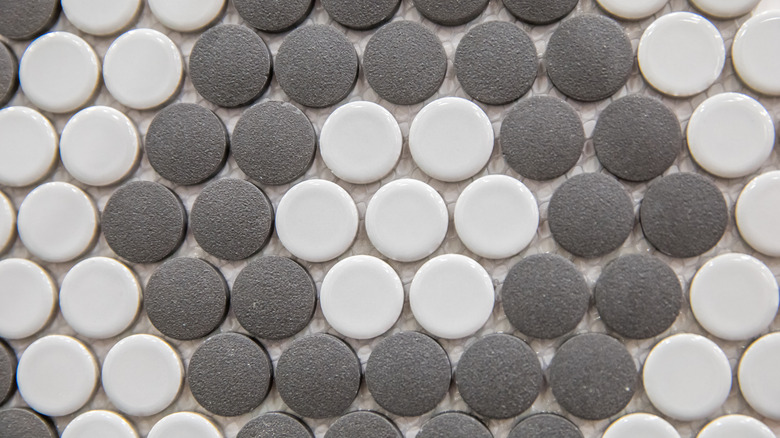
Penny tiles are small, circular tiles (like a penny, hence the name). They usually come in sheets over a mesh backing that holds them together, so installation is easier. You can buy penny tiles in different materials, like glass, porcelain, or ceramic. They are available in varying patterns and colors, like these Parrotile Copper Bronze Mosaic Sheets, so you're sure to find a kind that will suit your headboard and complement your bedroom's style. There are some things to know before installing penny tile in your home, including how to arrange the tile. To transform your headboard, you'll need the penny tile sheets, spacers, tile adhesive, a trowel, grout (like this Custom Premium Grout), a grout float, and a sponge.
Important steps when preparing and installing penny tile on your headboard
Simple steps for installing tile backsplash also apply to this DIY project. Your first step is to prepare your headboard. Remove it and lay it flat so it's level for the installation process. Clean and dry it completely. You can also prime and paint it before applying the tile since some of the existing frame will still show. You can custom-cut a headboard with plywood to your bed size if you don't own one or don't want to change your existing headboard.
For the installation, lay out all your tile sheets dry before permanently sticking them with your adhesive to make sure they fit properly. Make a paper template to match the shape and scale of your headboard so you can lay out your tiles. Space them all evenly so they are straight — you can do this with spacers, like these SynHHergyx Tile Spacers. Use a utility knife to carefully cut the tile sheets, fitting your headboard shape. Take some painter's tape to number your sheets in order, so you know how to lay them. Once the layout is set, you can start laying down the tiles for real.
Take a trowel, such as this MARSHALLTOWNV Notched Margin Trowel, scoop up your adhesive, and spread it in an even, thin layer. Press your sheets into the adhesive one by one, ensuring even, firm pressure and keeping them aligned as you go. Once the tiles are set, you can grout them. Spread the grout with your float, and then wipe off the excess grout with a damp sponge. Let it set and dry. Your once boring headboard has now transformed into a designer-level focal point. As a variation of this method, you could go a cheaper and quicker DIY route. Simply find some contact paper to peel and stick evenly on your headboard that mimics the tile look.