4 Things To Know Before Installing Penny Tile In Your Home
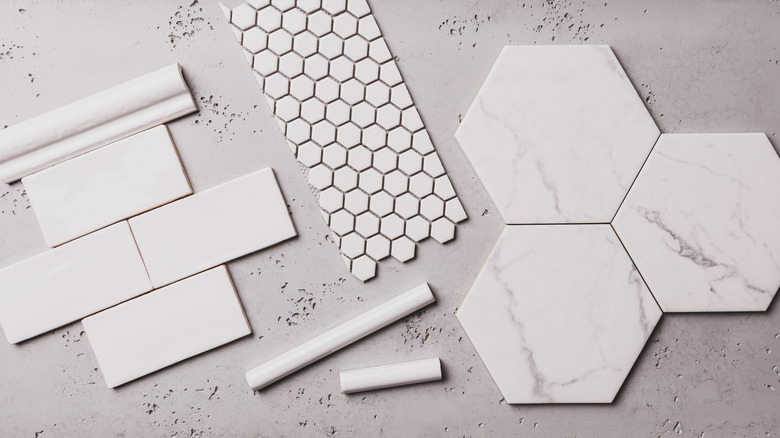
Penny tiles have been around for longer than you may think. While they are still popular nowadays, they have been on floors, showers, and backsplashes since the early 1900s, explains Avalon Flooring. The original penny tile got its name because it was the same size as the coin at just under an inch in diameter. Modern variations of the tile, come in different colors, sizes, and designs.
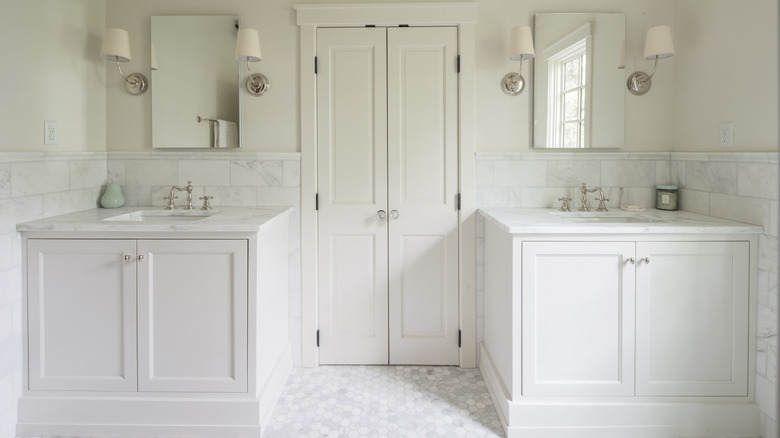
These tiles are particularly versatile. Their small size makes it easy to lay them on uneven surfaces or around awkward features like round pillars. Their pattern also makes them the perfect accent piece. If you don't want them to stand out too much, try matching the color of the grout with the tiles. Or you could make a bold statement and choose contrasting colors. To create a vintage design you could remove a circle of white tiles and replace them with ones of a different color. No matter how you decide to use penny tiles, following these tips will make installing them a breeze.
Follow the pattern

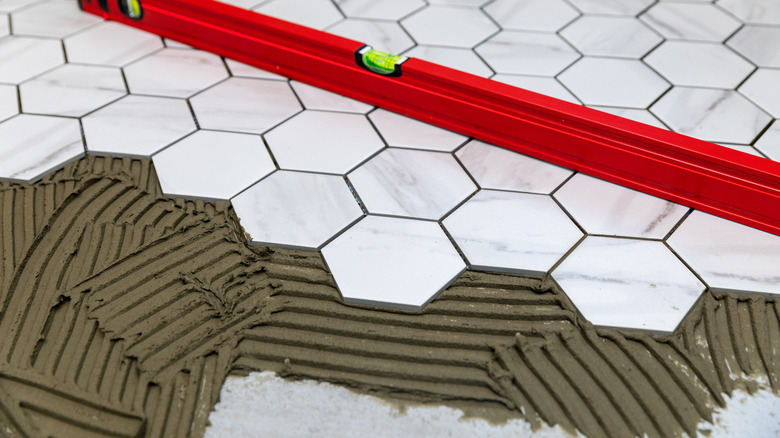
Penny tiles usually come in sheets of 12 inches by 12 inches, with the sides staggered while the top and bottom are straight. The problem with these straight sides is that you can often see the lines between each sheet once they have been installed, according to Designs By Ay. To prevent this from happening, you will need to remove every other tile along the straight edge, so that the sheets lock into one another.
As you stick the tiles in place, you should weave the edges together. Every couple of minutes, you can step back and look at the entire area to ensure you don't see any straight lines. One trick is to look for the flower pattern in the tiles. This pattern looks like a circle of six tiles surrounding a singular tile and will help you see if all the tiles have an even amount of space between them.
Penny tiles need lots of grout
Installing penny tiles is a time-consuming process. The grouting step takes so long because the size of the tiles means there are more gaps that need to be filled. According to Foxy Oxie, it's also essential to take your time and seal the grout once you finish your project. Sealing the grout will ensure it stays looking as good as new for as long as possible, however, if you skip this step, your grout will quickly attract dirt, turning from white to grey.
The color grout you choose can change the look of the whole project. While a lighter color may get dirtier quicker, it is good at hiding any imperfections that may have occurred during the laying process. However, it isn't necessary to choose a bright white. Instead, light grey, beige, or even toupe are good alternatives. If you're not worried about imperfections, a dark grout color will contrast with the tiles and hide the appearance of dirt.
Use hand nippers
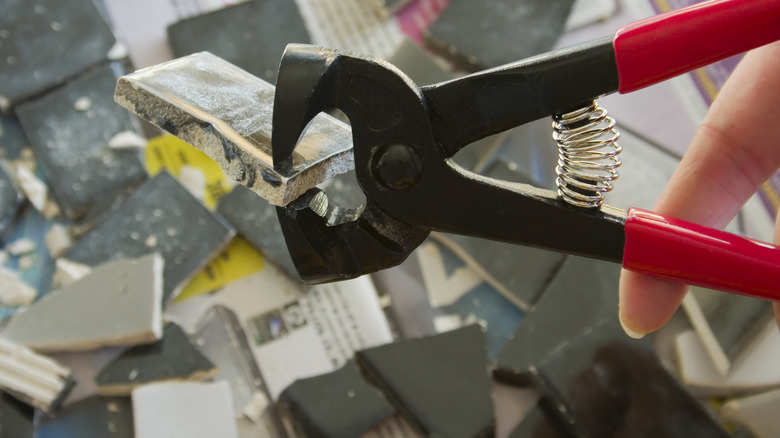
Hand nippers are the best tool to use with penny tiles because they are small. This tool is good for homeowners who are renovating their space for the first time and either don't have access to or are intimidated by wet saws. Since hand nippers have narrow teeth, they work perfectly to cut one penny tile at a time, according to Everyday Lillie.
Hand nippers work like wire cutters. You place the tile where you want to cut it and squeeze the handles until it breaks in two. You can either remove each tile from the mesh sheet with scissors first or leave them connected. Foxie Oxie recommends leaving them connected to the mesh, so the tile doesn't go flying when you cut it. The only downside to this tool is that you will need plenty of arm strength to continue this process for every tile you need to cut.
Prepare your cuts
One way to make the tiling process go by quicker is to prepare all your cuts, then you will have all your pieces ready to fill in any gaps as you lay down the sheets. If you are tiling a floor, you will need a couple of piles with different cuts ready to go for the edges of the walls and around any items on the floor, like the toilet or drain. If you use penny tiles on your walls or as a backsplash, you will only need to cut small pieces for the edges and corners.
Designs By Ay recommends precutting some of your penny tiles to ¼-inch, ½-inch, and ¾-inch pieces. It's easiest to use the tiles you pulled off earlier from the bottom or top parts of the sheets when you were weaving them together. Put these precut tiles into labeled containers to quickly grab them as you lay the tiles.