How To Turn An IKEA Frame Into A One-Of-A-Kind Hand-Painted Tile Mirror
We may receive a commission on purchases made from links.
It's no secret that when styled with intention, an eccentric and eye-catching mirror can add character and depth to a room, especially when styled in ways that will make your space look bigger. When it comes to mirrors, small details like hand painted tiles or an elegant mosaic frame can help elevate your home's interior design and serve as a statement piece when displayed with pride. However, these unique styles of mirrors often come at a hefty price. If you're shopping for a custom or hand-painted mirror, it's not uncommon for them to cost several hundred dollars.
Luckily, if you consider yourself even a little crafty, there are ways to recreate this look at home using inexpensive materials from popular major retailers. One DIY utilizes a cheap picture frame and basic mirror from IKEA and transforms it into an eclectic piece of home decor with ceramic tiles you can paint yourself. Since you are the one selecting and hand painting the tile designs, this DIY is completely customizable and can be tailored to a wide variety of interior styles.
One of the best perks of this straightforward project is that it can be completed without the use of any power tools. To begin, you'll need one LÖNSÅS 8x10 inch mirror, which is priced at $4.99 and one DALSKÄRR wooden picture frame, which is $12.99 from IKEA. You'll also need a forty pack of one-inch, plain white ceramic tiles, acrylic paints, a small paint brush, super glue, scissors, small pieces of wood for a border, and a can of clear gloss spray paint.
Hand painting the ceramic tiles with unique patterns and designs
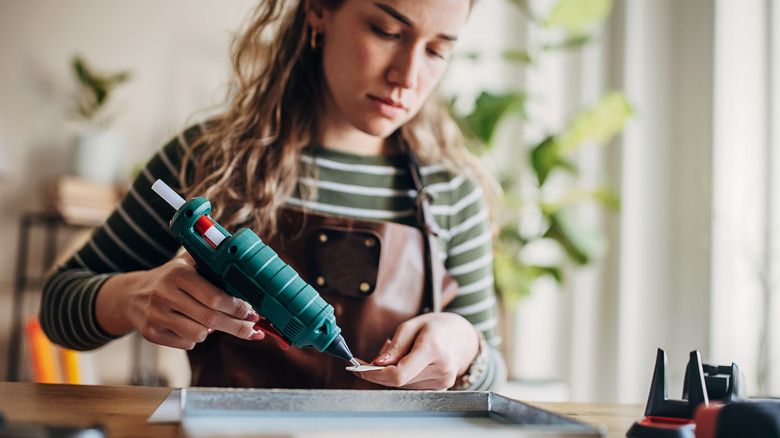
Before you start assembling the actual mirror itself, you'll want to take the time to paint all of the ceramic tiles and allow them to dry. For the 8 x 10-inch frame, you'll need around forty painted tiles. You have a lot of creative leeway during this step of the project. This is where you can really make the style your own by expressing yourself through the designs and patterns you paint.
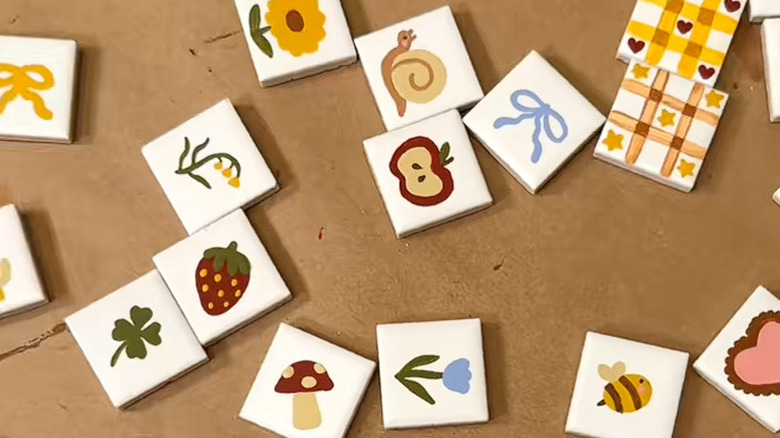
Cutesy designs like bows, hearts, stars, moons, fruits, animals, checkered patterns, or simple flowers are perfect options for a more whimsical style of mirror. They are also a good match for homes that feature cottagecore decor. For a more classic look, you can paint colorful, geometric patterns like you see in traditional Mexican tiling, or try the timeless royal blue on white color combination for tiles with vintage flair. You could even get creative and paint the ceramic tiles to look like Scrabble pieces and spell out specific words or names on the frame.
If visual art isn't your strong suit, there are clever alternatives to hand painting the tiles that work well equally well for this DIY. You can always use decor tattoos to transfer images directly onto the ceramic. You can also purchase tiles that come in an assortment of elegant designs like these blue and white ceramic mosaic tiles from Amazon. You can also rely on tools like stamps or stencils to guide you in the painting process if you're nervous about the quality of the final results.
Assembling your custom mosaic mirror
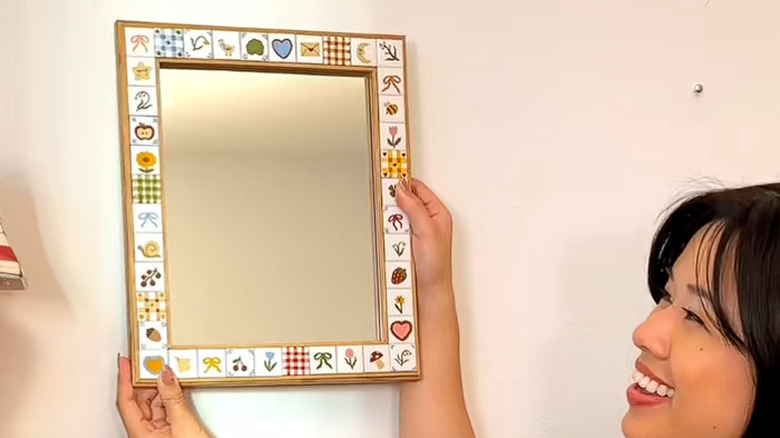
Once you've painted your tiles and allowed plenty of time to dry, you're ready to assemble your mirror. Start by lining up the painted tiles neatly side by side surrounding the border of the picture frame. When you find an arrangement that works and are happy with the tile placement, apply the superglue to the frame and carefully glue down each individual tile, allowing time for the adhesive to fully dry.
Once your tiles are secured to the frame, measure and trim the thin pieces of scrap wood. You should have four longer pieces for the outside border, and four shorter pieces that can be fitted to the inside. Make sure you trim the wood at roughly a forty-five-degree angle on each end so the pieces and snugly connect to each other. Paint the pieces of wood whatever color you desire and glue each piece down with super glue to create a sleek border.
Finally, apply a coat of clear gloss spray paint, like Rust-Oleum Painter's Touch, evenly across the entire frame to seal it. Once the finished result has dried, unfold the prongs and remove the back of the frame to place the mirror snugly inside. Since both the frame and the mirror from IKEA have the same measurements, it should be a perfect fit. Replace the back of the frame, secure it with the prongs, and you're ready to hang up your new custom mosaic mirror and show off your creative and unique masterpiece in your home.