Turn An Old Shoe Box Into A Smart Solution To Keep Jewelry Organized
We may receive a commission on purchases made from links.
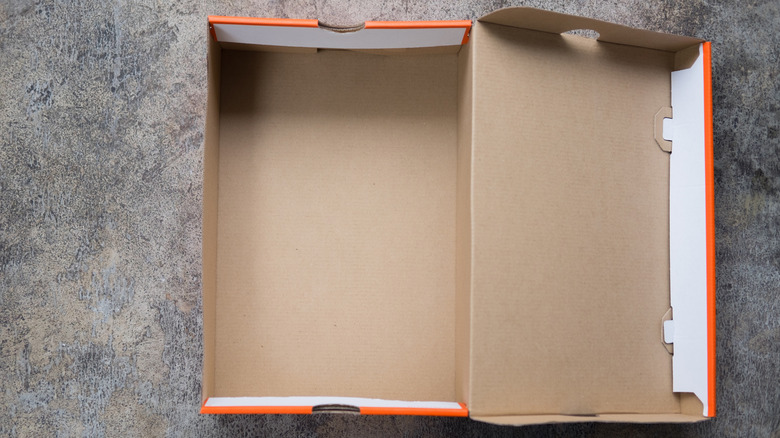
The sturdiness of an old shoe box doesn't go unnoticed, so you may be hesitant to throw it away. Fortunately, there are many creative ways to repurpose old shoe boxes. With an empty shoe box handy, you already have the foundation for a chic and practical storage solution. Jewelry storage can be a balancing act to keep all of those little pieces together. However, with some extra fabric and a few basic supplies, you can turn that old but sturdy shoe box into a smart custom jewelry organizer that looks intentional and elegant.
Repurposing a shoe box to create an organizer is budget-friendly and easy to personalize to your tastes. The best part is that it creates a dedicated spot to store and access your jewelry. If you don't have fabric on hand, you can purchase some online or at a craft store. Even thrift stores often carry scraps of fabric, or you can cut up an old shirt. Choose fun patterns or colors for your fabric.
To achieve this DIY, you need some other supplies. Grab a pair of good scissors, some glue, a paintbrush for applying adhesive, some cotton or stuffing, masking tape, and your hot glue gun. Lastly, for the clasp on the lid, you'll need some craft string, twine, or ribbon and some decorative beads, such as these ASTARON Craft Rhinestones. It's an adorable DIY storage idea, and it's also a perfect way to use up any leftover crafting fabric and supplies.
How to make a jewelry box out of a shoe box
Cut the lid off your box, but save it. Cover the sides of the box with glue, then smooth the fabric over the sides to cover the box, folding the fabric over the top edge to cover the inside as well. You can use different fabric for the inside lining. Cut another piece of fabric to fit on the inside bottom of your box and glue it down.
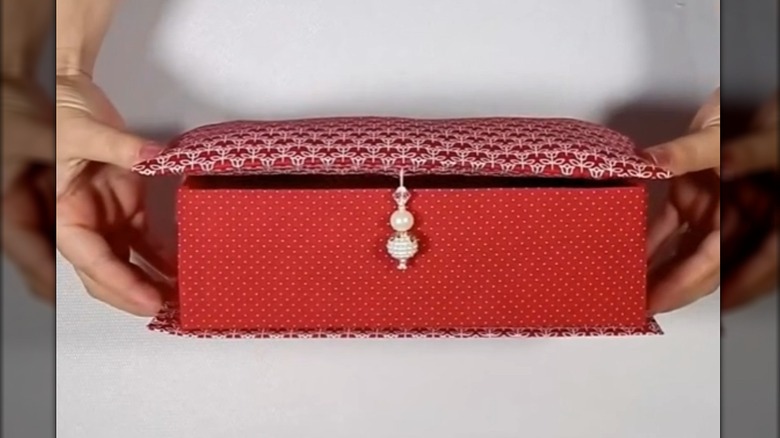
Cut the lid (or another piece of cardboard) into three pieces, each slightly wider than the box. You need two larger pieces that are slightly larger than the top and bottom of the box and one smaller piece the same size as the back of the box. Secure the pieces together, side by side, with masking tape with the smaller piece in the middle, leaving a tiny space in between each one so the pieces can bend. Glue fabric to the cover, except the edge on the top of your box. Use that opening to add cotton to create a soft, cushy top. Then, glue it shut.
To make a decorative jewelry piece to hang on the front, string jeweled beads, and hot glue the string on the inside of the lid top so the jewels dangle out the front. Glue the remaining fabric over the backside to cover the end of the string. Cover the bottom and backside of your box with hot glue, and place your fabric box centered on the inside back of your lid. Your jewelry box is done and ready for you to declutter and organize jewelry to free up useful space. You can also add inside panels to separate the jewelry.