Turn Leftover Scrap Wood Into A Rustic Organizing Board With A Fun DIY
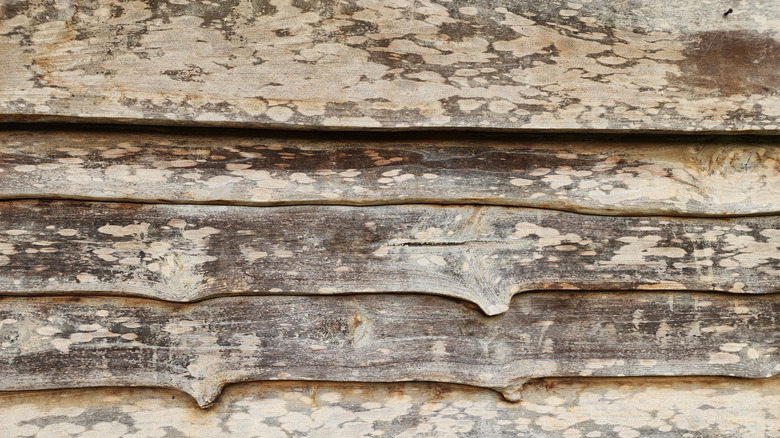
Don't toss your scrap wood out. This material holds so much potential, just waiting to be tapped. If you're aiming to cultivate a rustic home design or a romantic cottage aesthetic, scrap wood is an excellent addition to the mix. You can use it for countless DIY projects around the house. Hometalk, an online DIY publisher, shared a YouTube video featuring a range of ways to use scrap wood. The last section of the video offers a tutorial on how to craft a rustic DIY organization board. Whether you need a new place to hang your to-do lists or just want to fill space on your wall, this DIY offers a fun challenge.
For this project, you'll need reclaimed wood boards, chicken wire, a wire cutter, an old bulletin board, a carpenter square, thick fabric, a staple gun, screws, a screw driver, wood glue, and a tool you can use to cut through wood. Be sure your wood is long enough to frame your bulletin board. You can easily find a used corkboard at the thrift store if you're on a budget. You can also buy a new one from a store like Walmart, Amazon, or Target. Just try to find one without a frame. Once you gather all your materials, you're ready to start crafting.
How to craft a rustic organization board
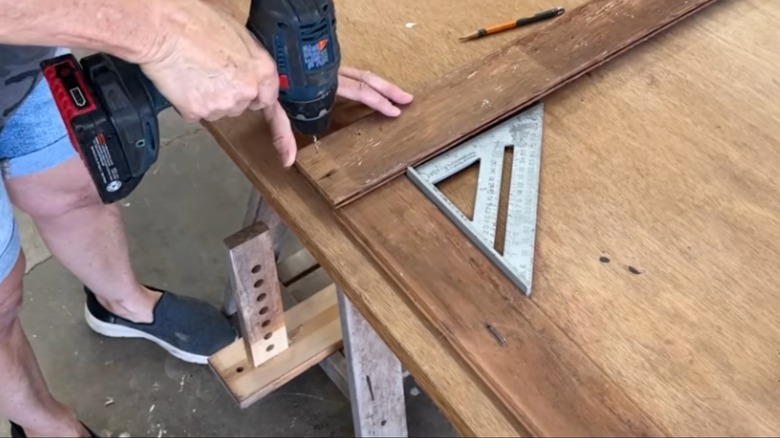
This DIY is a bit of a challenge, but it's totally doable for the ambitious crafter. Start by prepping your materials. If your bulletin board has a frame, remove it. Stretch chicken wire across your corkboard and cut it so it hangs slightly over the perimeter, and set it aside. Next, lay down your reclaimed wood board to frame the cork board, slightly overlapping it. Allow the vertical pieces to lie on top of the horizontal boards. You'll attach them together at this intersection point. Mark where to make cuts and measure the width and height on the inside of the wood frame. Carefully cut the boards to size. Match the corners of the board with a carpenter's square, then screw them together where they overlap. Lay down your fabric, place your corkboard on top, and cut it slightly larger than the corkboard.
Now, iron your fabric, place it on a clean table, and position your corkboard on top. Fold the fabric over, carefully tuck in the corners, fold the edges up, and staple it into place. You should have a smooth surface all along the perimeter of your corkboard. Now repeat this process with the chicken wire, matching it up with the fabric-covered corkboard and stapling it in place.
Finishing up your DIY organization board
There are a couple of different ways to complete this DIY. In the video, the woman leans the corkboard against the wall and screws the frame into the wall. This method leaves the two pieces unattached. If you want to secure the frame to the corkboard, use wood glue to attach the two pieces where they overlap. You can also secure it in place with short screws.
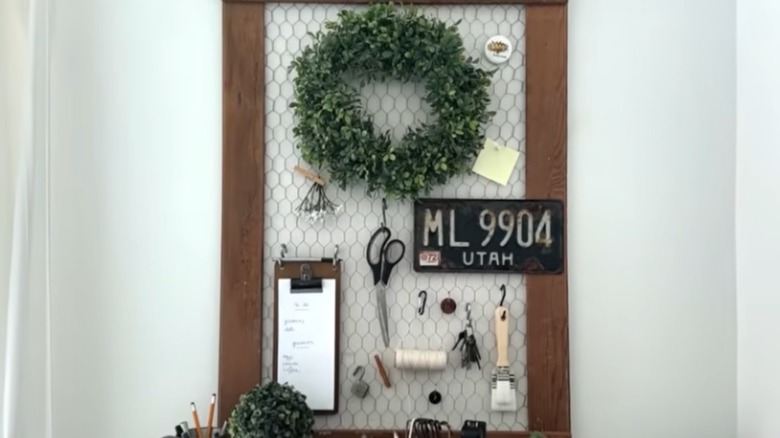
There are plenty of ways to customize this project. For instance, the woman in the video uses a white canvas. For a bolder design, you can opt for a different color or a pattern such as floral or gingham print. Add a touch of whimsy by framing the organization board with twinkling fairy lights. As you can see in the video, Hometalk styled it with an array of decor items, including a wreath and a weathered license plate. They also feature practical items such as a clipboard for a to-do list, tools, and keys. You can use this organization board to hang sunglasses, display Polaroid photos, or hang save-the-date cards. Use it as a touchpoint for your family — a place to keep track of the schedule and store important items. Make it your own, and this DIY organization board is sure to serve you well in the mission to design a rustic home chock full of charming character.