Save Yogurt Containers To DIY A Useful Storage Basket
We may receive a commission on purchases made from links.
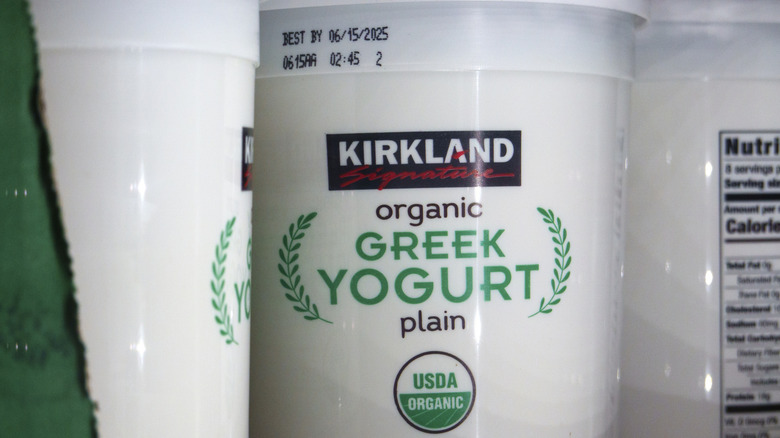
See those letters "PP" on the underside of your yogurt container? They'll be encircled with the instantly-recognizable arrows telling you that the PP #5 (polypropylene) container is recyclable. Your local recycling service might accept PP containers, but this type of plastic rarely is reborn as a recycled product. Why throw out those plastic containers when you can repurpose them into something as cute as it is handy? Two large yogurt containers disguised under fabric and pretty cording can become a multi-compartment basket without much work. Outfitted with a handle, the containers become beautiful storage for nearly anything you need.
Make your own upcycled basket with two clean 32-ounce plastic yogurt containers and their lids, a piece of corrugated cardboard, jute rope, and woven fabric. As for tools, grab a utility knife, scissors, and a glue gun with a highly-rated adhesive for crafts like Gorilla Hot Glue Sticks.
Source about a ½-yard piece of woven fabric to line the containers and cover the base. Burlap is an inexpensive and forgiving material, but denim from old jeans is also a good option. The jute rope will trim the two containers, hold them together, and serve as the handle. If you want to add a nice contrast, also set aside some double-ply white or cream-colored cotton twine. For a bright take on the project, you can swap the jute for something like Knitsilk Recycled Sari Silk Yarn or make your own colorful twine with fabric scraps you already have.
Form your yogurt container basket
To craft your bespoke basket, start by cutting off any thick edging your containers have with your utility knife. You can leave ones with a thin lip as-is. Trim a couple of pieces of cloth so they are just slightly wider than your containers' circumference and about 2 inches longer than their height. Glue the cloth so that it encircles the top 1 inch of the container with the excess extending beyond the mouth in a sort of sleeve. Moving toward the container's mouth, cut the loose material into 2-inch-wide strips. Glue them down one at a time inside the container, smoothing them as you go. If your fabric is fraying too much, edge it with a product like Aleene's Stop Fraying Adhesive.
Use part of the lids to make inserts to cover the inner bottom of the containers. Trace the base of the containers onto their lids, cut out the circle, and check how well it fits inside the container. It's best if the circle fits loosely since it will be covered in fabric. Lay the plastic circles on your fabric, and cut out fabric circles that extend 1 inch beyond the plastic's edges. Trim the excess into 1-inch-wide tabs, fold them over, and glue them over the back side of the plastic. Slide the circles finished side up inside the containers.
Glue the two yogurt containers side-by-side so that the fabric seams touch each other. To bridge the gap between the containers' curved sides, cut two pieces of corrugated cardboard to cover those spaces, and glue them in place.
Finishing touches on your yogurt container basket
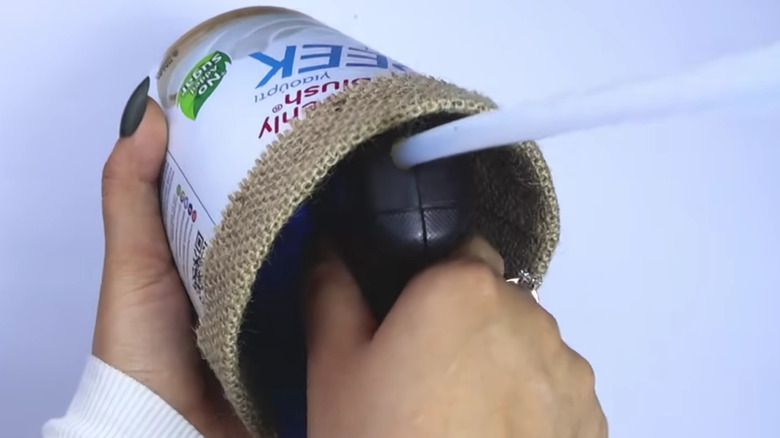
Cut three long pieces of jute rope (or your handle material of choice). Bundle them at one end, fray the rope a bit, and glue a 2-inch section of their ends on one of the gap-bridging pieces of cardboard. Braid the strands together until you have a length that will give you your desired size of handle. Trim off any excess, fray the ends, and glue them to the cardboard piece on the other side of the combined containers.
Similar to how you cut the fabric to cover the plastic lid inserts, cut a piece of fabric that matches the shape of the combined containers' base but provides about a 1-inch excess margin around it. Snip that margin into 1-inch tabs, and glue them to the undersides of the containers so that the plastic doesn't show. Starting at the top edge of the containers, begin coiling and gluing the rope or yarn around them, following their curves, until they're covered from top to base. Since this task relies heavily on hot glue, edge the tip of the gun with a bit of petroleum jelly for a better hot glue gun experience without the stringy mess.
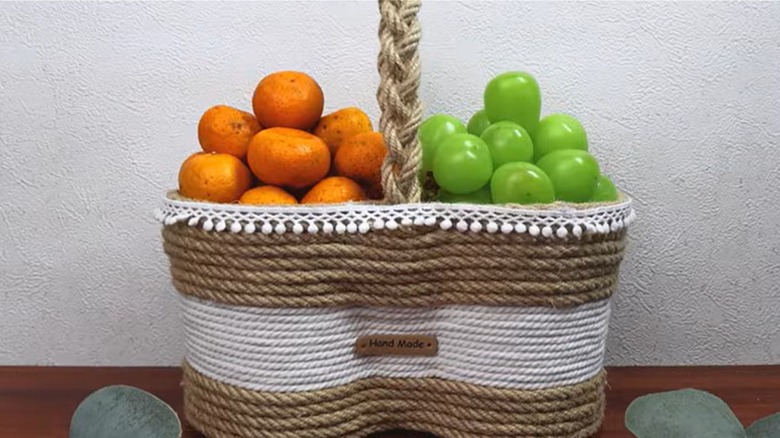
For a two-toned look, cover the first 2 to 3 inches with jute, then fill the next few inches with a different material like the sari yarn or cotton cord before covering the last few inches with jute. (Make this section of jute the same width as the first one.) Your new two-compartment basket is now ready to show off anything from hand towels to cutlery to something simply decorative.