The Dollar Tree Soap Holder DIY That Keeps Countertops Organized
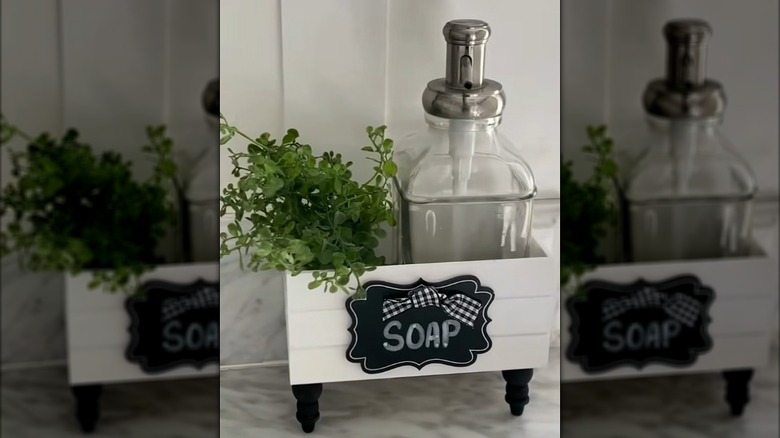
Even if it means adding another item to your counters, a pretty holder for soap and lotion bottles makes your handwashing essentials look curated and tidy. Using only a Dollar Tree item and some wood pieces, you can make one yourself. The Crafter's Square Wooden Crate with Handles is charming, useful, and customizable in countless ways. Perch it on four legs made from wooden accent pieces, then paint it. Adorn it with a chalkboard tag and bow that adorably advertises what's stored within.
This clever Dollar Tree DIY bottle corral isn't limited to holding liquids, either. How about salt and pepper grinders for the dinner table? Oil and vinegar for salads? A couple of perfume bottles will sit prettily inside the crate, too. Maybe you need a team of them to line your countertop with an entire toiletry collection.
Along with the wooden crate, fill your green DT shopping cart with a pack of Crafter's Square Wooden Mini Mushrooms or Wooden Peg Dolls to use as legs, wood glue, brushes and paint in one or two colors that work for your decor, a spool of ribbon in hues that complement the paint, a chalk marker, and pack of Crafter's Square Chalk-It-Up Tags with cords. If you decide to use the tempera paint from Dollar Tree, you'll also need to apply a coat of sealant, since it's water-soluble.
Create a cute and inexpensive soap crate
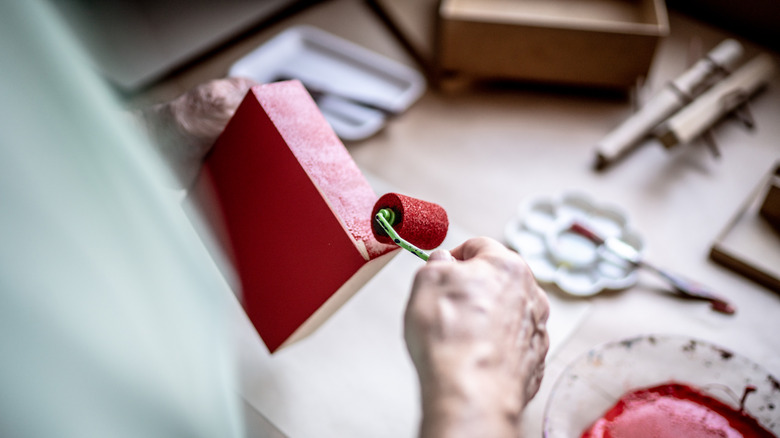
Start with the painting detail. If you're making the wooden peg "feet" a different color from the crate, paint them separately before gluing them on. If you didn't find any colors at the Tree that spoke to you, you can forget the paint and just stain them. You can even use leftover coffee to naturally stain wood without any extra cost. You could also hit the kitchen for a few other natural staining solutions: red wine, carrots, beets, and turmeric tint wood in pleasing red, orange, pink, and yellow, respectively. Top any water-based paint or natural stain with a non-water-based sealant to protect the color.
Attach the legs, one at each corner, of the crate's underside. For the best results when using wood glue, let it cure for up to 24 hours after it dries before handling the piece too much. When the glue has cured, cut off the cord from a chalkboard tag, write in chalk marker what will be found in the crate, and glue it at the center of one of the long sides. Snip off a bit of ribbon, either to tie into a small bow or a simple loose knot to glue over the chalk tag's hole, and cut the ribbon ends at an angle or dovetail-style if you like. All that's left to do is try out your new countertop organizer with a bottle of soap or anything else that needs help being presentable.