How To Successfully Tile Over Your Concrete Floors
For some people, a concrete floor is the right choice. However, others may find a concrete floor with no decorative elements or color tinting to be ugly and boring. When renovating and updating homes I've purchased over the past two decades, I've had to regularly change the look of bare concrete floors. The previous homeowners probably struggled to figure out how to spruce up them up, which is a common problem.
Although I've tried installing a few different types of flooring over existing concrete, one of my favorite materials to use is tile. Whether selecting ceramic or porcelain tile, these materials can give your space a far nicer look.
Since these rigid tile materials do not have any give or flex to them, though, it can be a challenge to successfully install them over concrete. I've found that properly preparing the concrete and adding an anti-fracture membrane base layer usually makes the job go more smoothly. This membrane reduces the chance that the tiles will crack as the concrete underneath naturally expands and contracts. The membrane prevents tiny movements in the concrete from transferring to the fragile tile. Take advantage of the knowledge I've gained by learning from my mistakes and successes by using these tips for a perfect tile floor installation.
Preparing the concrete floor before installing tile
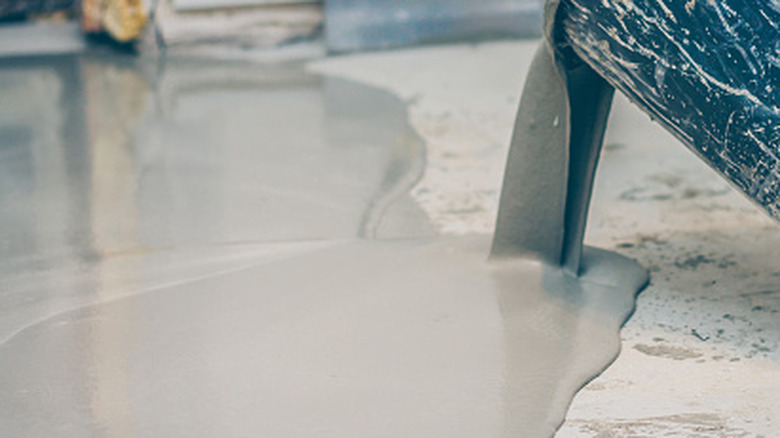
I've made a few errors when installing tile over concrete, and most of them related to not preparing the concrete properly ahead of time and creating a perfectly level floor. If it has cracks or uneven spots, you should repair them with mortar or self-leveling concrete. Before starting the tile installation, I've found it's essential to give these repairs plenty of time to set and dry, which is usually about 24 hours.
Then, sweep away any dry debris and wash the concrete with a product like tri-sodium phosphate to clean it. Although you can lay the tiles directly on the concrete, I like to add the previously mentioned anti-fracture (or uncoupling) membrane layer. You can select a roll of membrane that's extremely thin (about 40 mil or 0.04 inches). Use a thin layer of mortar over the concrete to attach the membrane. If you choose a liquid uncoupling membrane, you'd apply two coats on the concrete floor, similar to how you'd apply paint with a roller. Follow the directions for the membrane to determine when you can install the tile, as some products don't require drying time.
Although some people recommend applying a layer of cement board to the concrete before adding the tiles over the top, I try to avoid this material if at all possible. The cement board layer is not necessary and adds cost to the project. Common thicknesses for cement boards are 1/4 and 1/2 inches. The combined thickness of the boards and tiles noticeably raises the subfloor, which can be problematic for closing doors.
With proper subfloor preparation, tile installation is easy

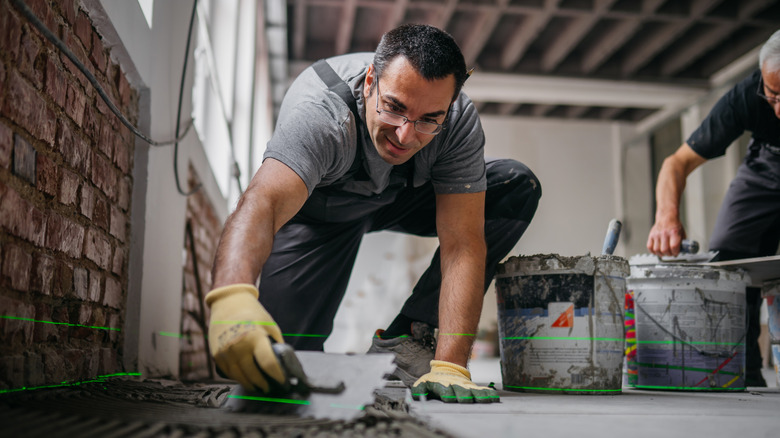
As long as the concrete subfloor is level and properly prepared, installing the tiles is a straightforward process. Measure to find the center of the room and use intersecting chalk lines to visibly mark it. I like the idea of dry laying some tiles to ensure the pattern is what you want. If you want a single color laid perpendicular to the walls, you can probably skip the dry lay process. However, if you want a multi-tile pattern laid at diagonal angles to the walls, dry laying is helpful. If you're going to dry lay, add spacers to ensure you have the most accurate layout.
Always check the tiles for any broken or discolored pieces before starting the installation, ensuring you have enough usable pieces for the entire room. I like to mix pieces from several boxes, just in case the colors are a little different from box to box. Individual tile colors that are slightly off are more difficult to notice when they're randomly mixed throughout the entire layout, rather than being side by side. Mix the mortar according to the product instructions and use a trowel to apply it directly to the concrete or over the membrane.
Apply a thin layer of mortar and lay the first tiles in the center of the room before working outward. I like spreading enough mortar for four to six tiles before affixing them. Then, apply more mortar, cut tiles to fit against the walls, and wait 24 to 48 hours to add the grout, giving the mortar time to dry.