How To Easily Repair A Crack In Your Glass Tiles
As elegant as glass tiles look when you first install them, the sad reality is that they can be quite prone to breaking. Typically glass tiles are a low-maintenance option for your shower or other areas of the home, but shallow, hairline cracks can still appear without you even realizing what went wrong. On the other hand, bigger cracks can occur due to impact with heavy objects, like furniture. While major accidents warrant a complete change of tiles, what you don't want is a small, repairable crack widening into a bigger one due to lack of attention. But the good news is that you don't need to replace the entire tile for minor blemishes like these. In fact, repairing small breaks in glass tiles can be a low-key DIY home repair that you can get done within half an hour.
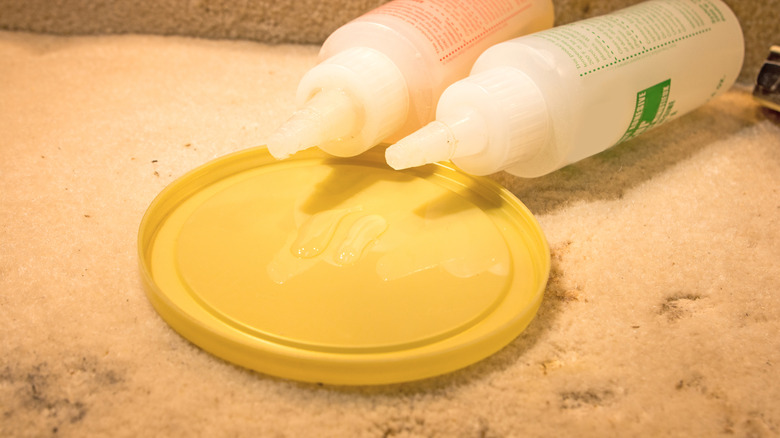
Before you begin fixing your tile, make sure you have all the tools required for the process. You will need a two-part epoxy solution, a disposable container for mixing the epoxy, gloves and mask for safety, and a popsicle stick or a similar tool for mixing and applying it to the cracked tile. While epoxy is a the ideal choice for this repair, you may be able to use various types of glue you have on hand for home upkeep in its place. For example, minor repairs may be done with super glue or specialized glass glue instead of epoxy.
Step-by-step procedure for fixing cracks in glass tiles
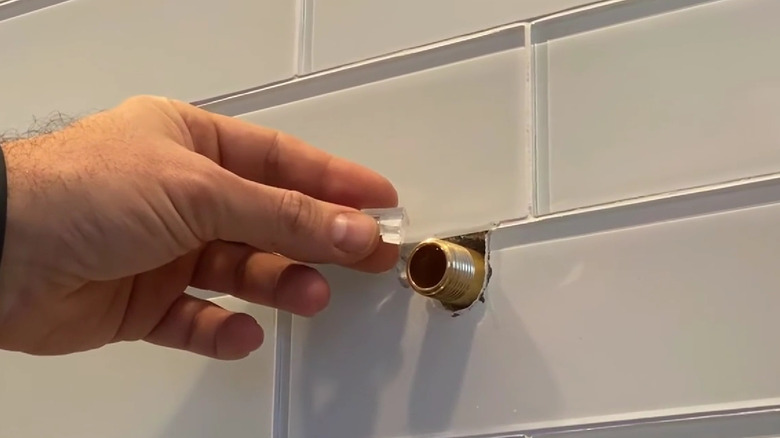
The first step in the process is cleaning the piece of tile that might have broken off to make sure that there is no dirt or debris present. As a best safety practice, wear protective gloves to avoid accidental cuts from potentially ragged glass. Once you have on your gear, you can use a clean paper towel or cloth for cleaning the glass tile. Clean the area around the crack, as well as the inside surface of the broken tile chip where it will adhere to the wall. If any excess material or dirt remains on the surface, it can compromise the fix. Next, you'll apply the epoxy.
Epoxy consists of two components: a resin and a hardener, both of which need to be mixed together for the solution to work. Pour out the two components in equal parts into your vessel of choice — take this as an opportunity to reuse your plastic takeout containers – and mix them well. Use safety gloves and a mask during the mixing process to avoid chemical contact with your skin and eyes. Then, using your popsicle stick, carefully apply the epoxy along the surface of the broken chip, as well as the revealed part of the wall or floor as well. Alternatively, you can use a toothpick if the crack is very thin.
Finally, affix the broken piece to the larger tile and press it lightly. Make sure you get the alignment right and keep the epoxy away from the grout that surrounds the tiles because epoxy is very strong and dries relatively quickly. You only have five minutes from the time you pour out the epoxy for mixing, applying, and fixing the crack before it dries out.
Minimizing aesthetic damage to the tile after fixing
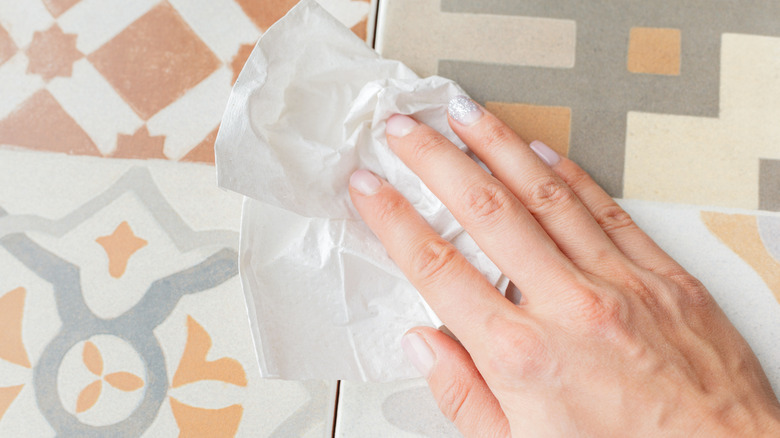
The epoxy will make sure the chipped tile is fixed, but you can take extra measures to restore the appearance of the tile as much as possible. Once you have set the broken chip in place, use a paper towel to wipe off any excess epoxy and give it about 15 minutes to dry. Should you have any excess epoxy bubbling out of the crack after it has dried, carefully use a blade to slice it off of the surface of the tile.
If the tile is in tact but the line of the break is still visible, you have a couple of options. You can consider giving a coat of paint to the tile to hide the blemish. If you do, pick an oil-based paint that matches the color of the tile, but keep in mind that it may not match the dimensional appearance of the rest of your glass wall or floor. For a more seamless fix, use a color-matched epoxy to keep the repair consistent with the color of the glass tile from the beginning.