DIY A Clever Accent Table From You Favorite Vintage Wicker Basket
We may receive a commission on purchases made from links.
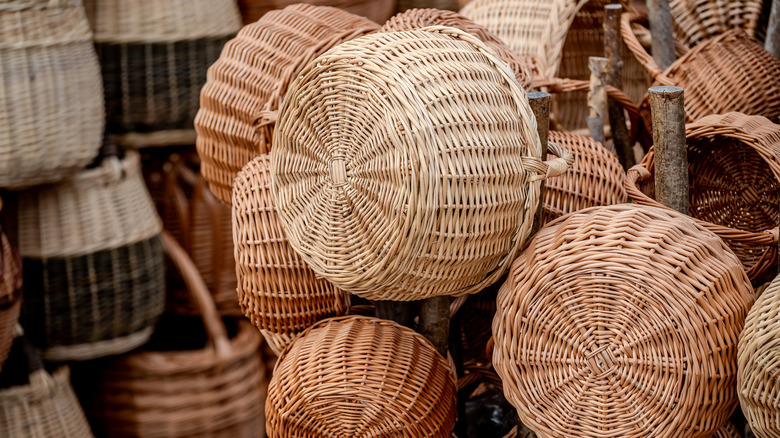
Wicker baskets are timeless for a reason. Whether you embrace cozy farmhouse décor or find yourself gravitating toward a more minimalist, natural aesthetic, it's likely you have at least one woven basket somewhere in your home. They are sturdy, stylish, and a great way to bring texture and interest to your space without relying on busy patterns, so they're perfect to use for storage, organization, and decoration. If you're willing to get a bit more creative, however, they can also be transformed into a more permanent and functional fixture in your home with this easy DIY side table.
Wicker and rattan side tables are nothing new (there are plenty of options for sale, everywhere from online marketplaces like Amazon to luxury furniture retailers) but even the simplest furniture pieces often carry a hefty price tag. With this DIY, you can bypass the steep cost and give new life to existing pieces. You'll need a wicker basket, a piece of wood (a thrifted cutting board will do the job beautifully if you can find one), and some furniture legs. You'll also need a drill and some screws, but if you've yet to build your basic household tool kit, a heavy-duty adhesive like E6000 could also work in a pinch.
How to build a rattan basket side table
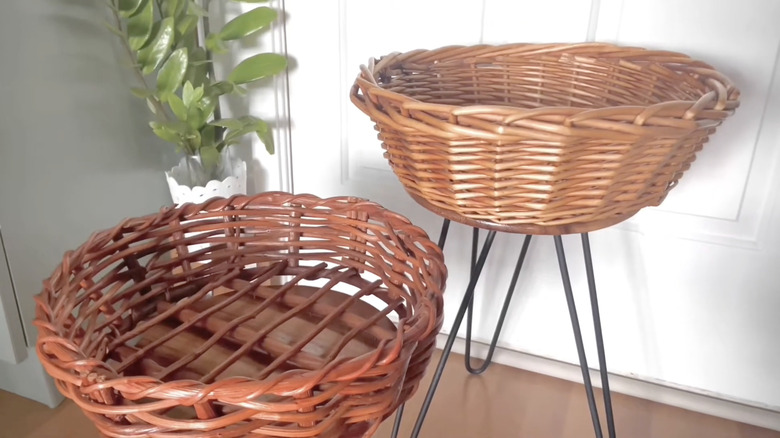
This DIY is quite simple, so sourcing the items you want to use will likely be the most difficult part. Start by finding your basket, as the size you choose will determine what kind of wood piece you need. Look for something with a flat bottom that doesn't have a handle. These are easy to find at thrift stores, but if you're not having any luck, you could also pick up something like this Oavostd Rattan Medium Round Bread Basket from Amazon. Follow up by picking up a piece of wood or a cutting board that's slightly smaller than your basket. Finally, grab some simple furniture legs like these Vevor Hairpin Table Legs at your desired height.
Now, you assemble. Attach your board to the basket with screws or glue to create a base, then attach the legs to the bottom of the board in the same way. You can stop here to create a cute side table that has an edge to catch clutter, but if you'd rather have a stable, non-textured surface for drinks, consider adding another, slightly larger piece of wood, stone, or glass to use as a tabletop. You can secure this piece to the basket for stability or leave it loose and use the empty basket underneath as storage.
This table would look great beside a chair or a couch in the living room, but it could also function as a creative DIY plant stand, a toilet paper holder in the bathroom, or a bedside table. Feel free to play around and customize until you create something you love. With a project this easy, there's plenty of room for creativity!