Ditch Your Shoe Bench For A More Clutter-Free Way To Keep Boots Organized
We may receive a commission on purchases made from links.
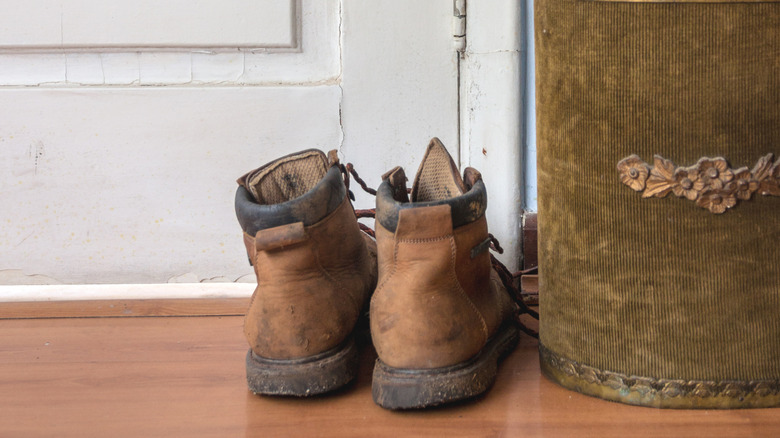
Walking into a messy entryway isn't exactly the best way to be welcomed into a home. Entryway clutter also makes it difficult to get in and out of the home quickly during those busy days. With this in mind, it's vital to keep this area neat and mindfully organized. Unfortunately, this becomes especially difficult during the colder months when people pile the space with large items like boots. A shoe bench is typically used to solve the problem, but what if there were a more compact solution that didn't take up quite as much real estate?
Thankfully, S-hooks do exactly that. All you have to do is slide one end of the hook through your boot pull strap on the side of your boot, and then hang the other end of the hook onto a coat rack installed on the bottom half of the wall. For any boots that do not have boot pull straps, you can simply attach the JANYUN Heavy-Duty Hook Clips to hang them. When you're done, your boots will hang from the coat rack right up against the wall. Unlike a shoe bench, this DIY boot storage entryway rack takes up no floor space. It's the perfect alternative if you have a narrow entryway or minimal free floor space. Keep in mind that you can also use this storage solution in a closet, hallway, or any other area in your home that suits your needs.
Hang your boots on a coat rack using S-hooks
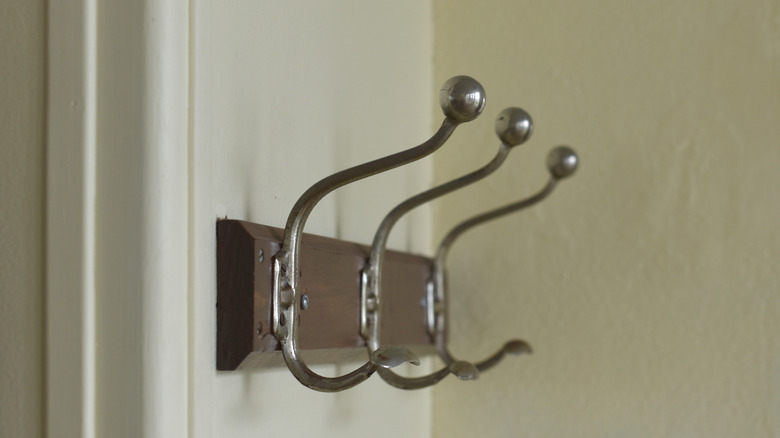
You'll need to purchase a few supplies before you can begin this DIY. First, you'll need the S-hooks. The DINGEE 6 Inch Large S Hooks are a great option that should be big enough to hold most large boots. If you do not already own a coat rack, you will need to purchase and install one to pull this DIY shoe clutter organization solution off. Make sure that the hooks on the rack you select are large enough to hold your S-hooks. The Optish Coat Rack Wall Mount is a great choice for this. To put a fun spin on this project, consider customizing your rack with spray paint and other fun add-ons, such as metallic stenciling.
The installation process will vary depending on what type of rack you select. Use the instructions provided with your rack for specific customized guidance. However, in general, you will typically need to start out by using a stud finder to locate the installation area. You can then measure and mark the placement of the rack. Ensure it is low to the ground but just high enough so that your tallest pair of boots does not touch the floor. Consider also using a level before drilling the rack into the wall to ensure it will lay straight rather than tilted. Mark the placement of your pilot holes and create those with an electric drill. Finally, screw your rack into the wall. Use your S-hooks to hang your boots and other items and enjoy the reduced visual clutter in your organized home.