The Clever DIY That Turns Scrap Wire Into Twinkling Flower Decor
We may receive a commission on purchases made from links.
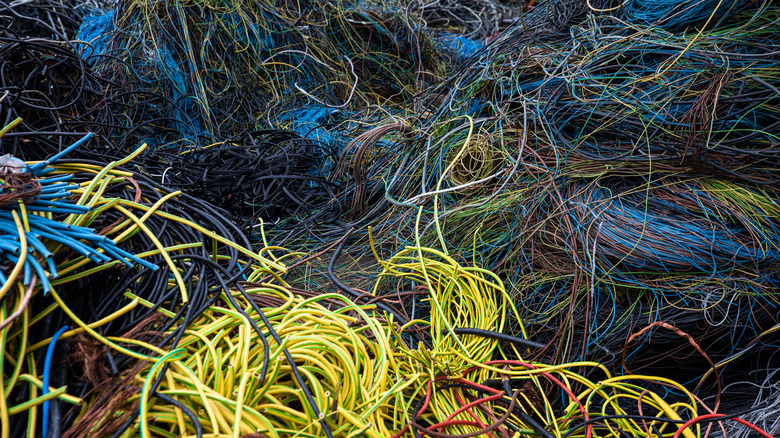
While sorting through your gardening supplies, you may find a bag full of wire ties from produce you've been saving for years to support future plants. Is the hoard so huge that no amount of plants could deplete it? Don't throw them away yet: Stripped of their paper or plastic coating, the wires can be twisted, painted, and glued into floral shapes wrapped around string lights for a glowing upcycle.
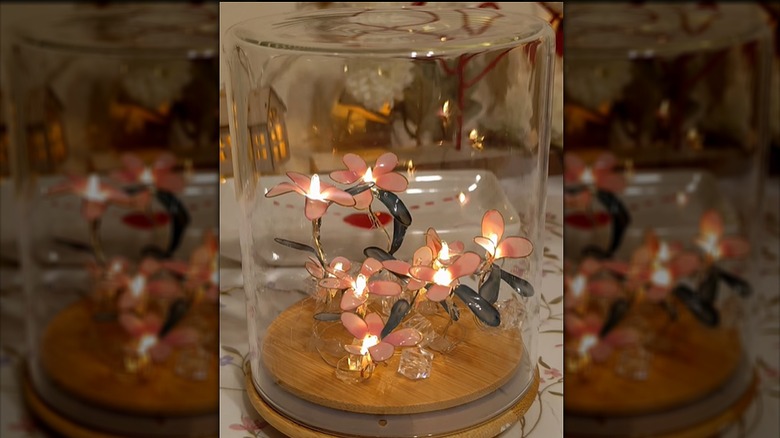
Nail polish-dipped wire petals and leaves can be attached around individual bulbs to create glowing flowers. Glued and sculpted into vining stems inside an upturned jar, this light-up flower art takes on the look of a precious plant living under a glass cloche. Gather scrap wire, wire cutters, a glue gun, wood glue, a block of floral foam or repurposed Styrofoam, and bottles of nail polish in one or more colors. If you don't have a cache of wire ties, you can use wire left over from other projects, or even strip and separate wires from old charging cords.
You'll also need cuttable battery-operated string lights like these Joomer LED Fairy Lights, a container similar to this Lassos Boutique Glass Canister with Bamboo Lid, and three or four same-sized wooden beads. If you're working with coated wire, grab a wire stripping tool. If you don't have one, try this DIY hack that allows you to strip wire with just a screw and no tools.
Create a base and stems for your floral light feature
Since wood glue takes a good amount of time to set, attach the wooden beads evenly to the top of the lid first. When the lid is inverted, the beads will be feet for the base; the beads will hide the battery pack that will be glued to the center of the lid. If time allows, let the wood glue fully dry and cure before moving on to the next steps. You can try these tips for speeding up the process of drying and curing, as well.
Next, you'll be coiling and bending a small section of the string lights into a sculptural vine of flowers. Cut away most of the string lights, leaving about eight to 10 bulbs. Each bulb will be the center of a flower. (You can use the remaining wire from the lights to form your petals and leaves, too.) Outfit the lights' case with batteries, and glue its non-opening side to the center of the wooden lid between the bead "feet".
Twist the wire on each side of a bulb into a stem shape, working one bulb at a time. Hot glue the stems vertically to the base. Continue twisting stem shapes around the remaining bulbs, gluing as you go. Instead of pre-twisting all of the stems before gluing, this method will let you gauge and adjust how tall you want each flower to be as you go. Stagger the stems' heights, and curve them into organic shapes.
Finishing your glowing floral piece
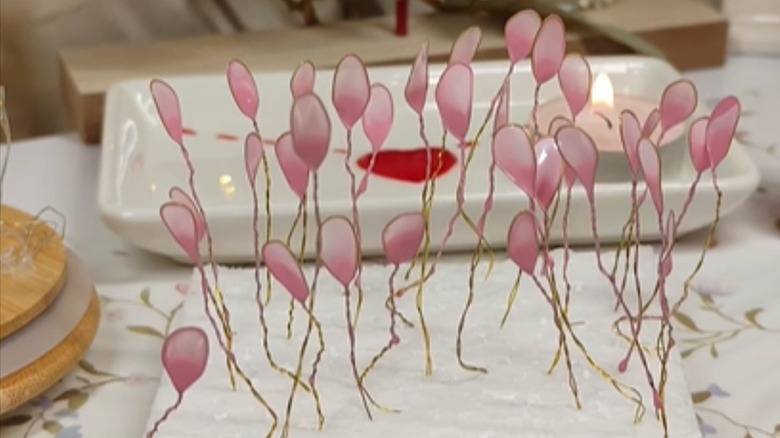
Plan to make five petals for each bulb. You can add an optional leaf or two beneath each blossom, as well. Cut enough 5-inch wire pieces to have your desired amount of leaves and petals for each bulb. At the midpoint, curve each wire into a 1-inch petal-shaped loop. Twist the ends together into a long strip. Holding the strip at the very end, dip the loop into the bottle of nail polish, just far enough to submerge the loop fully. Pull the wire out, and make sure the nail polish has created a film that coats and clings to the loop. Poke the excess wire vertically into the piece of foam to dry. Continue this process, spacing the petals and leaves so they don't touch while they dry.
Let the polish dry for at least one hour before handling the pieces. Do note that if you're repurposing a bottle of nail polish that you've had for a while, it may have thickened and will need more time to dry.
Trim the excess wire, leaving about ½ inch, then bend it downward at a 90-degree angle. Attach the bent wire with hot glue to the side of one of the lightbulb "stems" so that the petal projects horizontally from the bulb. Continue with four more petals until you've surrounded the bulb, and glue on an optional leaf or two onto the stem beneath the petals. Finally, slide the glass jar over the wire flowers cloche-style, switch on the lights, and enjoy the finished piece.