The Vintage-Inspired Wall Décor Idea You Can DIY On A Budget
Art that is easy to make and easy on the wallet — that's the best of both worlds. The win-win is what you get with this decorative tin tiles DIY. You might be thinking tin tiles are outdated, but think again. The artform, which was most popular in the late 1800s, has a timeless appeal and now offers a stylish, vintage flair to your home. However, instead of traditional tin ceiling tiles, this DIY results in chic faux metallic tiles perfect for wall décor in any room of your home.
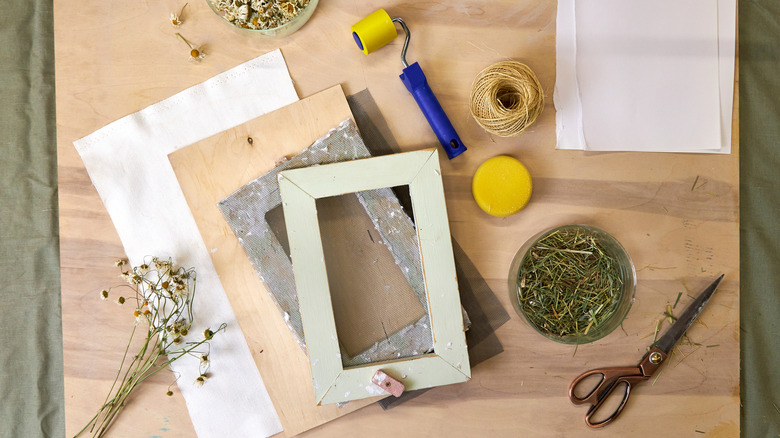
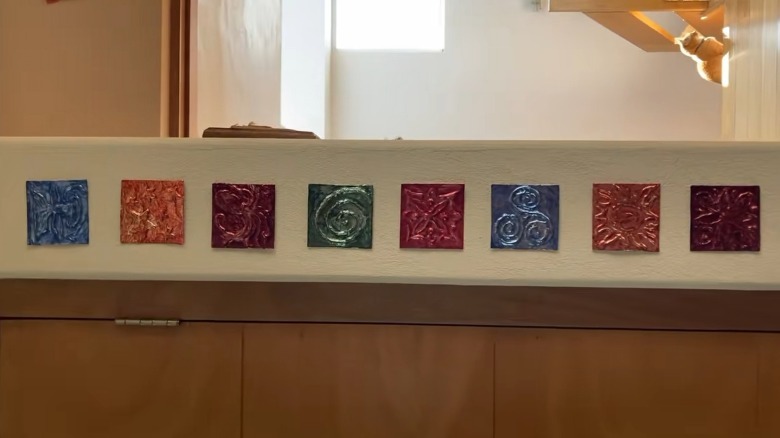
Not only is this DIY simple, but it's also budget-friendly, using items you probably already have at home. All you'll need is a few sheets of stock paper, a pencil, a hot glue gun, some tape, and a Reynolds Wrap Heavy-Duty Aluminum Foil Roll. This easy-to-assemble décor is completely customizable — you can tailor the tile shape, color, pattern, and size to your favorite aesthetic. These ornaments are an ideal way to decorate your walls without using framed art, adding a unique touch of texture and shine. The lines of hot glue create a 3D effect, bringing the artwork to life.
How to make decorative faux tin tiles
Start by cutting the stock paper to your desired size and shape. Cardboard, old file folders, or any other sturdy stationery also work. Traditional tin tiles are usually 2-by-2-foot squares or 2-by-4-foot rectangles, but mini versions are best for this DIY. Covering a large surface with foil paper can be finicky. Any flaws will be highlighted. Next, pencil on your design — florals, leaf motifs, geometric shapes, random squiggles. If your craft skills are a little rusty, cheat with a Yazhiji Botanical Stencils Set. The lines will be covered anyway, so don't worry about perfection.
Once you're happy with the design, trace over the sketches with hot glue. After the glue dries, cut a foil sheet slightly bigger than the stock paper and gently mold the foil to your design. Use your finger or the blunt end of the pencil to smooth the foil, taking your time to avoid ripping it. Then fold over and tape the excess foil onto the back of the card. Now you should have a faux vintage tin tile that rivals the real deal.
For more pizzazz, add some color with Magicdo Glass Paint or a similar product. Brush a thin layer over the top of the aluminum foil and let it dry. Because these tin tiles are so lightweight, you can easily mount them to a frame, wooden board, or the wall with tape or adhesive Velcro for an instant décor upgrade. They also lend themselves well to collaging, as each tile is made from the same material with a different design — they're automatically complementary. Plus, you can make multiple tiles for a stunning, easy, and clever DIY accent wall.