How To Choose The Best Trowel Size For Your Next Tile Project

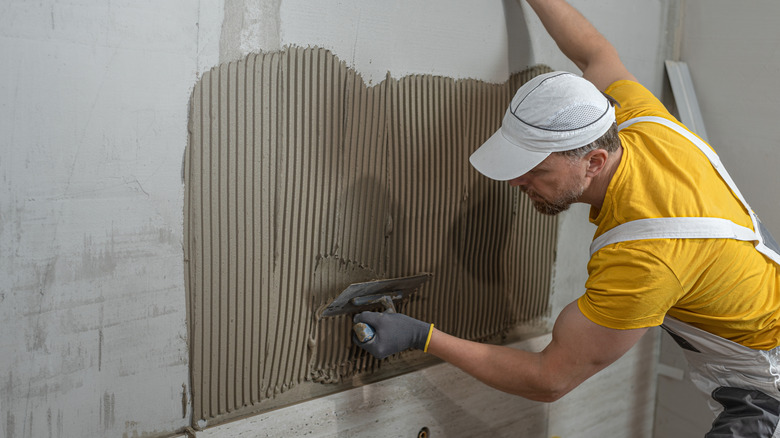
Walking across a freshly tiled floor only to hear the hollow clack of a loose tile is enough to make any homeowner shudder. That sound usually means the bond between your tile and floor has failed, often because the mortar layer was too thin or applied unevenly, but choosing the right trowel is the best way to help avoid this mistake. The notches on the edge of the tool act as a built-in measuring system, showing exactly how much adhesive stays on the surface once you press the tile into place. Without the right amount of mortar, or mud, your expensive porcelain or stone tile can easily crack under the weight of a heavy appliance or even just walking across it. You can find the right match by looking at the dimensions of your tile, since larger tiles need deeper notches to make sure the mortar is deep enough to be supportive.
Some mistakes to avoid when tiling include not paying attention to the trowel. Your choice of trowel depends almost entirely on the dimensions of the tile you're installing. Small mosaics or wall pieces under 4 inches typically require a 3/16-inch by ¼-inch V-notch trowel. The pointed teeth spread a thinner layer of adhesive, which keeps excess mortar from squeezing up through the tiny gaps between the pieces. For standard square tiles ranging from 4 to 8 inches, a ¼-inch square-notch trowel is commonly used by professionals. As the tile gets bigger, the ridges need to get taller to bridge the gaps. Large-format tiles, typically defined as having one side longer than 15 inches, usually require a ½-inch by ½-inch square-notch to create the thick layer needed for a permanent hold.
Selecting the right trowel notch for mortar coverage
Getting the right amount of adhesive contact is the secret to a project that lasts for decades. In most indoor dry areas, industry guidelines recommend at least 85 percent of the back of the tile covered in mortar. For wet spots like shower floors or outdoor patios, that requirement moves up to 95 percent. To avoid costly DIY shower tiling mistakes, you need to make sure your trowel is deep enough. A square-notch trowel with ½-inch teeth leaves a finished mortar bed about ¼-inch thick once the ridges are compressed. This extra height is needed because larger tiles often have a slight natural curve, known as warpage, which a shallow layer of mud cannot fill. If the mortar is too thin, air pockets stay trapped underneath, creating weak spots that eventually lead to broken tiles.
The shape of the notch also changes how much physical effort you have to put into the job. Many professional installers prefer U-shaped notches for larger projects because the rounded ridges collapse more easily under pressure. This helps eliminate air more efficiently and saves your back and arms from some strain. Regardless of the shape, you should always pull the trowel in straight, parallel lines rather than swirls or circles. Straight ridges allow air to escape toward the edges as you bed the tile. To check your work, occasionally lift a tile to inspect the mortar coverage on the back. If you see bare spots, you need to move up to a larger notch size.
Finding the right trowel size for floors and walls
Gravity and weight change the rules when you move from the floor to the wall. Wall projects often use smaller notches because a heavy layer of wet mortar can cause tiles to sag or slide down before the adhesive has a chance to grip. For a standard kitchen backsplash with subway tiles, a ¼-inch by ¼-inch square-notch trowel provides plenty of stick without creating a mess in the grout lines. If you're working with heavy natural stone on a vertical surface, back-buttering is a smart move. This involves spreading a thin, flat coat of mortar onto the back of the tile itself before pressing it against the ridges on the wall, making sure there's a complete bond even if the wall is uneven.
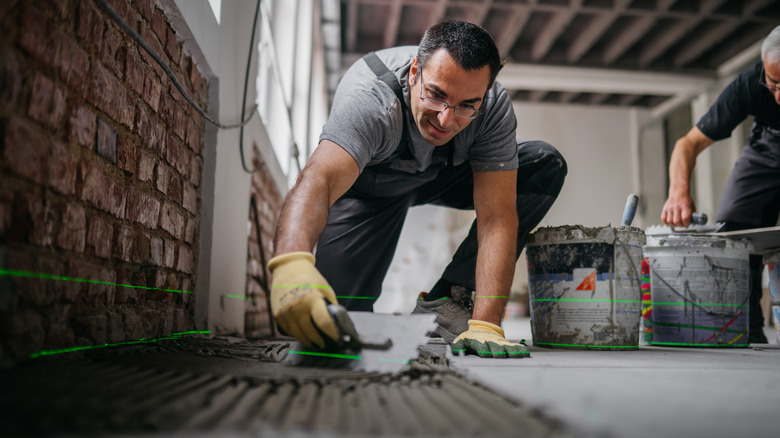
Floor installations require a more substantial application to handle the stresses of furniture and foot traffic. Since floors have to support so much weight, a one-size-fits-all tool usually doesn't work. One of the tips for a perfect tile floor installation is to look at the state of the subfloor. If the plywood or concrete isn't perfectly level, a larger trowel can help you float the tile over small dips and peaks. Using a ¼-inch by 3/8-inch trowel instead of the standard ¼-inch model gives you just enough extra material to level things out. It's important to prioritize a solid, stable base over saving a little money on mortar, since a thicker bed provides the cushion needed to protect your tiles from shifting over time.