How To Successfully Tile Curved Shower Surfaces
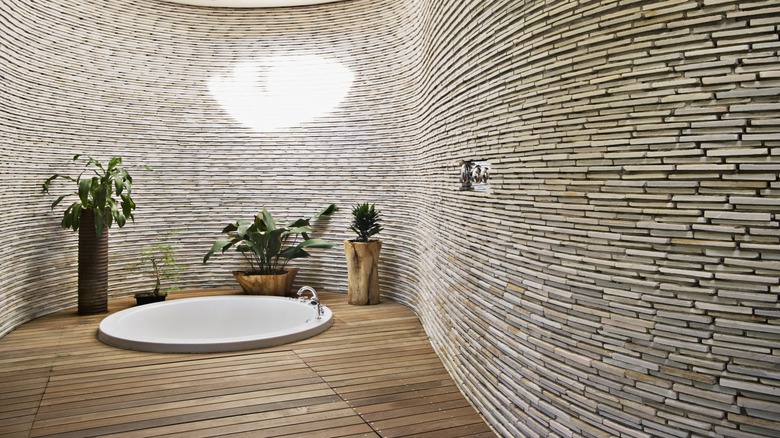
Homeowners can be hesitant about the possibility of tiling curved surfaces, especially for the shower. However, adding tiles is not just a matter of aesthetics; it also increases the ease of maintenance and durability of the shower walls. Whether you're thinking about adding a touch of elegance to concave niches or you need simple tiling around the curved shower tray, you don't have to let the surface limit your design aspirations.
However, you can't simply take any ordinary tile from the hardware store and slap it on the curves either (unless you want ugly gaps poking in between the tiles and the walls). Although tiling a curved surface can be slightly trickier than a usual flat wall, you can still make it happen — if you use smaller tiles that conform to the surface better, and follow correct techniques for installation.
In general, while looking for the best tiles for curved walls, the smaller you go, the more convenient it is for installation. Smaller tiles, such as mosaics and kit-kat, are more adept at following the curves without breaking. In fact, the smaller the diameter of the curvature, the more curved the surface is going to be, and the smaller the width of the tile that would fit the curve. While smaller tiles are great for the purpose, you should keep in mind that smaller tiles will also take longer to install. Furthermore, small tiles also mean a larger number of grout lines, and therefore, more time to clean.
The right materials required for tiling curved shower surfaces
There are several types of tiles you can use in your bathroom. A lot of them are not too big for curved walls and yet look strikingly beautiful. For instance, kit-kat tiles are slim and rectangular, while penny round mosaics, as the name suggests, offer circular options (as well as slip resistance if you pick the right type). Mosaic tiles are particularly great if you're thinking about designing walk-in showers for small bathrooms as well. When vertically placed, mosaics do not just add visual interest to the walls but also fit them better. When it comes to the right material, using porcelain or ceramic tiles is recommended because of their flexibility. Porcelain tiles also offer good water-resistance and traction, which always helps in wet areas like the shower.
Apart from the tiles, using the right kind of adhesive for your project is equally important. There are specialized adhesives for curved surfaces, which allow both flexibility and strength for the tiles to adhere to the curved surface. Some of these adhesives, like a polymer wall tile adhesive, are also slip-resistant and can account for slight structural movements.
While picking the right adhesive is crucial, you should always dry-fit the cut tiles before applying the coat to make sure the tiles fit the surface first. It is also a good idea to evaluate and prepare the surface before getting the materials and starting installation. Both the type of curvature (concave or convex) and the surface material will influence your choices for the adhesive and the tile.
The right technique for tiling curved shower surfaces
Although the basic steps in the process of tiling curved surfaces are similar to any normal installation, it requires more meticulous planning for effective execution. To begin, you should clean the surface before rushing on to the next step if you want the best possible conditions for the tiles to stick. Then, take accurate measurements according to the curvature of the surfaces and trim the tiles with a wet saw or a tile cutter.
For accurately cutting the tiles, you can also use a technique called "keystoning." In this technique, place a tile on the curvature of the walls so that it covers the maximum surface area possible. Then, map out a line from the center of the curvature to the surface of the tile and cut off all the extra tile outside of this line. If you're unsure about getting the angle right the first time, make smaller cuts in the beginning and work your way to perfection from there. If you follow the procedure correctly, all the cut tiles will turn out to be roughly the same size and circle the curvature perfectly.
The procedure is roughly the same for installing floor tiles around curved surfaces as well (like around the shower tray). Place the tile above the curve, use a ruler to mark the initial required cut, and then slowly progress with finer cuts until the tiles fit the edges of the curve. Next, lay the tiles on the wall. Use a tile crosser or spacer to make sure the gaps between the tiles stay perfect for grouting. Apply the grout for a clean finish, clean off excess mortar, and seal the joints as you would for normal tile installation.