What Is A Tile Heat Shield And How To Best Install One In Your Kitchen
When you're whipping up a gourmet meal on your stove, you probably aren't thinking about what's happening behind it. The top high-output gas ranges generate a lot of thermal energy that directly hits the rear wall. Over time, this heat can dry out wooden studs, scorch your drywall, or even cause pyrolysis, which can start fires that burn undetected behind your backsplash. So what's the solution for this scary scenario? A tile heat shield. It acts as a barrier against high heat and fire, protecting your home.
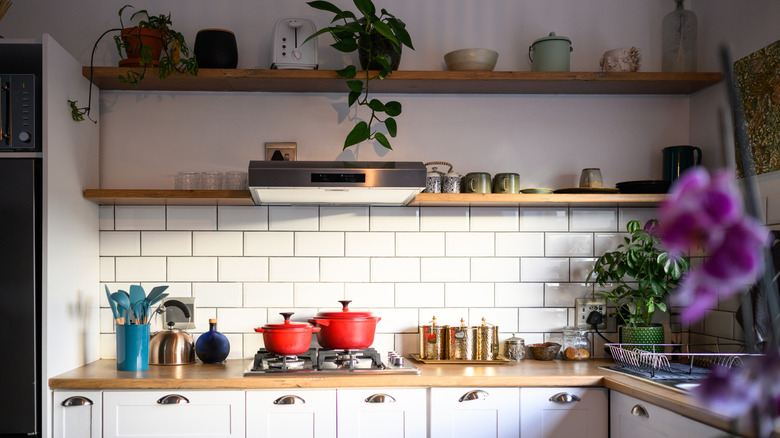
It's a smart alternative to garden-variety decorative backsplashes (and plain drywall alone) behind your stove. A tile heat shield is actually a whole specialized system designed to manage heat. It starts with a non-combustible base, such as cement backer board, replacing regular paper-faced drywall, which is prone to catching fire. Then you'll install heat-resistant ceramic or porcelain tiles on the backer with a modified thin-set mortar that can handle thermal expansion and contraction without cracking. All of these materials are great at absorbing and dissipating heat before it can pierce any nearby walls; that's why you'll often see them behind freestanding stoves in living rooms.
Together, these materials are dense enough to block dangerous heat while remaining easy to wipe clean after a messy meal. And don't worry; there are plenty of heat-resistant ceramic and porcelain tile options out there that are gorgeous. They're available in a wide variety of colors and shapes, so you won't have to sacrifice your kitchen's aesthetics for safety. Just be aware of the mistakes to avoid when tiling, such as not using the right tools or adhesive.
How to do a pro-level tile heat shield installation yourself

To set your tile heat shield up correctly, remember not to use drywall here but rather cement backer board (minimum ¾-inch thick). This material will never rot or combust when exposed to high temperatures. You'll also need to set up a small air gap between the wall and the shield to help dissipate heat, using ceramic or metal spacers. The minimum gap requirement is one inch between the backer board and your wall, with one-inch openings at the top and bottom for airflow (so cool air comes in at the bottom and hot air flows up and away). Mount the spacers to the wall studs, and then mount your backer board to the spacers. A heat shield also needs to extend out 20 inches above and to the sides of the stove to keep your wall properly safe.
When it comes to the sticky part of the job, forget standard tile mastic. Heat causes materials to expand and contract, and that's exactly what can make garden-variety adhesives fail here. Instead, use a quality polymer-modified thin-set mortar, which is flexible enough to handle flexes without cracking itself or your tile. Once your tiles are set, use a high-heat silicone caulk at the junction where the shield meets the countertop. That's also a flexible material that moves with the heat.
Take your time during the layout phase and ensure your cuts are precise around outlets and range hoods. A tight, well-sealed installation prevents grease and moisture from getting behind the shield, keeping your kitchen safe and sanitary. With the right materials, you'll have a safe kitchen that's easy to enjoy.