Boost Curb Appeal With An Outdoor Trash Can Storage Area DIY Solution
We may receive a commission on purchases made from links.
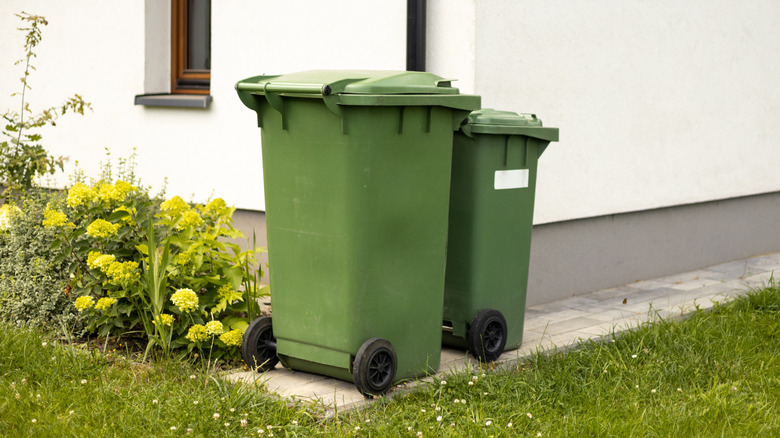
Outdoor trash cans are often a bit of a nuisance. We all need them, but finding somewhere to keep them that's stable and convenient can be awkward. You probably don't want them in your driveway, but you don't want them blocking any paths around your property, either. So a separate outdoor trash can storage area is a great idea, and there is a surprisingly straightforward DIY solution. As shown by creator @comestayawhile on TikTok, this project is a creative way to increase your home's curb appeal that can be constructed in a day.
The first thing you need to decide is where to position your storage area. A patch of yard that's roughly level and adjacent to the driveway is ideal, so that you can easily wheel the bins to the street and back on trash day. It needs to be large enough to accommodate however many bins you have, plus a couple of feet for maneuvering room. Using some wooden or wire pegs and string can help you to visualize the area.
All the materials should be available at your local hardware store or online. You'll need some landscape fabric (like this LAVEVE Weed Barrier fabric), some landscape edging (Amazon Basics Landscape Edging Coil is a good, affordable option at $24), sand, a few patio pavers, and some gravel. Rock glue is useful for gravel landscaping, so you may want to include some. It all goes together to create a flat, low-maintenance area that is both practical and smart. Let's see how to achieve that.
How to construct the outdoor trash can storage area
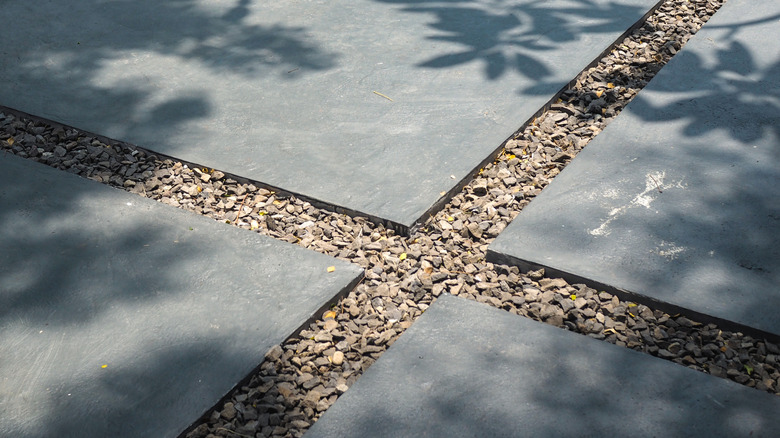
There are many different pavers available, and the choice is entirely yours. However, large concrete ones cover the area quickly, come in a variety of styles, and are comparatively low in cost. These can be placed square on or diagonally if you prefer. Rather than try to butt them together, which is time-consuming to get right, leave spaces between them and fill in with gravel. There are numerous kinds of gravel to consider, allowing you to create whatever look appeals to you.
For the actual build, first cover the area with landscape fabric to prevent weeds from growing through. Next, fit the edging. Then fill the space with a couple of inches of sand to provide a smooth bed for the pavers. Use the length of a two-by-four (or similar) and shuffle it back and forth to get the sand approximately even — you can check with a level, but you don't need to be too accurate. The sand then needs to be compacted. You could buy a tool for the job, like this BlumeTrec Steel Stamper, but stamping it down by yourself should do the trick.
Place your pavers (remembering to bend your knees when lifting so you don't strain your back), then fill between them with gravel. You can then spray the gravel with rock glue to help keep it in place –don't worry if you spray the pavers, as the glue is invisible when dry. And that's it! Your finished outdoor trash can storage area will be functional, will look smart, and could be completed in less than a day.