Turn An Unused Shoe Cabinet Into A Wine Or Coffee Bar
We may receive a commission on purchases made from links.
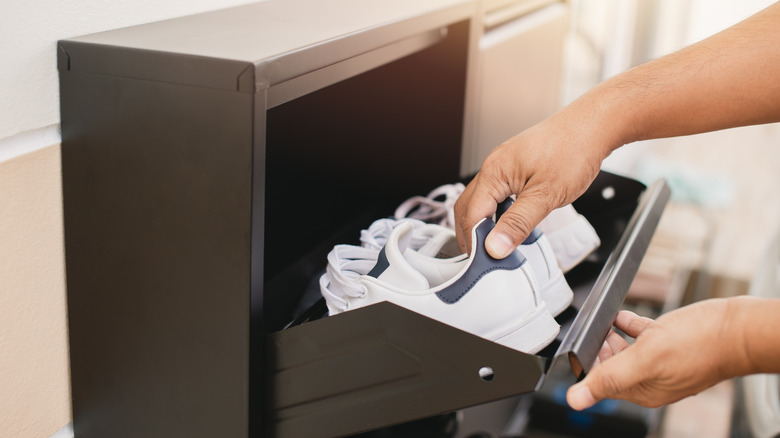
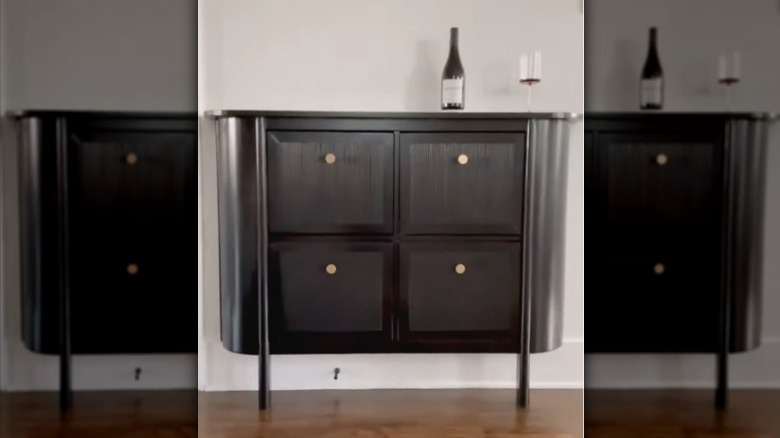
You picked that shoe cabinet up with the best of intentions, but either your household grew out of the shoe cabinet or you never ended up using it. Either way, you've got an unused shoe cabinet on your hands and no idea what to do with it. Take a page from a clever DIYer and transform a plain shoe cabinet into a stylish coffee or wine bar. During this project, the YouTuber (below) transforms a basic IKEA HEMNES shoe cabinet into a wine bar by adding bendable plywood to the sides to create a rounded shape, installing a thick wood slab on top for an expanded countertop, and gluing trimmed dowels onto the drawer fronts before painting for a whole new look.
While designing an at-home coffee station or wine bar from an unused shoe cabinet isn't exactly speedy, experienced furniture flippers should be able to tackle it in a weekend. Newer DIYers may want to spread the project out over a few weekends, but it's well worth the time. To make it even easier, start by deciding what kind of beverage bar you want (coffee, wine, or a combination of both), the look you want, and assessing what kind of shoe cabinet you have. This will help you decide what steps you need to take and what materials you need. For example, if you have a standing shoe cabinet with shelves but want to add in a space for your coffee maker, you'll need to remove a shelf or two and cut a hole in the back of the cabinet for the wire.
How to build your dream beverage bar from a shoe cabinet
Got your plan? Get started by removing the cabinet's hardware and cleaning both the inside and out with your favorite multipurpose cleaner. Then scuff sand the cabinet exterior with 220 grit sandpaper and wipe away any dust.
Once the cleaning and prep is done, it's time to build the bar of your dreams. First, make any structural adjustments you need such as removing a shelf to make more room for your coffee maker, using bendable plywood to create rounded edges, or installing a new countertop. Now it's time to decorate. For a touch of color, apply leftover peel and stick wallpaper to the cabinet door fronts. To create a fluted look, trim and glue thin dowels to the door fronts. If a rustic look is more your speed, use spray adhesive to glue trimmed linen pieces to the door front.
Next, cut small pieces of trim to size at a 45 degree angle and use a brad nailer to secure to the edges of the drawer for a clean look. Then add two light coats of primer and sand down any rough spots that appear. If the cabinet has untreated wood, a multipurpose primer is best; but if it was previously stained or painted, use a stain-blocking or high-hiding primer, respectively. Use a small foam roller and paintbrush to apply two coats of cabinet and furniture paint, like BEHR Premium Interior Chalk Decorative Paint, or a latex-based paint, such as Rust-Oleum's Painter's Touch Ultra Cover General Purpose Paint. Once dry, install the cabinet door hardware, add your favorite coffee mugs or wineglasses, stock your beans or bottle, and enjoy!