Turning Trash Into Shoe Storage: 8 Repurposing Ideas To Try
Sometimes, trash is more than trash. In fact, trash can become useful and aesthetically pleasing with the right dose of DIY magic. For example, you can use old pieces of cardboard, plastic bottles, milk crates, and bricks to create DIY shoe storage units. These are not only affordable, but they're fun and will get your creative crafting juices going. With things you'd otherwise bring to the recycling center, you can help bring order to your shoe collection.
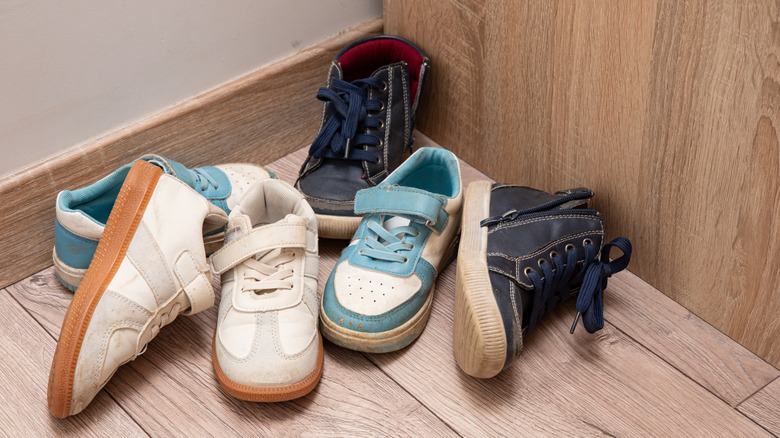
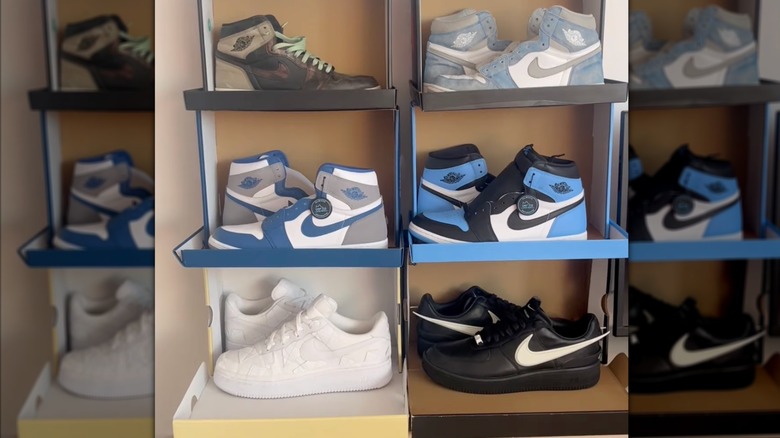
Is there anything as frustrating as walking home and stumbling upon a pile of messy shoes? Whether you live alone and have a lavish shoe collection, or if you've got kids running home after soccer practice and leaving their sneakers in the hallway, a shoe storage system is necessary. These will help keep shoes organized in pairs and off the ground. These types of DIY storage systems can be used for sneakers, slippers, you name it.
Some of these DIYs are perfectly suited for a garage, like a brick-and-wood shoe shelf. Others use cardboard and can be customized with paint or contact paper, making them a good option for hallways, bedrooms, and foyers. One thing to remember, however, is that not all materials in these DIYs are waterproof. Specifically, you should avoid placing wet shoes on cardboard DIYs, and reserve those for shelves made of milk crates or metal hangers.
Plastic bottles and cardboard
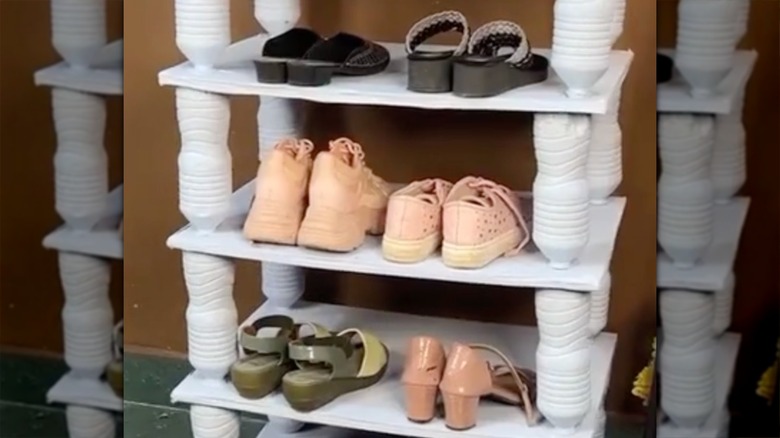
When we say trash, we mean trash. You can make a storage shelf for your shoes out of empty water bottles and cardboard. For each shelf level, you'll need four plastic bottles to act as pillars and two rectangular pieces of cardboard. Glue two pieces of cardboard together to make each shelf sturdier, and cut small holes the size of the bottle caps in all four corners. Then, stack. For a bit more stability, add a dot of hot glue to the top and bottom of the bottles, and for a bit more style, paint it.
Cardboard shelf
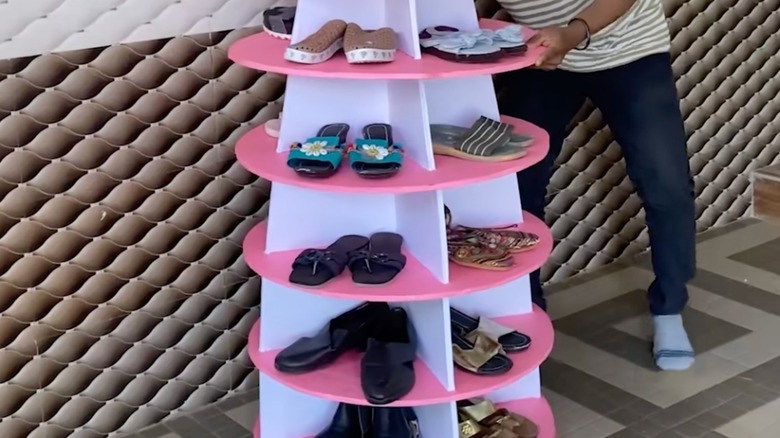
You can also skip the plastic water bottles and make a shelf out of just cardboard. For this, each shelf will be a circle. Then, you'll need two rectangles that measure the same as the circle's diameter, with a half-cut in the center. You can attach both rectangles by hooking them onto each other using the slits, creating an X. Place these between the circular shelves, add a bit of hot glue and paint, and you've got yourself a shoe storage unit made of trash.
Milk crates and zip ties
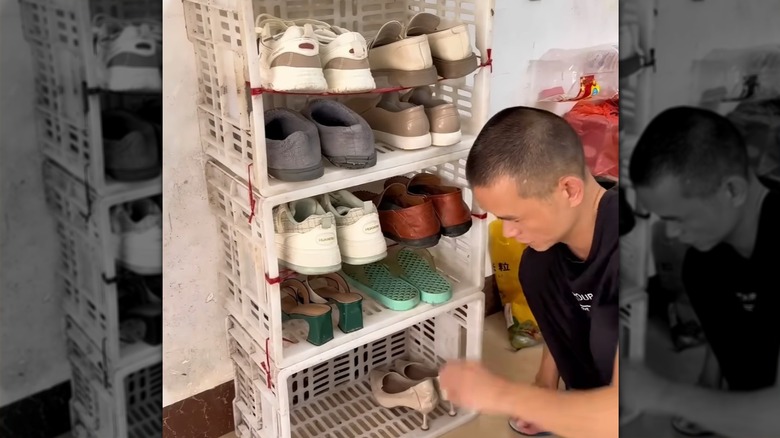
For a creative way to repurpose milk crates, use them to make a shoe rack. Stack two or three crates on top of each other and secure them in place with zip ties. If the crates are tall enough to fit several rows of shoes vertically, you can run a thread lengthwise from either side to create a shelf to rest shoes on. If your shoe collection requires more space, add more columns next to each other, secured with more zip ties. Matching the zip tie color to the crate color can also add a more cohesive look.
Shoebox tower
For an even easier DIY, make a TikTok-viral shoe box tower to display footwear. To do this, you'll use the shoebox lid as a base. Then, you'll fit the box part upright inside the lid, vertically. This DIY is a bit wobbly, so it's more of a fun shoe display project rather than a long-term shoe rack solution. If you choose to try it, you can add some hot glue between the pieces to avoid the entire tower toppling over and making a mess.
Shipping box and rods
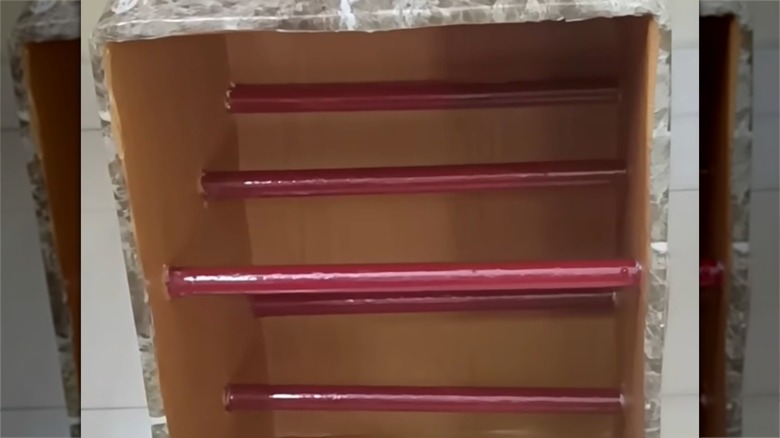
You can also use a larger cardboard box (something like a 10-by-20-inch shipping box) for a DIY shoe rack. Instead of shelves, this DIY uses rods to hold up the shoes. Use short metal or plastic curtain rods, or the cardboard rods leftover after you finish a roll of aluminum foil. The key is that the rods need to be at least as long as the width of the box. To attach everything, simply cut small holes in the sides of the box, fit the rods, and secure with hot glue. Paint or wallpaper to match your decor.
Wired clothes hangers
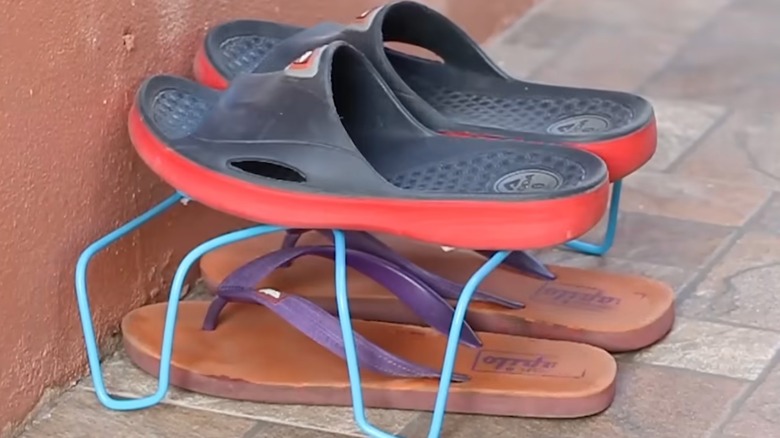
If you only need to store a few small pairs, you can make little stands for shoes using old wire clothes hangers. For each stand, which can hold one pair of shoes, you'll need two hangers. Lay a hanger flat on a table and, using your hands, bend both ends inwards. Repeat with another hanger, and place them on top of each other, with the hook parts crossing over. Then, with a few zip ties, secure the hangers in place.
Shipping box and cardboard shelves
Instead of rods, you can also use the shipping box approach, but create full shelves out of cardboard. For this DIY, cut pieces of cardboard that are the same size as the top and bottom of the box to act as shelves. Secure them in place using some hot glue and packing tape. To help the shelves hold up, add a strip of cardboard underneath the shelf on both sides using hot glue. Cover the entire box with contact paper to give it a brand new look, and you're done.
Bricks and wooden plank
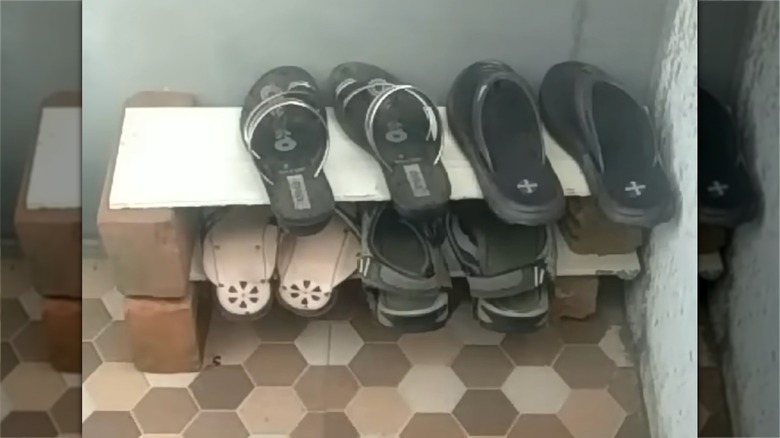
Cardboard has the downside of not being waterproof, so if you need a quick DIY to store outside shoes that might be muddy or damp, opt for a shoe rack made of a long plank of wood and some bricks. Use the bricks to hold up the plank of wood on either end of it, and repeat as many times as you want to create more shelves. This is a great way to store your shoes while using leftover bricks and materials from a construction project.