Turn Two IKEA Cabinets Into A Functional And Stylish Craft Table With A Little DIY Magic
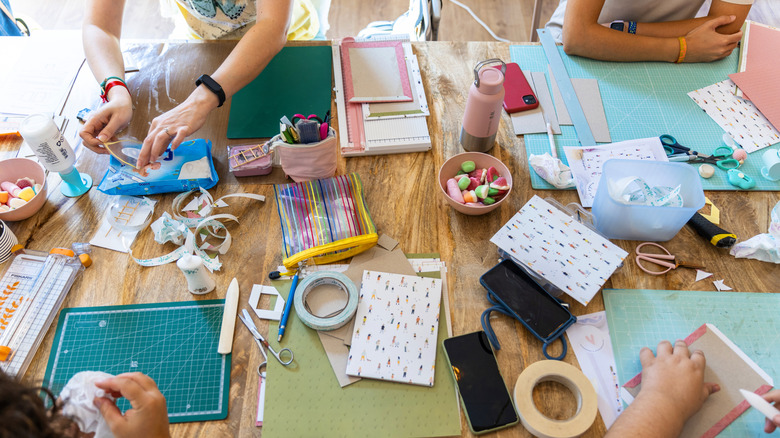
As an avid crafter, you deserve a dedicated space to make all of your DIY magic happen. Whether you use a basic table or desk, it's time to give your craft corner a serious glow-up and allocate a dedicated spot for cutting, painting, gluing, and designing. To do this, you can use two IKEA cabinets, a plank of wood, a few screws, and a bit of ingenuity. Using these basic pieces, you can make a sleek and functional craft table that's stylish and functional, all while flexing your DIY muscles.
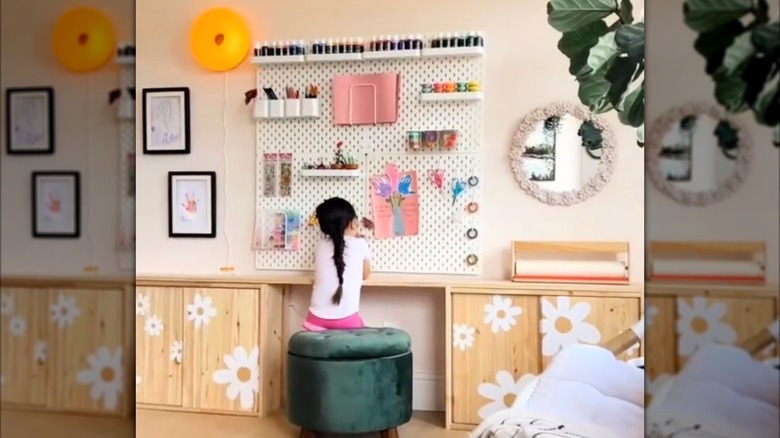
The idea for this is to place the cabinets on the floor, rather than attaching them to the wall. With a simple plank of wood on top, you'll have a wonderful custom craft bench or table. Having two storage units dedicated to DIY supplies, doubling as table legs, is a genius craft room organization hack. With a pegboard on the wall and a stool, this will turn into an absolute dream for anyone who likes to work on DIY projects, parents, and kids alike.
The benefit of using this DIY solution, instead of a regular craft table, is how customizable its size is. You can adjust the width and depth of the craft table to fit your space. In addition, having a dedicated spot for crafts instead of using a regular table or desk means you don't need to move your supplies around every time you need to work on something else. This is a fantastic way to leave work-in-progress DIYs undisturbed until you're able to return to them.
How to DIY a craft table
To create a spacious craft table out of basic IKEA cabinets, you'll need, of course, two cabinets. For this, IKEA's IVAR cabinets are perfect because they're neutral, roomy, and perfectly flat, which makes them a sturdy and stable base for a DIY table. There are two sizes: One is 12 inches deep, and the other is 20 inches. You can use either or, depending on how deep you'd like the table to be.
Secondly, you'll need a flat plank of wood to use as a table top. Here, the width of the wood piece depends on which cabinet depth size you chose: 12 or 20 inches. Then, the length depends on how wide you'd like the table to be. At minimum, this will measure around 90 inches (30 inches for each cabinet and 30 inches between), but it can be much longer if you have the space for it. The longer, the more crafting area you'll get. To assemble the wood plank with the cabinets, use a drill and screws, and secure it in place on all four corners. You could also use wood glue, but the screws method has the benefit of coming undone, which allows you to take your table apart if you move or decide to adjust its size.
You can customize the look of this table by painting the wooden plank and cabinets. This can be done before assembling the pieces, or after. To finish it off, use the IKEA SKADIS pegboard or another type of pegboard to help keep your craft supplies organized on the wall. Store more voluminous supplies like glue guns and paint cans in the cabinets to keep your craft room spick and span.