DIY Hidden Shoe Storage With This Clever Cabinet Upgrade
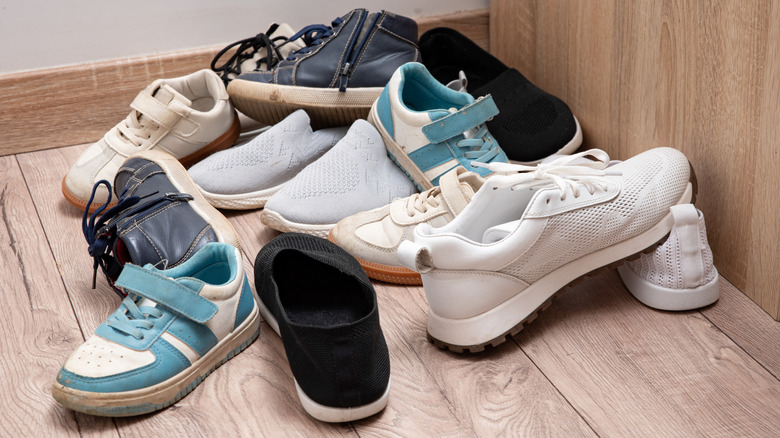
Everyone collects something, whether it be trinkets, cards, rocks, antiques, or something all your own. Shoes are a common collector's item. Some days it takes the perfect pair to complete your outfit; they're how you broadcast yourself to the world. But when they begin to take over your home, lines need to be drawn. Keeping your shoes organized without some kind of plan can be draining, but never fear! There are tons of genius shoe storage ideas out there to organize your space. Perhaps the coolest option is to DIY a hidden shoe drawer beneath your cabinets.
From pull-out pantries to secret rooms and appliances, hidden storage is all the rage. Maximizing space and efficiency is true luxury. A toe-kick drawer to stash your shoes is perfect for making the most of your home. Plus, it eliminates tripping hazards, making your home safer as well. This could be the start of your DIY journey!
Adding your hidden shoe drawer
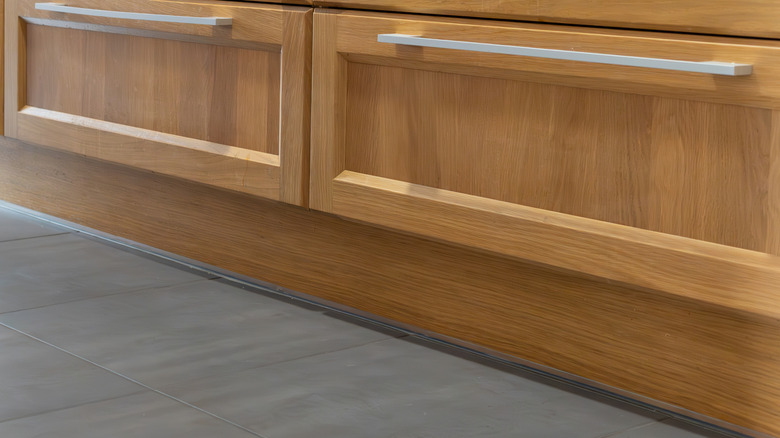
Generally, at the bottom of your cabinet is a kickboard. It sits a few inches deeper than the rest of the cabinet and gives your feet space so that you don't kick your cabinet while utilizing counter space. It also hides things, like support frames, and prevents dust from collecting under your cabinets. For this hack, you'll remove the kickboard to utilize the space beneath your cabinets. It will serve as the front of your drawer since it already matches.
@the_ideadad Her shoe basket was waaay too far away from the door and I'm too lazy to walk over and put my shoes in them. So, I had the idea to create a secret shoe drawer. By raising the hallway cabinets and removing the kick plate, I was able to build a 62" long drawer that is just big enough for 6 pairs of shoes; and we all know what that means... she gets to put 5 pairs of her shoes in there and I get to put one pair 😉 #DIYHACKS #homedecor #homeideas
When it comes to DIYing your drawers, measuring is a vital first step. Measure the depth behind the kickboard to determine the maximum length of your drawer. The height and width should be slightly smaller than the dimensions of the kick plate. Cut wood planks to your measurements and adhere the back and sides of your drawer with a nail gun. Attach a piece of plywood to the bottom. Center and glue the drawer onto the kickboard. Finally, install your drawer slides and place your drawer. Sometimes it's easier to line them up with the bottom of the drawer instead of the center to make sure your drawer is level.
If cutting and building your own drawer is a little out of your comfort zone, but you love this DIY, you could always order pre-sized, easy-to-install drawers and start from there. Remodel your home your way to utilize all your space.