Turn Cardboard Scraps Into The Cutest DIY Tiled Bookends
We may receive a commission on purchases made from links.
Book lovers will relate to the issue of collecting books but having nowhere to neatly store them. While e-readers exist, nothing beats the feeling of having a physical book in hand, regardless of how much space they take up. For people with shelves upon shelves of books, finding an empty spot for a new literary find can be a challenge. If you are lucky enough to have a few gaps in your bookcase, you'll need bookends. They don't just keep your treasured tomes upright; they provide an aesthetically pleasing method for organizing and styling your bookshelf.
Bookends come in a variety of shapes and sizes, but heavier or more decorative styles cost a pretty penny. Whether you're buying a single bookend or a set of two, decent-quality bookends range from $5 to more than $1,000 — basically the cost of another book or even the bookshelf you house them on. To save your money for more literary treasures and keep your books from falling, consider DIYing your own bookends from cardboard scraps and tiles.
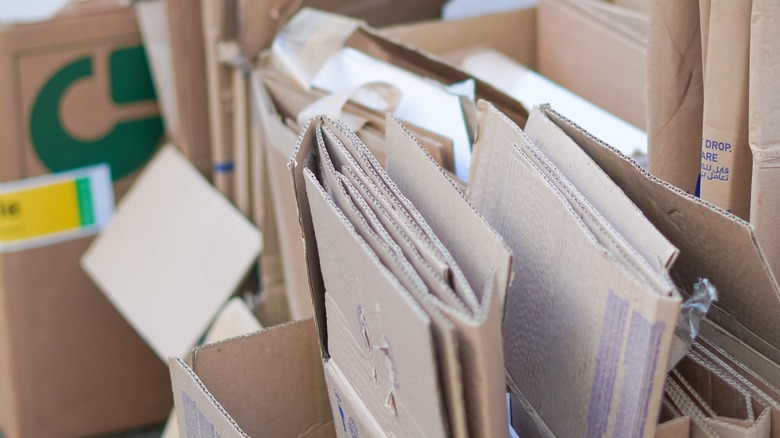
For this DIY, you'll need any sort of cardboard scraps you have lying around, like the delivery boxes that your books were shipped in. The sturdier and thicker the cardboard, the more robust your DIY bookends will be. In addition to cardboard, you'll need an X-acto knife or scissors to cut the pieces into your desired shape, clear packaging tape, a strong craft adhesive, a tub of grout, a sanding block, and a selection of colorful ceramic or glass tiles, which can typically be found at local craft or hardware stores or online. A 900-piece pack of Fuceury Glass Mosaic Tiles in assorted colors costs about $17.
How to assemble your one-of-a-kind tiled bookends
To begin, cut your cardboard scraps into the desired pattern or shape for your bookends. It could be a staircase shape or, if you want something simpler, go for a cube, rectangular cuboid, or right triangular prism. TemplateMaker has lots of shapes to explore, along with printable downloads. Once you've decided on your shape, draw each piece onto the cardboard, then cut them out and assemble them using packaging tape. Use as many layers of packaging tape as you need to create a sturdy base.
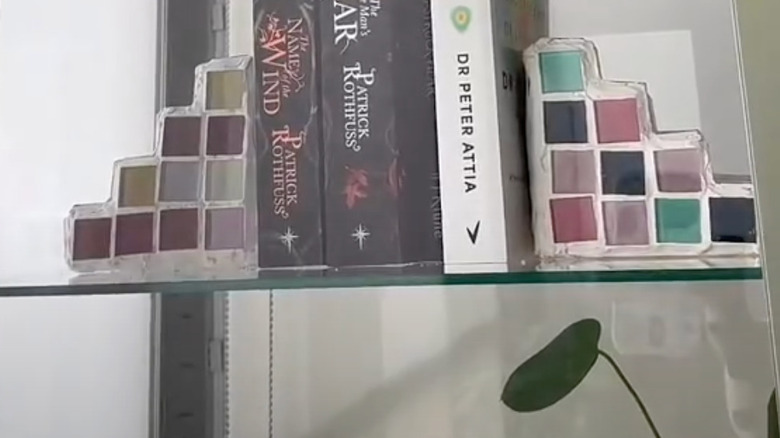
After securely taping the cardboard base of your bookends together, apply colored tiles to them using strong craft adhesive. You could use tiles within the same family of colors for a cohesive look, or apply tiles in a rainbow, alternating, or monochromatic pattern for a more whimsical aesthetic. Once the cardboard base is covered in tiles, set them aside. The grout needs 24 to 72 hours to dry, depending on the climate. Once dry, use the bookends as they are, or fill the gaps in the tiles with grout and sand them after it dries with a sanding block. Sanding ensures rough edges won't damage your precious paperbacks and hardcovers.
Now, all that's left to do is to perfectly decorate the shelves of your bookcase with your bespoke bookends. If the combined weight of the grout and tiles doesn't keep your book collection upright, you can make another set of bookends, this time adding extra weight inside the cardboard base before applying the tiles. Sealed bags filled with Dollar Tree's Floral Garden Multi-Toned River Pebbles or Floral Garden White Decorative Sand are affordable and would work well as weights.