Leftover Soup Cans Make The Cutest Garden Decor
Do you love craft ideas that give ordinary junk a second life? Then you're in for a treat. One of the genius ways to reuse leftover soup cans is an idea that'll add a fun personality to your garden. You'll use empty tin cans to create artsy statues of common garden creatures like birds and frogs, or little critters like bees and grasshoppers. When you think about it, turning cylindrical tins into differently shaped living things sounds complicated. But, it's not. The trick is using paint and simple details to create the illusion of different shapes. And it's so simple that you can enlist your kids to help out.
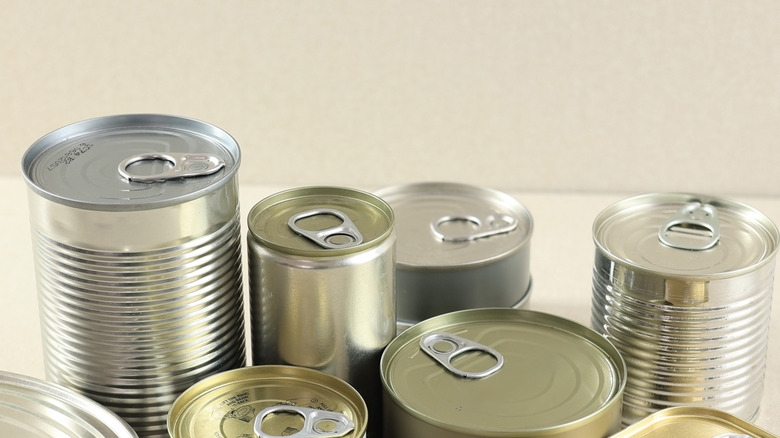
Now, there are two ways you can go about this DIY project. You can pick one garden creature that you love and make many of them for display in your garden. The second option is to create a variety of little creatures. Start by getting as many tin cans as the number of garden creatures you want. Avoid tins with sharp or jagged edges, as they can cause injury. Remove any food residue and wash the cans thoroughly with warm, soapy water. Then use a good sticker removal method to get rid of any labels on the cans so you have nice, smooth surfaces to work with. Once clean, leave your tins to dry completely. Now you're ready for the fun part: painting.
Painting leftover soup cans into little garden creatures
You'll need acrylic paint in a variety of colors, a paint palette and brushes, a decoupage medium, and pen markers. We recommend going for an outdoor-rated acrylic paint to help the colors withstand rain and sunlight. For the different artsy details, you can use malleable metallic wire, wooden sticks, twine, dowels, googly eyes in various sizes, or old plastic bottles.
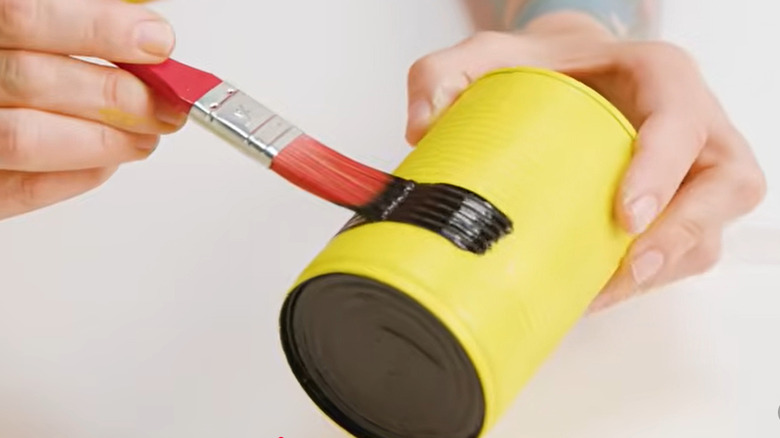
Start with a white base coat on each tin and allow it to dry completely. This will give your tin canvas an undercoat, ensuring that your final colors look just right. Keep in mind that for most of these creatures, we'll position the tin cans horizontally, and the bottom closed end will be the face of the creature. Now, consider the outstanding colors and features of the creatures you want to create. This will guide your next painting steps.
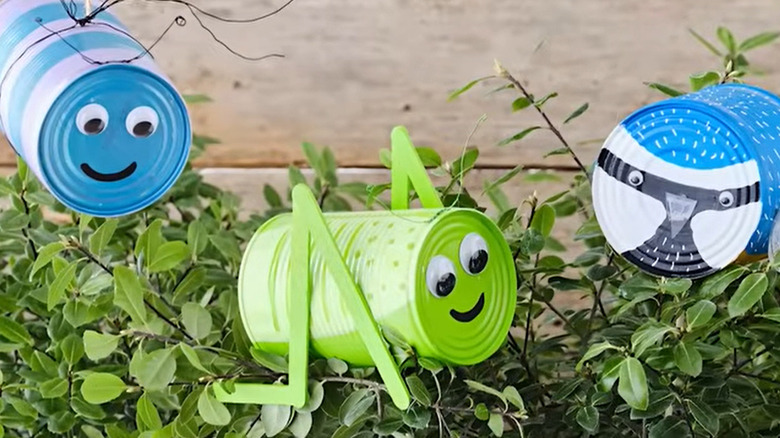
For example, to make a ladybug, paint the entire tin red, then add black dots, and use your pen marker to draw facial features like a mouth. If you want a bird, say a Blue Tit, divide the tin into two sections lengthwise. Paint one half blue and the other half yellow, then add little white marks as feathers all over the blue zone. For a caterpillar, paint multiple cans in different colors and connect them with twine threaded through holes punched at each end.
Add details to bring your adorable garden creatures to life
At this stage, you have the base bodies for your garden creatures. To make them come alive, we'll add details that represent other body parts. For example, to make wings for your dragonfly, stretch out the black wire, then fold it into a large number eight shape. Cut the wire and use its ends to tie the shape down. Likewise, make a pair of antennae for your bee, stretching out your wire, cutting it, then rolling its ends into coily shapes. Grab a plastic bottle and carefully cut out wings for your bee or bird, and stick them on the bodies using glue.
Another interesting detail is the legs. For any insect you create, you can make dangly legs using twine with a button on each end and attach them to the bottom of the can. Finally, give all your garden creatures windows to their whimsical souls by gluing googly eyes to their faces.
To set up your critters in the garden, use a hammer and nail to make a hole in their lower surface. Insert a dowel, secure it with glue, and stake the piece into the ground. To make the dragonfly and bee appear to fly, punch a hole at the top, thread a string through it, and tie a knot as a stopper. After that, hang them from a shrub or tree branch. And that's it. So remember, don't toss your empty cans; you can turn them into these cute decor pieces for your garden and have some fun while at it.