Create Self-Watering Starter Pots With A Simple, Dollar Tree Yarn Hack
We may receive a commission on purchases made from links.
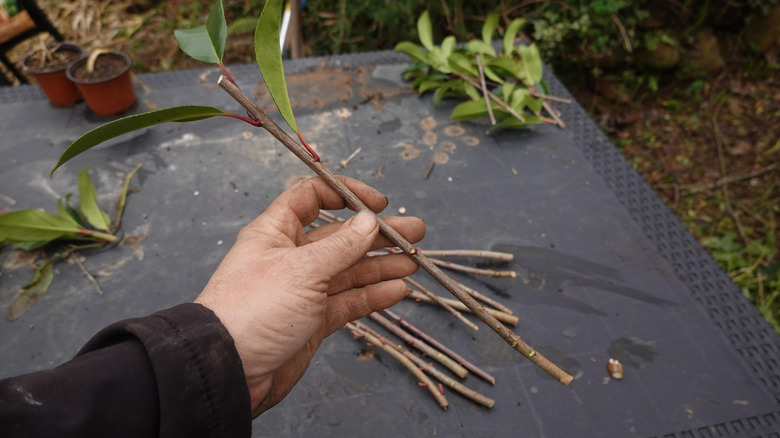
For plant lovers, there's nothing quite as rewarding as propagating your own plants. There are even plants you can propagate from cuttings in winter. It takes a little time for those perfectly prepared cuttings to produce roots, which means you have to keep a close eye on them so that they don't dry out. The growing medium needs to stay consistently moist if you want to have a good chance of success. Are you a little forgetful? To help you avoid the stress of incessantly checking soil moisture, TikTok creator @itsmollyesther has come up with some ingenious DIY self-watering propagation pots made from Dollar Tree plastic tumblers and a ball of yarn.
This simple project works for the easiest plants to propagate from cuttings and the most difficult ones because it takes advantage of capillary action. A short length of yarn and a water reservoir keep the soil that you're propagating your cuttings in moist but not waterlogged. First, you need some plastic tumblers, but not just any kind of cup. You're looking for tumblers that will sit on top of each other's rims rather than nestle neatly inside. Dollar Tree's Shore Living Iridescent Pebbled Stemless Wine Glasses are the right shape. While you're at the store looking for tumblers, stop by the craft aisle and pick up a ball of Premier Black Worsted Just Yarn. In addition, you'll need a General Tools Scratch Awl or a similar tool with a pointed end for puncturing holes, and you'll also want a candle or some other safe heat source.
How to make self-watering propagation pots with plastic tumblers and yarn
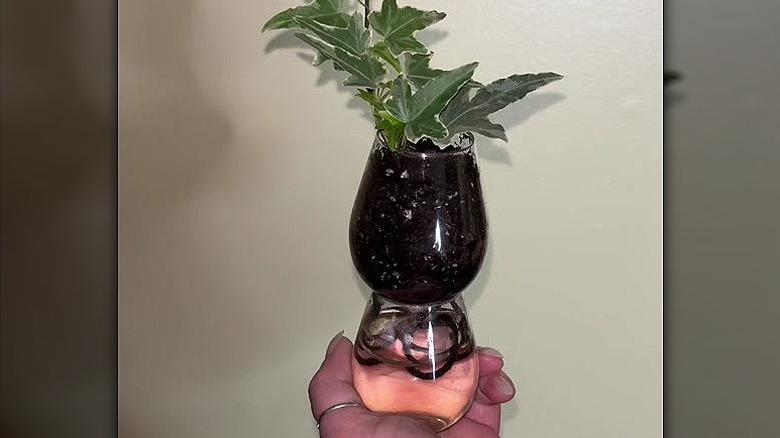
Each starter pot is formed from two plastic tumblers. Turn one of the tumblers upside down. Hold the awl over a lit candle until the tip is hot (don't touch it to find out, though). Then press it into the base of the tumbler, creating four drainage holes. You can make the holes in other ways, too, such as using a drill or a soldering iron. They just need to be large enough to thread a length of yarn through. Cut two pieces of the yarn, each around 6 to 10 inches long, and thread each piece through two of the four holes. You'll end up with four shorter lengths of yarn dangling from the base of the tumbler. These are the wicks that pull the water up from the reservoir and into the soil.
Fill the second tumbler (without any drainage holes) with fresh water — it has transformed into a reservoir. Top up the tumbler with drainage holes with potting soil or seed-starting mix. You can even propagate your plants in sand if you prefer. To make sure that the wicks can moisten the soil adequately, stand the lengths of yarn upright inside the tumbler before adding the soil. You can keep the wicks in place with a few pebbles. Place the soil-filled tumbler on top of your water-filled tumbler, and make sure the ends of the yarn are fully submerged. Now all that's left to do is to prepare your cuttings and plant one in each of the self-watering starter pots you've created.