The Martha Stewart-Approved Way To Display Your Spring Tulips
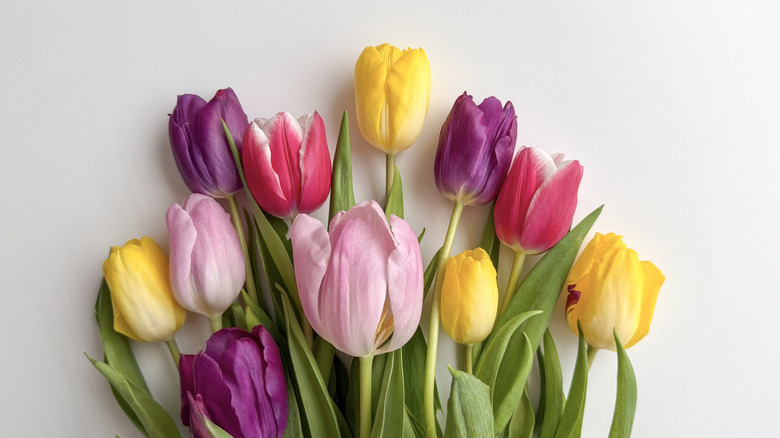
There's nothing better than seeing tulips bloom after a long winter. They're heralds of spring, announcing the arrival of lengthening days and warmer temperatures. As you see them popping up outside, you may want to bring some of the blooms indoors to enjoy. This craft from Martha Stewart converts a boring basket into a bird-nest-like structure to display your cut spring tulips in style. It'll help you decorate your home with the flowers. Floral foam inside the basket holds the blooms, and water keeps them perky and blooming. The craft is easy to do, and you can complete it in an hour or two. There's also room for customization, so you can make the display basket your own and make it stand out in your home.
For this project, you'll need to find a basket with holes on the sides. Use a wicker basket, or find a woven one like these Weaving Straw Baskets from Dollar Tree. They're super cheap, costing you less than $2 a piece. This is a craft that definitely won't break the bank. This is especially true if you already have tulips in your yard. Otherwise, you'll need to find them at the store or elsewhere. You'll also need floral foam, pliable wire, and a sheet of plastic, all of which should be available at craft stores. Additionally, you'll need to source some bendable sticks. Choose a wood type you like the look of, like birch or willow. The type of wood you choose will determine how the project looks at the end — go for white, yellow, brown, or gray colored sticks, depending on your stylistic preferences. As long as they're bendable, they'll work for this DIY craft.
Display your spring tulips in style with a homemade solution
You're ready to get going once your materials are all together. Start by separating the sticks into bundles, and unravel some of the pliable wire. Attach each bundle to the basket using the wire, arranging them so they sit on top of each other. Go around and attach the sticks to the length of the sides using more wire. Let the ends poke out a bit to give off a natural appearance. If any gaps are visible, you can wire additional branches to fill the gaps.
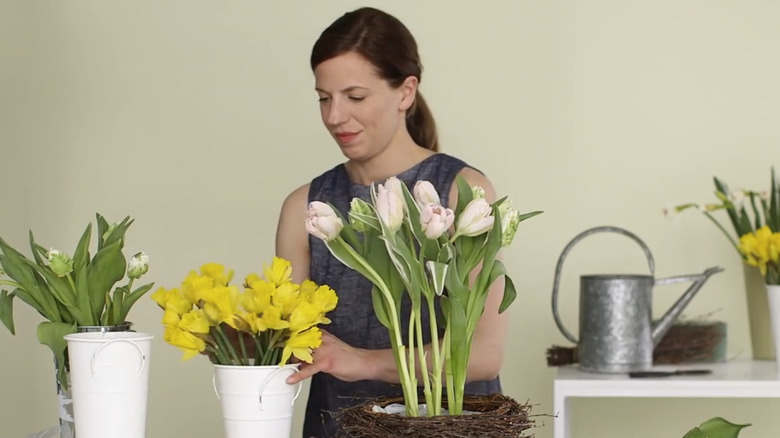
Once the sides are complete, it's time to display the tulips. Grab the plastic sheet and set it inside the bottom of the basket. Fold the upper edge so it tucks into the sides, and set a block of floral foam inside the plastic. Fill the sheet with water to soak the foam, and be careful not to spill over the edges! With water inside, the holder is ready to display your tulips.
Now comes the fun part — decorating! Place each tulip in the floral foam, pushing it in so it stands straight and tall. Continue arranging until the floral foam is full, then stick leaves in the corners to hide any remaining gaps. Change the water if it gets murky to keep your cut flowers fresh longer. Tulips aren't the only flowers you can use here. Try adding daffodils, as they're commonly in season when tulips are. Or, complete the craft in the summer to display roses, delphiniums, and larkspurs. If you have bulbs instead of cut flowers, you can get tulips to bloom indoors with only water, then complete the project.