Turn An Old Shoebox Collection Into Hanging Storage For Closet Organization
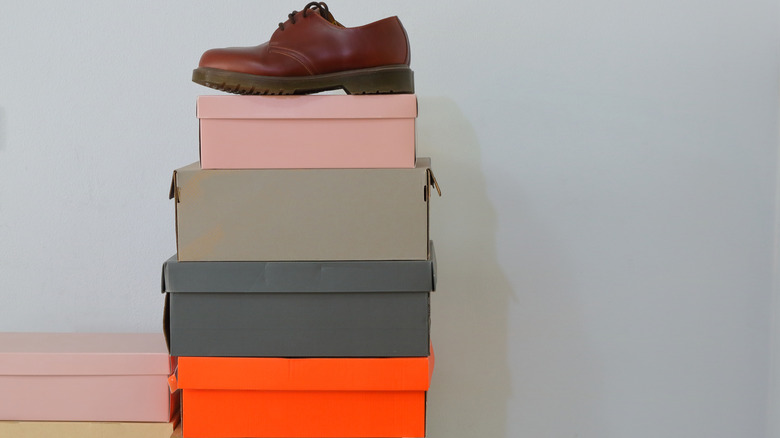
Everyone needs a little help with closet organization sometimes, and this is especially true if you have a sizable shoe collection. Along with storing the shoes, if you like to hold on to old shoeboxes your storage space can quickly feel tight. Sure, shoeboxes are recyclable, but their cardboard also has fantastic DIY potential. If you are looking for creative ways to repurpose old shoeboxes, then a DIY hanging shelf organizer might be perfect for you. This project uses up quite a few boxes and leaves you with multiple layers of shelves that you string together, which look great and are perfect for storing lightweight items you want to keep easily accessible.
This style of hanging organizer is pretty popular. The number of shelves and color scheme can vary, but neutral colors like white and gray are most common. For more unique colors and to get the added bonus of repurposing old boxes, creating a DIY version is even better than buying one outright.
Along with a number of shoeboxes, you'll need packing tape, scissors, a ruler, a level, piping cord or thin rope, two clothing hangers, and decorative materials, such as paint or contact paper. For the most part, the number of shoeboxes you need corresponds to the number of shelves you want your organizer to have. You may also want an extra shoebox or other cardboard pieces to help reinforce corners and make your shelves a little bit stronger. Many DIYers probably already have these materials, but even if you need cord and acrylic paint, the total should be under $10.
Designing a hanging closet organizer using shoeboxes
At its core, this DIY simply involves poking holes in the corners of shoeboxes and stringing them together, but you can make it look better and last longer with proper preparation. You probably won't want a variety of branded shoeboxes that look more like garbage or clutter than an efficient organizing system. So, take the time to reinforce the boxes for durability, just as you could with other storage solutions you can DIY from cardboard boxes for a more organized home.
One reinforcement method is to apply packing tape over all of the inside seams, corners, and joints. These tend to be weak points. You can also apply tape to the outside, but the texture difference will be more noticeable if you paint rather than use contact paper. If you plan to store anything with a bit of weight, you should also add another layer of cardboard inside each box on the bottom. While this DIY storage is not meant for heavy items, this can help your boxes survive a bit more weight.
For painting, be sure to use the best kinds of paint for DIY projects that involve cardboard. Acrylic paint works well on cardboard, and spray paint will leave you with a nice, even finish. Don't forget to prime the surface first and sand between the light coats before the sealant. For proper adhesion, allow them to dry completely before taping, and if you want to attempt to paint over the tape to hide it, try sanding the tape first.
Assembling your hanging storage

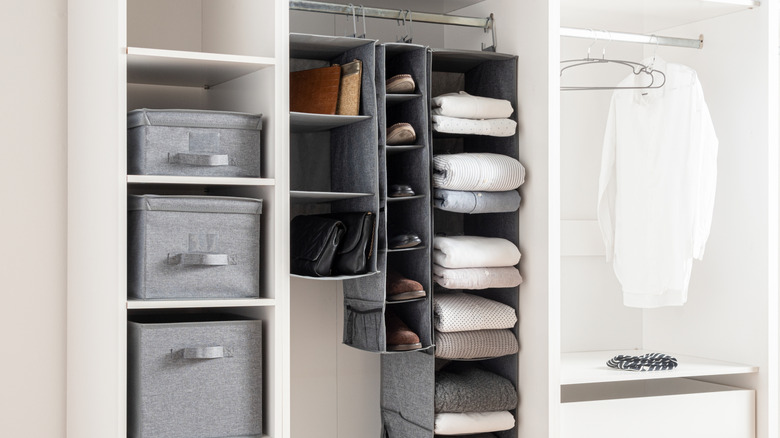
There are quite a few ways to configure the shelves of this project. For a look close to that of the fabric hanging organizers, you'll want to keep the boxes relatively intact and tie them very close to one another. Flip them sideways so the opening of the box is the opening of the shelf, or remove one wall from a shoebox without a lid and attach it so the bottom of the box above it completes the shape. Alternatively, you can space the shelves out on the rope for a more open look. Cutting the walls of the box into different patterns customizes this look even more.
However you decide to configure your storage, the process will be very similar after you cut your boxes. Use your ruler and pencil to mark a spot in each corner of the bottom of the shelf, ensuring that they are evenly spaced. Repeat this on the top of the shelf if needed, then carefully poke a hole through each mark. Feed one cord through the front left hole of each shelf unit to connect them, repeating the process with a cord for each hole. For spaced-out shelves, tie a knot under each hole to suspend the box on the cord. Otherwise, let the boxes sit on top of one another on the rope. Hang your organizer by tying the ends of the rope around a closet rod or attaching them to shower curtain hooks or rings that fit on your closet's rod. Or, attach a hanger on either side of the organizer near the top so you can hang it easily.