How To Successfully Tile Around Outlets For Your New Backsplash

The backsplash is a space ripe for showcasing a beautiful design, and decorating the backsplash with tile is a great way to establish the ambiance of a room. Tile is the most popular material to use for backsplash, as it offers a wide range of designs, including pleasing shapes and vivid textures. However, these artistic tiles need to be installed impeccably to fully deliver the desired visual. Tile installations require attention to detail, especially when tiling around existing fixtures. Backsplash applications often need to account for outlets that are used daily, and luckily, you can accomplish this without turning the whole install into a massive headache. With the right measurements and execution, you can easily tile around outlets to create a sleek and stunning backsplash.
Before you start the installation, consider placement by noting where the outlets are located. Measure the space properly to ensure you have enough tile to maneuver around the outlets. This is especially important if you have selected a tile installation pattern for a bold kitchen backsplash that's unique to you or a particular shape that needs to be accommodated. Remove the outlet covers, as they will eventually sit on top of the tile once the installation is complete. Now, most of the backsplash tile is ready to be installed. Just remember to leave appropriate space around the outlets (generally, you should tile up to roughly 1/8 inch away from the outlet to allow for leeway), and don't forget to install the tile behind the outlet's mounting brackets.
Account for the mounting brackets so backsplash tile is installed under them

When you are ready to tile around the outlets, one of the most essential but simple tips for installing tile backsplash is to begin by turning off the power to each outlet to prevent injury. Next, take note of the metal tabs at the top and bottom of the outlet, called mounting brackets. They should look like two parallel prongs that surround a single screw. The backsplash tile will need to be laid to fit underneath the mounting brackets without interfering with the screw. To accomplish this, loosen the screws on the top and bottom just a bit so the outlet can be pulled away from the wall slightly. If you need to create more space between the brackets and the wall, replace the screws with longer ones.
Place the tile behind the mounting brackets and note where the screws (top and bottom) fall on the tile's face. Make the appropriate notches in the tile to create space for each screw. Remember that the mounting brackets will sit up against the tile's surface, while the screws will need to go through it. Position the tile under the mounting brackets, and tighten the screws once the adhesive is dry and the tiles are secure. Be sure to cover the outlet with painter's tape while grouting. When the grout is dry, reattach the outlet cover. The outlet should be ready to use once the power is reconnected.
Installing backsplash may require different methods based on your outlet cover
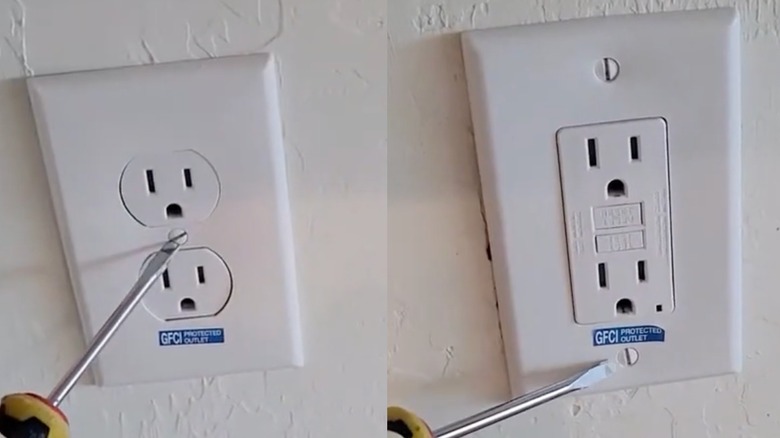
When tiling around a kitchen outlet, the outlet cover can influence how you complete the project. It all depends on the type of outlet plate that resides in the kitchen. There are two outlet plates of note: one where the plate is attached by a screw in the middle, and one where the plate is attached using screws on the top and bottom of the cover. Outlet covers with a single screw in the middle are the easiest to work with in a backsplash project, as they do not necessitate the use of extra clasps for attaching to the wall.
For outlet covers that need to be screwed in at the top and bottom, you'll need to cut an extra notch into the tile to account for the screws. This allows the screws to penetrate through the tile and properly bond the outlet cover to the backsplash. Remember: Mounting brackets should sit flush against the tile, while the screws for the outlet cover will require space. If the cover is not set properly on the backsplash, it will look incorrect and could prevent the outlet from functioning.
Forgetting to account for outlet screws is one of the common mistakes everyone makes when putting in a kitchen backsplash. If you lay down backsplash tile and realize you've forgotten to leave room for a screw on the outlet or cover, take a marker and note where the adjustment needs to go. Then, simply remove the individual tile that needs to be adjusted and make the necessary cuts with a small tile drill. Once that tile is reattached, the outlet should fit properly.