Mistakes Everyone Makes When Putting In A Kitchen Backsplash

Installing a kitchen backsplash can make your space welcoming and attractive. The design possibilities are practically endless with the wide variety of tile types, colors, patterns, and sizes available. You can choose to make your backsplash the focal point of your kitchen or use it to tie together other design elements in the space.
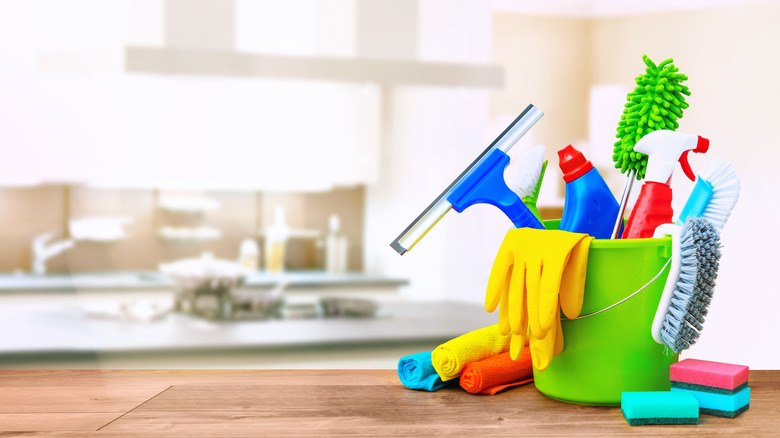
Aside from enhancing the visual appeal of a kitchen, a backsplash also has several other important jobs. As Edesia Kitchen & Bath Studio explains, backsplashes protect the drywall in a kitchen. If this drywall repeatedly gets wet, as is likely with washing dishes or cooking, it could crumble, ruining your wall. The introduction of moisture can also create the ideal environment for mold or mildew to grow. Kitchen backsplashes also make cleanup much easier. Scrubbing paint over drywall is not very easy. You may not be able to remove all the messes, and you could even damage the paint or the drywall behind it. On the other hand, a tile backsplash is much easier to wipe down or even scrub when necessary.
Before you rush off to the local hardware store to buy tile, you'll want to learn about some common mistakes individuals make when installing their backsplash. This will help you avoid these mistakes to ensure a smooth installation and a finished product that you'll be happy with.
Choosing the wrong pattern or design for the space
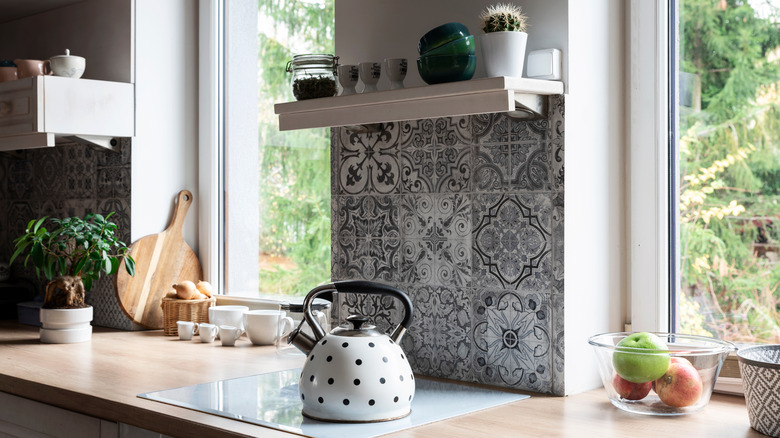
One mistake people make when installing a backsplash is choosing the wrong colors or patterns for their design. You want to ensure that the backsplash you choose complements the overall design of your kitchen rather than detracting from the overall look. Nicole Janes Design shares that pairing a patterned backsplash with a patterned stone countertop is too much. It doesn't give the eyes anywhere to rest and will make the space too busy and overwhelming.
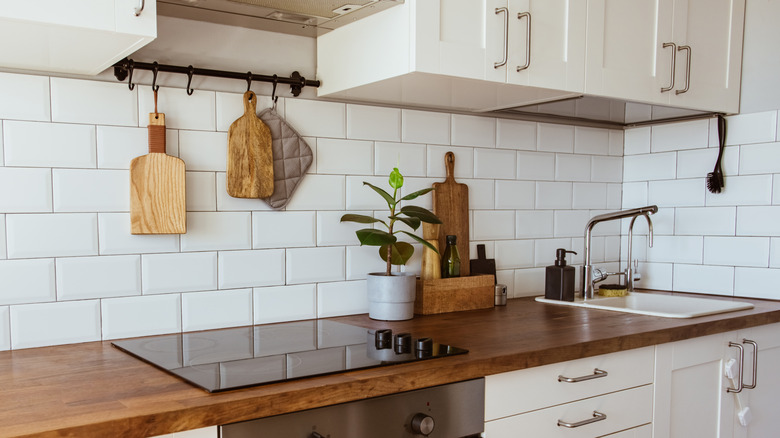
Another important consideration when choosing the tile for your backsplash is to avoid the latest trends. Trends change quickly, so sticking with something classic or timeless, such as subway tile, may be the best choice. That is unless you're sure that you really love how the "trendy" pick looks and are confident that you will continue to love it even after it is out of style.
Also, keep in mind that the way a tile looks in the store may not be exactly how it looks in your space. The lighting will be different, and your grout color will impact the overall look. The tile might also change colors depending on if your kitchen is sunny or shaded. Before committing to a particular tile, bring a few samples home and hold them up against your countertops and cabinets to get a better feel for the final look.
Not following proper backsplash placement guidelines
Understanding exactly where to install a kitchen backsplash is also important. While each kitchen may present unique layouts and owners may have their own preferences, O'Hanlon Kitchens Inc. highlights some key guidelines to help ensure the proper placement of a kitchen backsplash. The first guideline it shares is to install a backsplash in any areas used for food prep. This will help protect the walls from getting splashed, sticky, or dirty when cutting or mixing different foods for a meal. Similarly, you should also install the backsplash behind the hood vent and cooktop. This will help catch all the steam, grease, and sauces that can make a mess while cooking, allowing for a much simpler clean-up job.
A kitchen backsplash should also span the entire distance between the upper and lower cabinets. Filling this space with a backsplash does more than provide an easy-to-clean surface behind countertops. It also gives the room a more cohesive look. In most cases, the backsplash should end where the cabinets end. Ending it here will help maintain the balance in the overall look of the space. While you can extend it further than the end of the cabinets if desired, you'll want to look for another logical space to end the backsplash (such as at a pantry or a doorway) to prevent the area from looking off.
It is generally not recommended to install a backsplash behind the refrigerator. Because this space is hidden from sight by the fridge, spending the time and money to install a backsplash isn't necessary. If the wall behind your fridge is visible, you may want to continue the tiles for a more cohesive look.
Selecting the wrong grout color
The grout color paired with the tile on a backsplash may not seem like it is going to have a big impact on the overall look. However, the opposite is actually true. Fireclay Tile explains the effect that different grout colors can have on a design. You'll need to decide whether you want to match the grout color to the tile color, choose a contrasting grout color, or find a balance somewhere in between. Depending on the tile you've selected for the backsplash, the design of the rest of the kitchen, and your personal preferences, you'll need to assess which of these options is the right choice.
Matching the grout color to the tile color can help draw attention to the tile itself. Rather than individuals getting caught up in the pattern created by the grout line, they'll be able to focus on the tile you selected. Matching the grout color to the tile can be particularly effective with more neutral colors, such as white. Just keep in mind that lighter grout may be more challenging to keep clean.
Selecting a contrasting grout color allows you to draw attention to the grout's layout and the tile's pattern. Pairing a light grout with a dark tile or a dark grout with a light color will attract visitors' eyes to the geometric patterns in the tile and grout lines.
Some individuals don't want the huge contrast created by pairing light and dark together, but they also want to be able to see the grout lines and a bit of a pattern. In these instances, choose a neutral grout color a few shades lighter or darker than the tile color. This will provide just enough contrast to see the grout lines and the pattern in the tile without the design being too overwhelming.
Choosing a tile that will not be easy to clean
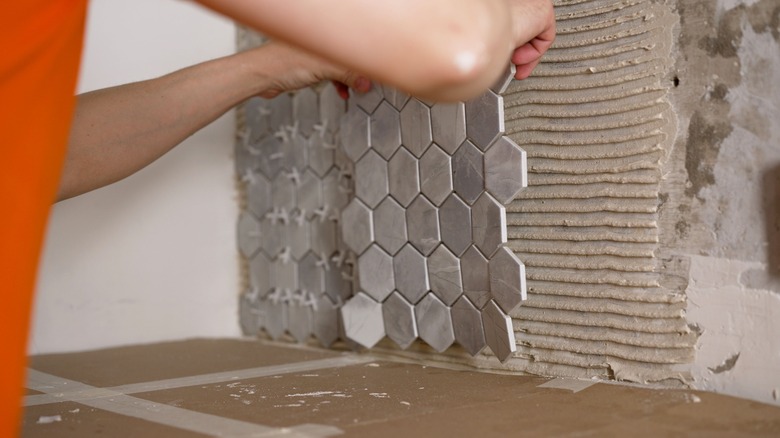
One of the main purposes of a kitchen backsplash is to provide you with an easy-to-clean surface. When choosing tile for a new kitchen backsplash, you don't want to make more work for yourself by choosing tile that is not easy to clean. MSI Surfaces explains that two factors determine how easy a tile is to clean: the size and the material from which it is made.
Smaller format tiles will have more grout lines. More grout lines will make the job of cleaning the backsplash more difficult. Grout doesn't wipe clean as easily as tile. Moreover, it is porous and may absorb stains and other debris, making the backsplash look dingy and dirty. When you choose a large format tile, there will be fewer grout lines to clean. MSI even suggests considering a slab backsplash if you want to eliminate the grout problem altogether. You could match the backsplash to your counter or choose a complementary material with a more subtle design.
A wide range of materials can be used to make tiles. Different materials are easier to clean than others. For example, natural stone, such as marble or travertine, will need to be sealed regularly to prevent damage or staining. These stones will also require special cleansers. Conversely, non-porous tiles, such as ceramic, porcelain, metal, or glass, will be much easier to clean. They are stain-resistant and can be wiped down without needing a special cleaner.
Not sealing the grout
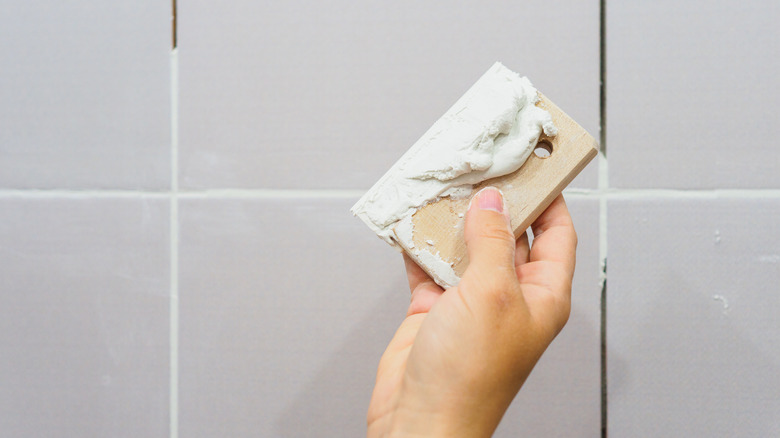
Grout is a porous material. It is cement-based and will absorb liquids. Sir Grout points out why sealing it is an essential step that should not be skipped when installing a kitchen backsplash. When the grout is closed, it won't absorb liquids. This helps keep it from getting stained and looking dirty.
Another reason to seal the grout is to keep mold and mildew from growing. Moist areas offer an ideal environment for them to grow, and sealing will help eliminate that possibility. Unsealed grout can also threaten the tile itself. When the grout is unsealed and absorbs moisture, it can crumble. This leaves the tiles exposed to water and humidity, which can cause them to crack.
After you install the tile for your kitchen backsplash, wait for the grout to fully cure before sealing it. Grout Magnificent shares that grout may take between 24 and 72 hours to dry fully, depending on the type used and the humidity in the room. Cementitious grout needs about 72 hours to cure, while furan and epoxy grout only take about 24 hours to dry.
Not measuring the space properly before buying tile

If you tweak the old adage, "measure twice, cut once," it can apply to purchasing the tile for your kitchen backsplash: measure twice, shop once. Before you set out to buy the materials for your backsplash or place an online order, you want to be confident that you're getting enough tile to cover all the necessary surfaces in the kitchen.
Mercury Mosaics shares a few tips on how to convert measurements into square feet to determine how many tiles to purchase. The trick is to break the space off into smaller rectangular sections, and then find the length and height of each of those sections. You'll probably find it helpful to create a quick sketch of your kitchen layout and how you plan to install your backsplash. Draw lines where needed to section your sketch off into several rectangles. Then, measure the length and height (in inches) of each rectangular section in your kitchen and record it on the piece of paper.
Next, you will want to find the total area of each rectangle in inches. To do this, multiply the length by the height. As an example, if one section is 36 inches long by 20 inches tall, you'd multiply 36 by 20, which equals 720 square inches.
Tile is sold by the square foot, so you'll want to divide the area of each rectangle by 144. So, for the example above, 720 divided by 144 equals 5 square feet. Repeat these steps to find the area of each rectangular section and the total number of square feet of tile needed for that section. Add up all the totals to arrive at the number of square feet of tile you'll need to finish the job. Then, to make sure you have a little spare tile and a buffer in case any of your measurements were slightly off, add an extra 10% to your total before purchasing the tile.
Not removing the existing backsplash first
While you technically can install tile over tile, installing your new kitchen backsplash over the existing one is not a good idea. According to Tile Club, when you add an additional tile layer over a current layer, you're doubling the weight placed on the wall. If the tiles become too heavy for the wall to support properly, it could cause damage to the drywall, which will also have a negative impact on your installation.
The new tiles for your backsplash also won't adhere as well to other tiles as they will to the wall. There are likely more uneven surfaces on the existing tile — such as the dips created by the grout lines — than on a smooth wall. An uneven surface will interfere with the bond between the new and existing tiles, making it more likely for them to lift up after they are installed. Even small gaps can allow water between the two layers of tile, leading to rot or damage.
Plus, installing tile over tile can also throw off the aesthetics of your kitchen. The added height of the tiles on the wall will be noticeable around the outlets on the wall. They'll look oddly recessed behind the second layer of tile rather than sitting flush against the wall.
Spending more than their budget can afford

Be sure to keep your budget in mind when choosing materials for your kitchen backsplash. The cost per square foot of different tile materials and designs can vary significantly. According to HomeAdvisor, some tiles may cost as little as $1 per square foot, while others can cost $100 or more per square foot. For example, the price range for porcelain tile is between $3 and $30 a square foot, with marble and granite costing between $7 and $100 per square foot, and ceramic costing between $1 and $100 for each square foot. As you can see, even within the same material type, prices vary widely based on other factors, such as the tile shape, design, color, and overall quality.
Beyond the cost of the materials themselves, other factors will impact the job's overall cost, as Kitchen & Bath Shop points out. First, the amount of tile you'll need will be a huge factor. It goes without saying that adding a backsplash to a large kitchen will require more tile than is needed for a small kitchen.
Another important factor to consider when thinking about your budget is whether you'll be installing the backsplash yourself or hiring a contractor to complete the job. According to HomeAdvisor, you should expect to pay a contractor around $10 per square foot to install most tile types. However, some materials will be more costly to have installed, with glass tile typically costing between $20 and $50 per square foot to install and a stone slab costing up to $30 per square foot.
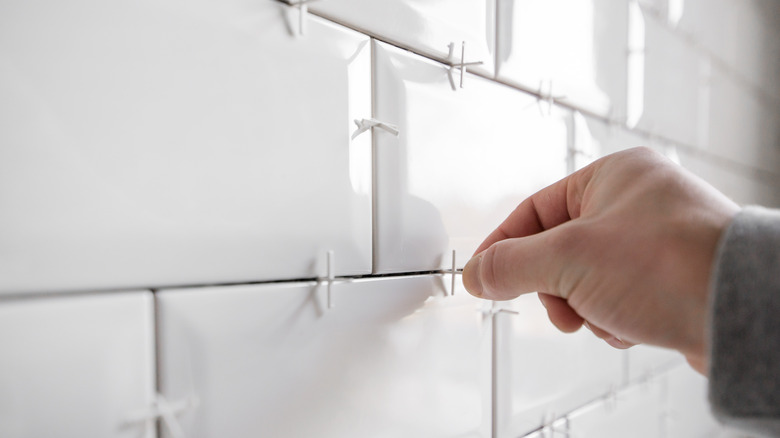
Trying to install the backsplash themselves instead of hiring a professional
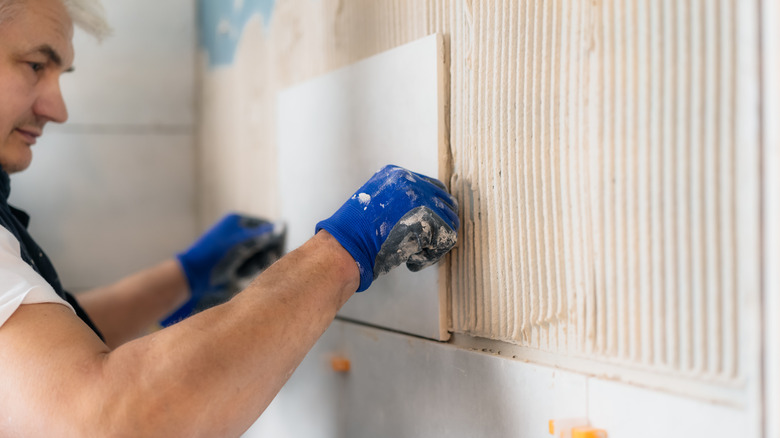
Depending on your skill level and experience, installing a backsplash may not be the best DIY job to take on. If you haven't laid tiles before, you may run into issues with keeping them straight and stopping them from sliding. There are also several materials and tools that you'll need to install the tile, not to mention cutting it to fit perfectly between your cabinets.
Davie Mac Tile explains why hiring a professional is typically the best option when installing a kitchen backsplash. A professional will be experienced and know how to properly lay tile without worrying about it slipping or ending up crooked. They'll also know how to cut them correctly to ensure a smooth and even finish around the outlets and other features in the kitchen.
An additional benefit of hiring a professional for this job is that they should be fully insured (check for this before committing to working with anyone). If they accidentally cause damage to something in the kitchen, they'll be able to pay to have it repaired or replaced with the insurance they carry. If you decide to try to install the backsplash yourself and end up damaging your walls, dropping a heavy tool on your glass stove, or causing other problems, you'll be the one responsible for covering the necessary repairs or replacements.