DIY A Paper Table Lamp Everyone Will Swear Is Designer
Lighting sets the mood in every room, and paper lanterns are definitely a charming way to add light to your home. Unlike harsh overhead lights, paper lamps emit a soft, warm glow that adds a more zen vibe to your space. And instead of running to a furniture store to purchase one, you can create your own special paper table lamp with a few large sheets of paper and your innate ability to fold them. At little to no cost, you can own a piece of furniture that can light up the room and spark a new conversation.
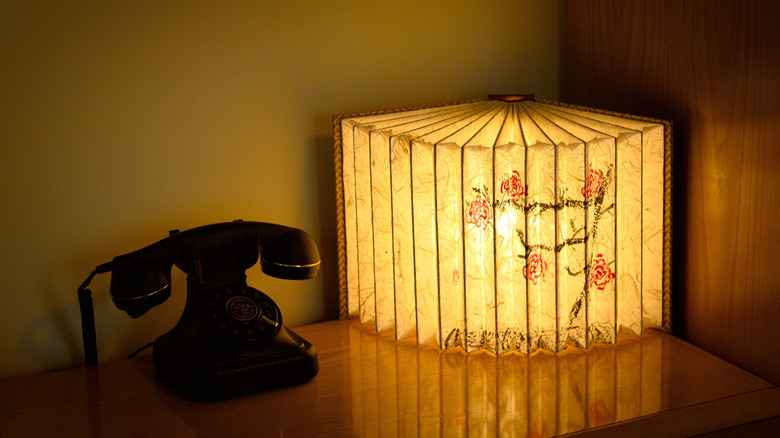
Paper lamps come in many shapes and patterns, such as circular pleats and classic z-fold accordions. One creator, who goes by REISSUED on YouTube, shared his own rendition of a paper lamp inspired by the Chochin, or a traditional Japanese lantern. While these lanterns are typically made from washi paper and bamboo frames, this tutorial uses a more standard, thicker paper and follows a popular style that involves a combination of accordion folds and diamond pleats.
To give your home a cozy, lived-in feel just from the lighting, start with three sheets of 12-by-18-inch paper; these will form three panels that will wrap around most lightbulbs while leaving sufficient room in the shade. You will also need adhesive, needle and thread, an LED bulb, and a borax solution to make this project fireproof.
How to DIY your designer paper table lamp
Lay your first sheet of paper on a flat surface and fold it in half lengthwise. Next, form an accordion pattern by folding the paper in even thirds, then folding each third into halves. This method keeps the pattern as even as possible and should result in folds about one inch wide. To make the diamond pleats, start by folding a small triangle diagonally at one corner, aligning its edge with the first vertical accordion fold. From then on, crease a triangle that is two accordion folds in length — ensuring the diagonal crease is also only two folds high — all the way across. Repeat the process going the other way to create the diamond shape. Make sure to finish the diamond pattern on both ends with one last crease. Repeat this process at the opposite end of the paper.
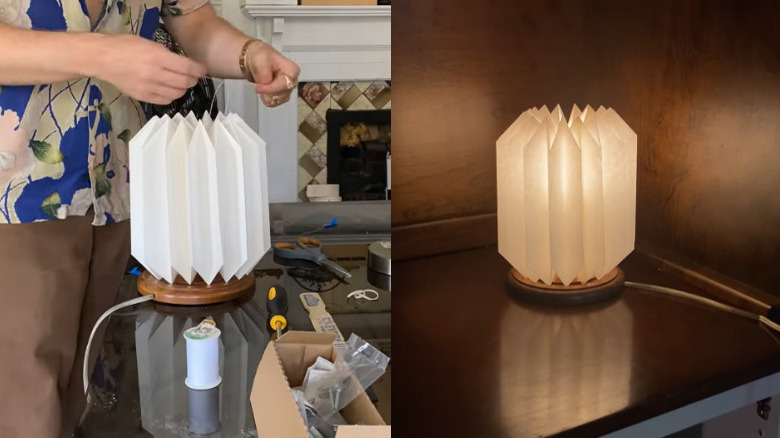
Make sure each of the three panels you make folds correctly, then assemble the paper lamp shade by adhering a quarter-inch-wide strip of paper between each end of the panel. Once secured, use a heavy needle and quilting thread to stitch the inner triangles together, tying the top and bottom edges into a cylindrical shape. Be careful not to cinch the shape too tightly, and make sure there is enough space for the bulb to fit inside.
Lastly, to protect your home against fires, fireproof your DIY paper table lamp by spraying it with a coat of borax solution. Coat lightly but evenly to prevent future fire hazards while keeping the paper material from disintegrating. Allow it to dry completely before affixing your paper table lampshade over a lightbulb.