Test Your Woodworking Skills With A Hidden Shoe Storage DIY
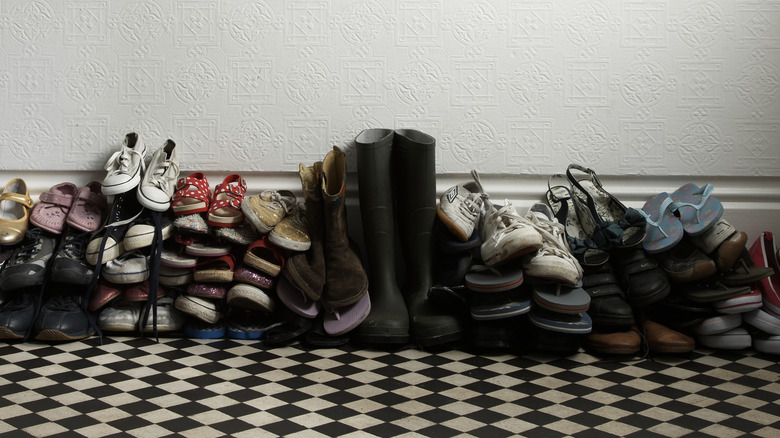
There seems to be an unwritten law that says shoes will always overflow the space you have for them. There are numerous ways to solve the problem, from genius ideas that are game changers for small closets to custom-built shoe storage DIYs. In this article we're going to look at the latter, creating an attractive cupboard that hides your shoes away but keeps them easily accessible. It could fit into an entryway alcove or work as a standalone cabinet and can also incorporate somewhere to sit while you change your footwear. It's a project that will test your woodworking skills in that you need to make some design choices and the build demands accuracy, but the actual construction is fairly straightforward.
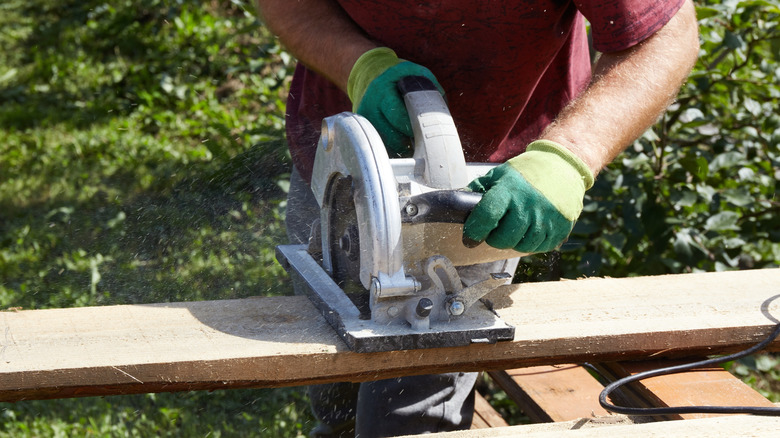
The main frame can be made from 1/2-inch thick MDF, plywood, or primed particleboard, which are all available at large hardware stores. The finished cabinet can be primed and painted or covered with beadboard or faux shiplap paneling to suit your decor. The tools you'll need are a cordless drill driver, a circular saw (one of those must-have power tools for first-time homeowners), and a jigsaw. It will also be useful to have a couple of saw horses to work on. A workbench could be used but is a little more awkward. The key to success is using Shoe Drawer Cabinet Hinges like those in store-bought shoe storage. These can be found at Amazon, and two pairs cost around $15.
Designing and building the carcass of the hidden shoe storage DIY
The width of your storage will vary depending on your space. The first decision is whether to have one or two shoe storage bins. Let's assume two. There are no strict rules, but around 24 to 30 inches wide each is ideal. Then there's the height to consider. If you're going to have a seat, standard dining chairs are 18 to 20 inches, but check the door size specified by the cabinet hinges you choose. Allow at least a couple of inches above and below to determine the seat height.
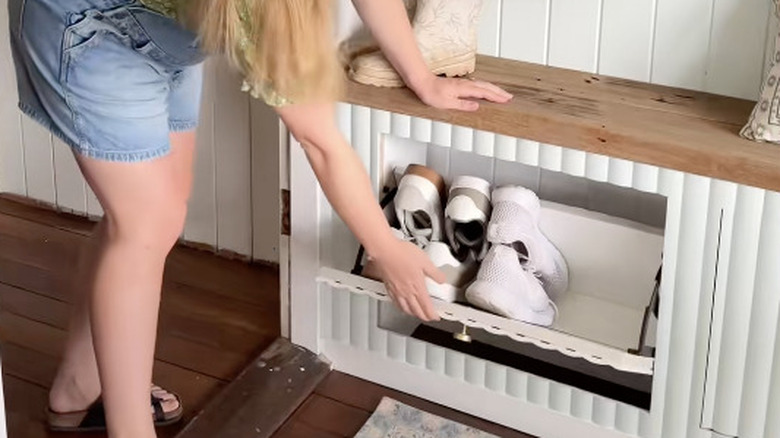
The doors are inset into the front panel. Mark their position and cut them out. Be careful, because you're going to use the pieces you remove for the door fronts. Use the circular saw for the majority of the cut, stopping just short of the corners. Then use the jigsaw to cut up to each corner accurately. Support the middle piece with your free hand, keeping it well clear of the blade. A TikTok video by Jakeeoniell illustrates the process.
@jakeeoneill DIY shoe storage cupboard with @Ryobi Australia 👞 Transforming our once messy entry area to our house into a neat country style mini mudroom 🏠 #ryobimade #ad #homerenovation #shoestorage #storageidea #mudroom #cottagehome
You need to cut full-size ends, but the back only needs to be narrow cross rails, top and bottom. Screw the frame together, making sure to pre-drill each hole so you don't split the material. If you're painting the shoe storage cabinet, countersink the screw holes so the heads are below the surface. You can then hide them with filler and sand it smooth before finishing. If you're using beadboard or faux shiplap, this isn't necessary.
Finishing the shoe storage DIY
Once the frame is together, cut dividers to support the hinges and screw these in place. Then cut the pieces that the shoes will rest on. Comprehensive instructions are supplied with the hinges, so follow these to complete the assembly. You can now paint the shoe storage or, if you're attaching a baseboard or any kind of decorative paneling, these can now be cut and fitted. Using a nail gun is one approach, but something like Unibond No More Nails is easy to use, gives instant grab, and is more than strong enough for the task. Finally, attach handles of your choice to the doors.
How you create the seat is up to you. A piece of stained hardwood might be nice, or you could use the same board as the frame, add a foam pad, and upholster it. Whatever you decide, attach it from underneath with a couple of L-shaped metal brackets.
Although this may not be the kind of woodworking project beginners can do, it demands care and attention to detail rather than an especially high level of woodworking skill. The design can be modified to suit the space available and your room's decor. Building it will provide much-needed extra shoe storage and give you a great sense of satisfaction — and possibly a learning experience.