How To Turn An Old Shoe Box Into Unique Tissue Storage
We may receive a commission on purchases made from links.
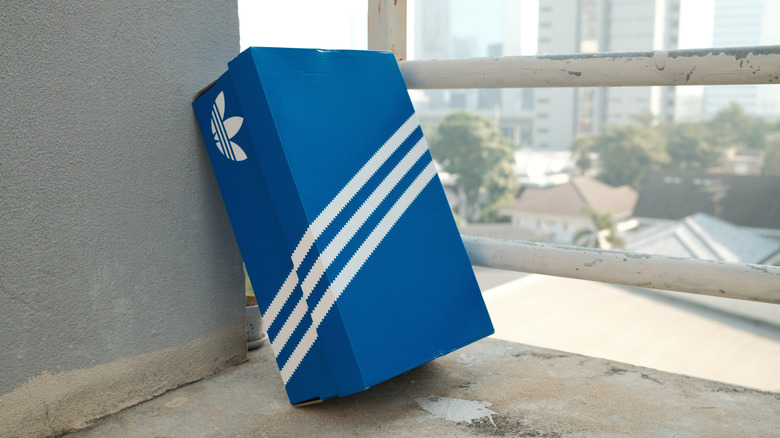
Don't throw away your old shoe boxes. Instead of disposing of the boxes after removing your shoes, consider reusing them around your home. You could repurpose a shoe box into a craft supplies organizer, or use it to store other small items. You can even turn an old shoe box into tissue storage. All you have to do is cut, fold, and glue the box so that it fits perfectly around a tissue box. You can either leave the shoe box as-is so that the brand logo serves as decoration, or cover the box so that it matches your existing decorating scheme.
Consider covering the box with patterned fabric or contact paper. You can then add on other details to personalize your DIY tissue box holder. For example, craft pom-poms or colorful stenciling would be great additions. The customization options are endless with this simple DIY project. You can also transform multiple shoe boxes to use to store tissues in each room in your home. When you're done, you'll have your very own collection of decorative tissue box holders that showcase your DIY skills and creativity. This is the perfect way to upgrade plain tissue storage.
Customize the DIY to make it your own
To start out, you'll first need to flatten your shoe box completely. Be sure to use a box with a fold over lid. Next, use a box cutter to cut away every outside panel of the box (excluding the large top panel that closes it).
@thepreluv Only took me 2 hours 🫠 here's a great way to upcycle your shoeboxes! What you guys want to see next? 👇🏼 • • • • #recycle #upcycle #craft #art #adidas #shoebox
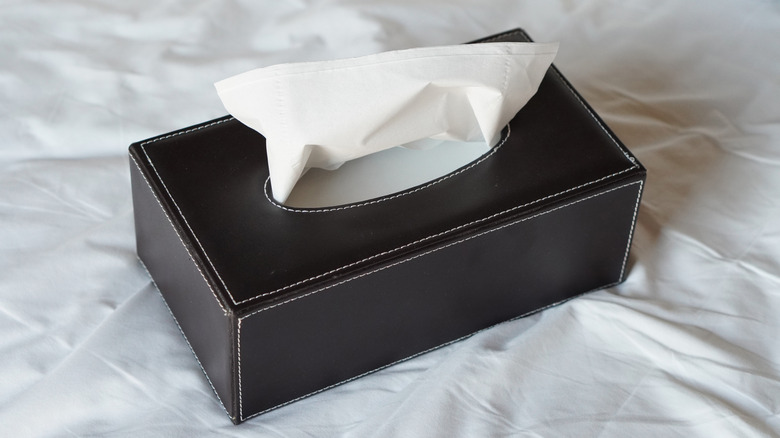
You can then place your tissue box down in the middle of your flattened shoe box and use a ruler to measure and mark around it. This will allow you to section off any additional areas that need to be cut away so that your tissue box fits inside perfectly. Do not forget to cut a slit in the middle of the top of the box to use to pull your tissues through. Lastly, fold your shoe box around the tissue box and secure all but the top of the box with hot glue. Avoid gluing the top of the box down so that you can still open and close your DIY shoe box storage solution as needed.
When done, you can proceed with additional customization steps if desired. If you're a fan of wood finishes, you can easily incorporate this by covering the box with the COSNIGHT Wood Grain Contact Paper. Alternatively, if floral patterns are more your thing, you might prefer to use the Livebor Vintage Floral Contact Paper. You could also go in a completely different direction and cover the box with fabric to add texture to the DIY. The Antetek Minky Dot Fabric is a fun option you may want to consider. You can glue the fabric onto the box using a hot glue gun. Use fabric glue sticks to reduce the risk of damaging the fabric you attach.