From Trash To Treasure: Turn Old Tuna Cans Into Vintage-Inspired Countertop Decor
We may receive a commission on purchases made from links.
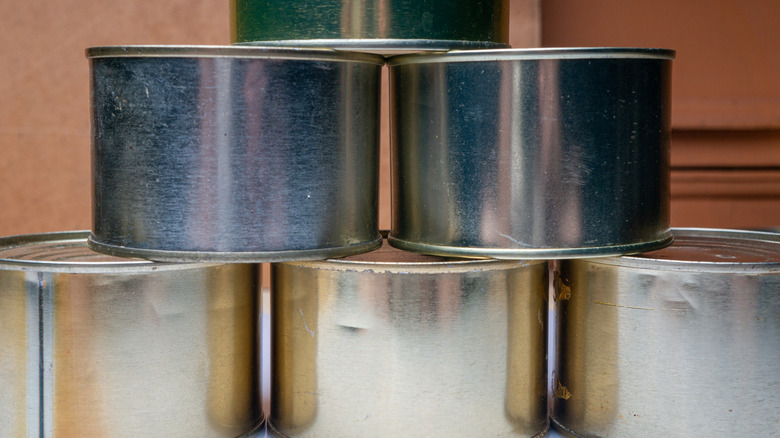
Lunch break is almost over. With the last flakes of tuna on your fork, you take a second look at the can it came from. It's just the right size to upcycle in scores of ways. You can turn an old tuna can into the cutest planter for succulents, for example. The price is right (free!) to use them as the base of a cute storage project. An idea springs to mind: Why not turn old tuna cans into lovely storage with vintage flair? A trio of them attached to a decorative case helps you wrangle small items, opening and closing the container in style. This idea uses a rounded case to perfectly hold alternating cloth-covered cans, which attach to two doors inside the case, so you reach in and grab what you need, then close it up to hide its contents.
Make your own with three clean tuna-sized cans with the same dimensions, cloth in a pattern or color you like, 2-inch-wide ribbon that complements the fabric, and corrugated cardboard or a flexible sheet of upcycled plastic (clamshell bakery containers, lids, or produce trays are good choices, since they're harder to recycle than cardboard.). You'll also need an iron, twine, a large button or bead, a glue gun, and a good stock of reliable crafting adhesive, like Gorilla Hot Glue Sticks.
Before you spend a lot of time working with the cans, take a step to prevent injuries from any sharp metal on them. Smooth down the edges inside the cans' mouths with a file or sandpaper. Also, this project relies heavily on glue, so check out this secret to a better hot glue gun experience that can save you the stringy mess.
Prep the cans and cardboard or plastic
Start by lining the cans with cloth. This step doesn't require much material, so it's a great excuse to upcycle old clothes into unique home decor. For an old-timey touch, check thrift stores for vintage fabric. Snip strips that are 1 inch longer and wider than the cans. Glue the fabric right side-out to the outside of the can, ½ inch below the outside top edge with the cloth extending upward above the can's edge.
Fold the fabric over the edge to the inside of the can. Smooth the fabric into the can, and glue it to the interior, starting with the raw edge. Trace the bottom of a can five times onto either a piece of cardboard or plastic, and snip them out — save two cutouts for later. Snip seven fabric circles that extend 1 inch beyond the edges of the cutouts. Save four fabric circles for later. Glue the fabric to the cardboard circles, pulling the excess around the edge and gluing it on the bottom. Slip them finished side up into each can to create a finished bottom. Finally, glue pieces of ribbon around the outside of each can. Or, wrap the cans in twine or another material.
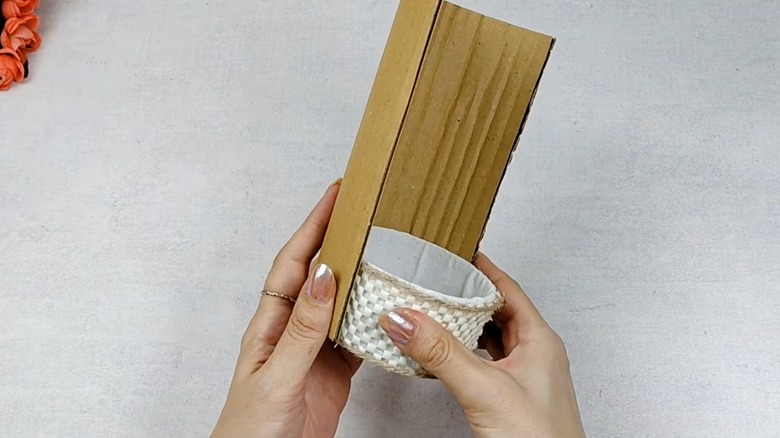
Now, you'll prepare the outer case by cutting two rectangular pieces from cardboard or plastic that reach halfway around the cans when curved. Each rectangle will make up half of the curved case. The piece should be slightly taller than all three cans. Cut the cardboard so the corrugations are vertical. For plastic, help the pieces bend evenly by softening them in a hot water bath. Curve the plastic around the stacked cans, and secure it with rubber bands until it cools.
Finishing your tuna can storage tower
Cut two cloth rectangles about 1 inch longer than each side of the outer case. Flip the fabric pieces wrong side-up, and set the supports on top with the outer curve down. Fold the fabric over each support piece, and glue them down.
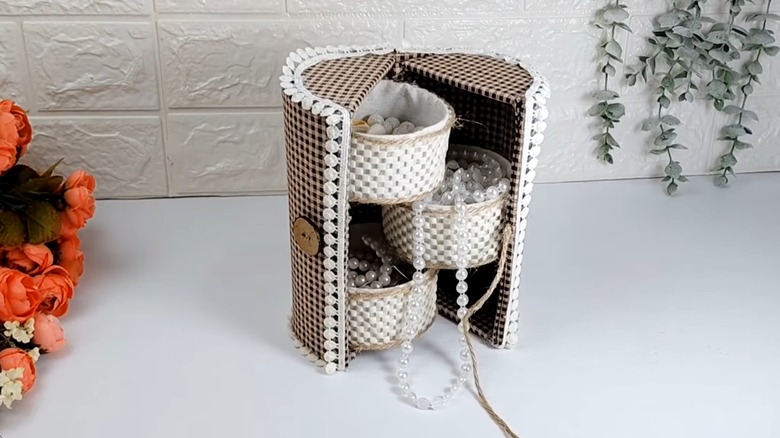
Cut two 2-inch by 4-inch pieces of fabric to create hinges and two rectangles of fabric the same size as the case insides for a liner. Connect the two outer case pieces by aligning them and gluing the hinge fabric pieces to the upper and lower areas of their interiors. Coil one end of an 8-inch piece of twine into a small spiral. Glue this at the edge of one cut side of the case at the inside midpoint. Fold the raw edges of the liner pieces under, and iron them into place. Glue the liner pieces inside the case, covering the twine coil, too.
The two extra circles you cut out earlier now become the top and bottom of the case. Snip the circles in half, and fold a fabric circle over each half. Line the curved edges with glue, press the fabric's edges into the glue, and trim the excess. Glue the half circles inside the upper and lower edges of both sides of the case, so they form a full circle when the case is closed. Affix two tuna cans, one at the top and one at the bottom, inside one side of the case. Attach the third can to the middle of the other side so that it slides between the other two cans. Glue a button or bead at the same point as the twine on the outside of the other support. To close the tower, wrap the twine around the button or bead.