DIYer Shares Their Rad Shoe Rack Made From An Old Snowboard
A beloved hobby has a certain way of taking over your life. Part of it is because you find yourself always looking for inspiration or ways to improve, and part of it is because the tools, equipment, or materials you need start to physically take over your space. This is especially true if you hold on to old, sentimental items that you no longer use. Luckily, you can get creative and find ways to give new life to old items by using them as DIY materials, like TikToker thealmondcroissant did by transforming an old snowboard into an awesome shoe rack.
Rather than getting rid of an old snowboard, the TikToker created a design for a small shoe shelf made with a metal frame and pieces of the snowboard as the horizontal shelves. The colors of the snowboard, the chrome finish of the metal, and the unique look of a snowboard cut in half make this DIY a standout in any space. Just forget the closet because there's a better way to store shoes that keeps them visible.
Snowboards vary in size based on the rider's height, weight, riding style, and boot size. Most of these factors help determine the board's length and flexibility, but boot size determines the width and makes your old snowboard a perfect candidate for a shoe shelf. Ideally, your boot size and snowboard width at its narrowest point should be the same, which means you have a board exactly the right size for your feet and shoes. With no worries about the board being too wide or too narrow to properly hold your shoes, the project becomes even easier.
Creating a shoe rack using an old snowboard
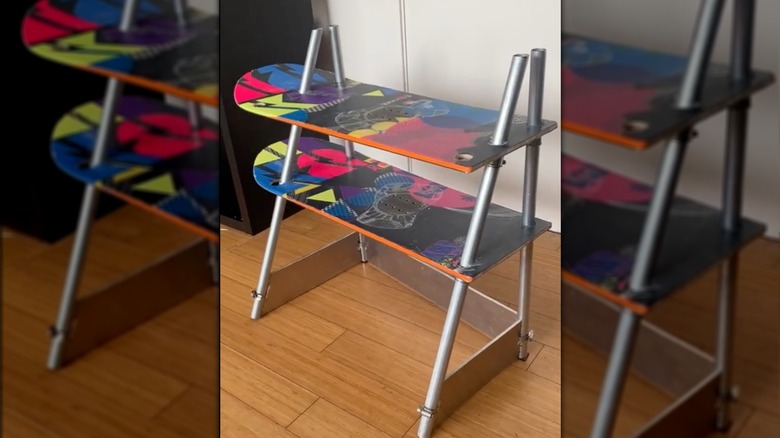
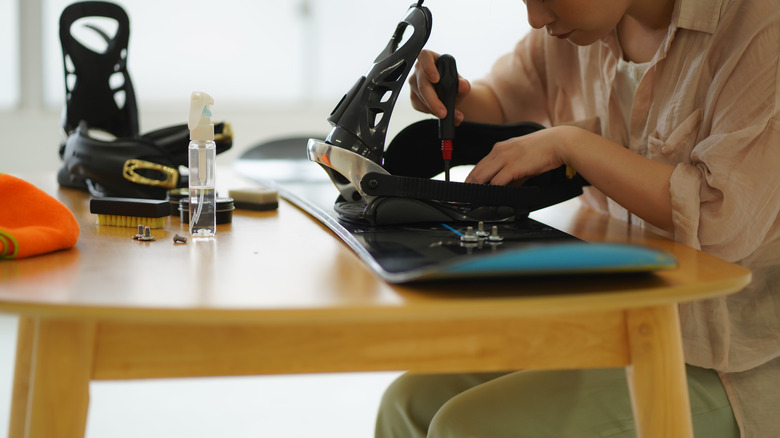
To make the shelf, you first need a design. The TikToker decided to make a two-layer shelf with vertical support poles in the back and slanted poles in the front, but you could choose to make a taller and narrower shelf by cutting the snowboard into three or four pieces. You could even repurpose multiple snowboards for the project.
Once you have your design, you need to measure where to cut holes through the snowboard for the metal poles to enter. For all vertical poles, this will be in each corner, but slanted poles require holes to be closer to the center of the board. Screws inserted in the poles horizontally or hose clamps will hold the board up on the poles. Assemble everything, and you have a perfect start on making your home look like a ski lodge.
There are plenty of other ways to adjust the DIY project to make it work for your space, such as changing the configuration or painting the snowboard. Swapping out the metal poles for wood can change the vibe of the project, too. Finally, if you aren't a snowboarder or don't have a snowboard to repurpose, you could try this project with other equipment, such as skateboards, skis, skimboards, or surfboards in order to keep your favorite old items around and in use. Whether you use them to store shoes, plants, books, or anything else, the shelves will always be a conversation piece. To reuse even more old hobby items, learn all the ways you can repurpose old sports equipment in your home.