DIYer Uses An Old Shoe Rack And Scrap Wood To Create An Adorable Outdoor Table
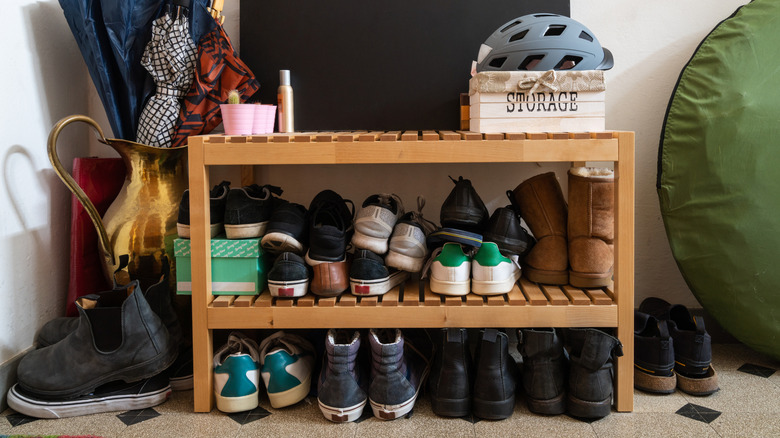
If you've been by a store that sells patio furniture recently, you might have been shocked by the prices. Luckily, there are a bunch of DIY outdoor furniture projects you can start right now that will save you a fortune and give you a great sense of satisfaction. Over on TikTok, a woman who goes by heyylindsey has turned an old shoe rack and some scrap wood into an adorable outdoor side table. We've seen old shoe racks repurposed for indoor use before, but this is a little different.
Apart from the shoe rack, you might already have the necessary lumber lying around. If you don't, cheap store-bought pine will do the trick. As for tools, you'll need a drill driver and a saw. A handsaw will get the job done, but a miter saw is ideal — and it's one of the top tools worth investing in to start woodworking at home. A jigsaw is also used for this project.
You will need some 120-grit sandpaper, screws, a square, and your choice of finish, as well. You can stain the wood with outdoor polyurethane varnish to protect it, but you'd need to sand the different pieces back to bare wood first. It's much easier just to paint the table. You can use any color, or combination of colors, you like. Just be sure to choose paints that are suitable for outdoor use on wood. You might need to apply primer first, depending on the paint you choose.
How to put the outdoor table together
The table shown above is square, but it could also be rectangular if you like. If the rack is held together with Allen screws, undo them rather than cutting the pieces apart, then trim the top section to the length you prefer. If you want a flush top, cut off the slightly raised end pieces, reposition them, and secure them in place with screws. The shelf is made from pine board, but you can substitute it with plywood. You'll want this board to be at least ½-inch thick. Square or rectangular lumber can be used for the legs. Measure and trim the leg pieces to the required height, and cut suitable notches in the shelf to accommodate the legs.
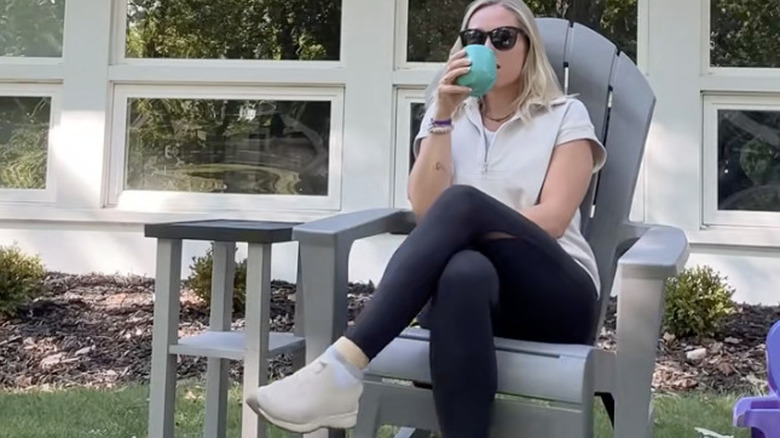
@heyylindsey Been needing somewhere to put my bevvies and snacks. Can't beat repurposing an old shoe rack into something super cute and functional. @RYOBI Tools USA @BEHR Paint @The Home Depot #homerenovation #renovation #diy #diyproject
Once you have all the pieces, it's a good idea to sand the edges to make them smooth. The table is assembled with wood screws. The secret to success is to pre-drill so you don't split the top or the shelf. Work carefully, checking frequently with the square, or the legs could be uneven, and the table will rock. If you use a countersink drill bit, you can drive the screws just below the surface and cover them with wood filler. Once dry, sand it smooth. When it's painted over, the screws will be completely hidden.
This is one of a number of DIY patio tables that can add function and style to your outdoor space. If you have more scrap, there should be enough of the shoe rack left to make a matching set.