Transform A Water Jug Into A Stylish Elevated Planter For Your Spider Plant
We may receive a commission on purchases made from links.
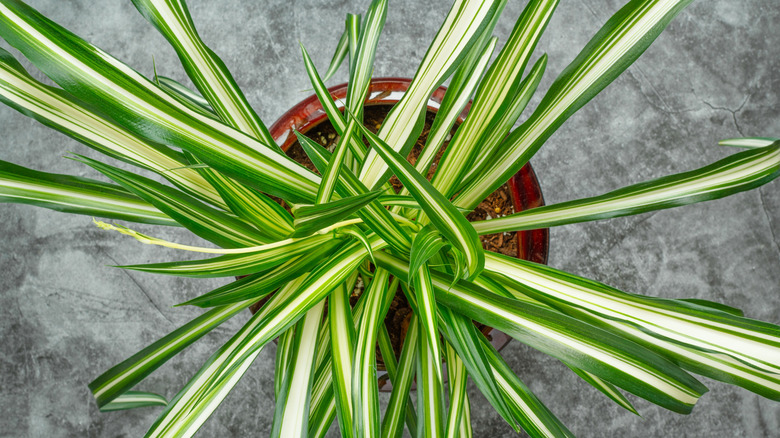
One of the easiest ways to transform your indoor space is with potted plants. Take, for example, the popular spider plant (Chlorophytum comosum). Besides being low maintenance, these ribbon plants just got even easier and more affordable to pot thanks to a simple DIY hack. Basically, you can make a stylish planter for these non-fussy plants using a simple water jug: You'll cut the plastic into different sections and piece them together to create a chic planter with a funnel. It's a clever way to repurpose those plastic containers while also making your garden more sustainable without breaking the bank.
The ideal water jugs for this project are the 1 gallon size jugs, preferably without a side handle, like the Crystal Geyser Natural Alpine Spring Water jug from Dollar Tree, or the Great Value Natural Spring Water jug from Walmart. You can also get the same type of shape with your empty juice jugs. The other supplies you'll need are a marker pen and the potting soil for planting the spider plant once you are done making the planter. As for tools, a cutting tool like a ACRSIKR Store Pyrography Kit (i.e. wood burning tool) with the tip for cutting plastic will make your work so much easier. But you can also use regular cutting tools like a blade and pair of scissors.
Assembling a stylish DIY planter for your spider plant using a recycled water jug

Holding the plastic jug upright, use the marker pen to draw lines where you'll cut the plastic. The first line is just at the shoulder of the bottle (this is a few inches below the bottle neck where the slanted section of the bottle ends and the straight side of the bottle begins). The second line you'll draw is about halfway down the bottle (this will determine how deep your planter will be). Next, cut the jug along these two lines. The wood cutting tool will be quite fast, but if you don't have it, use a craft blade to make a slit in the plastic then use the scissors to cut all the way round.
The first cut at the shoulder of the bottle will separate the top part, which should now look like a funnel. Unscrew the bottle cap and use the rim of the bottle neck to draw a small circle in the middle of the bottom side of the bottle. Now use your wood cutting tool to cut out this hole and then punch out a few tiny holes around the base (these will help with water drainage).
The next thing is to assemble the planter. Pick up the "funnel" (with the cap unscrewed) and insert the bottle neck through the center hole you made at the bottom of the bottle. Turn the bottle upright once again and replace the bottle cap on the neck that's now protruding inside the bottle. You have just made an elevated planter with a stand, and it's ready for potting.
Potting your spider plant in the DIY planter and displaying it

Potting your spider plant in your newly made DIY planter follows the same process as with any other store-bought planter. Put a bit of fresh potting soil at the bottom of the planter then remove your spider plant from its previous pot and place it in your DIY planter. Add more soil to the sides to fill up any gaps, and finish by watering the plant.
Now, you still need to take good care of your spider plant even though they are a low-maintenance plant. Provide the right amount of light and moisture: medium to bright light and moist soil, allowing excess water to properly drain and avoiding overwatering. As for how and where to position it, your ribbon plant can be displayed as is with a shallow dish beneath the planter to collect the excess water that drains during watering, and place it away from direct sunlight. You can also make tiny holes along the top rim of the planter and use twine to hang it up.
To make this entire plant setup even more unique, you could also consider painting the transparent planter and adding embellishments on the rim. Should you choose to go this route, then paint the plastic planter before adding the potting soil and transferring the plant. Now have fun trying out the stunning ways to style your spider plant into a showstopper.