Collect Thrift Store Fabric Scraps For A One-Of-A-Kind Stained Glass Curtain Work Of Art
Stained glass is set to have a resurgence in 2026. That's good news if you have a stained glass feature in your home already — or plenty of disposable income, because investing in a real piece will set you back hundreds of dollars or more. Even making your own stained glass piece involves costly materials and a special skillset. There are lots of cool ways to create DIY stained glass without breaking the bank, but an uncommon one involves swapping the glass for fabric scraps. You might not think to add fabric to your Goodwill scavenger hunts, but thrift stores can be amazing sources of fabric, especially smaller leftovers that crafters get rid of. Scraps of thin, woven fabric in solid colors (or subtle patterns) can join forces to become translucent works of art that double as lightweight curtains.
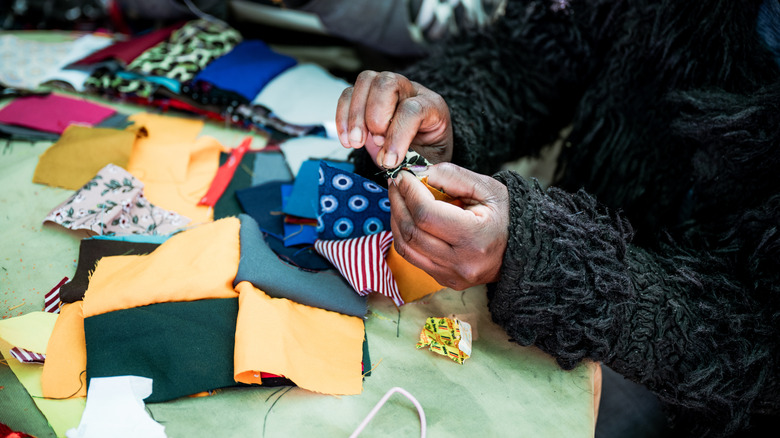
Gather up several pieces of fabric in similar weights, materials, and colors that complement one another. An even mixture of light, medium, and dark colors will give the most convincing stained glass effect. You'll also need a sewing machine and thread in colors that match your fabrics, a tape measure, scissors, straight pins, and chalk or a fabric marking pen. If you want to hide any unsightly seams between the pieces, you can also stitch a narrow bit of ribbon in similar colors right over the seams without losing the stained glass feel of the curtain. Otherwise, a product like Aleene's Stop Fraying will reinforce the cut edges. Some paper and a pencil or a computer and a resource like Canva can also come in handy for sketching out possible patterns.
Picking fabrics and planning a pattern

For the uninitiated fabric thrifter, you can usually find large pieces hanging near the household linens in large stores. While you're there, check out the tablecloths, bedsheets, pillowcases, and curtains; not only do these items provide a lot of material, but they're typically made of thinner woven fabric that's perfect for this project.
Your fabric supply may dictate your creation in both size and design. Luckily, just like framed stained glass work that people hang in front of windows, the cloth version doesn't have to cover the entire window. You can center a square or rectangular assemblage over your window like many people do with framed stained glass. Cafe-style panels will give you an attractive bit of privacy without covering the whole window. The arts and crafts movement in stained glass popularized simple geometrics; with lots of right angles and straight lines to sew, these designs are relatively easy to copy. A Mondrian-inspired design in primary colors would also be simple to recreate and look stunning glowing with sunlight.
Sketch a few designs on paper or on your computer once you have your fabric supply. You can color each shape to remind you which colors will go where, but on paper, it's quicker to label each shape with initials representing the color. Once you've decided on a layout, measure and cut your cloth carefully so the edges are as straight as possible and the corners close to 90 degrees. Leave between ¼ inch and ½ inch of seam allowance on each measurement.
Sewing and finishing a faux stained glass curtain

Before you rev up your sewing machine, pin together the fabric pieces in strips or sections that you can sew one at a time, then stitch together later. Plan out the fabric pieces that, when combined, will leave you with the longest straight edges for easier seaming later. Once you've combined all of your pieces into one panel, help your work last longer by reinforcing the fabric's raw edges with Aleene's Stop Fraying or by stitching strips of ribbon over the seams.
To finish the perimeter of your panel, fold them over about ¼ inch, and iron them down. Either fold and iron the hems once more and stitch them, or use a rolled hem foot on your machine to sew a rolled hem. Sew hanging loops along the top of the panel, either from remaining fabric scraps or ribbons for a touch of creativity and charm.
You can also stitch up a horizontal sleeve along the top of the panel to accommodate a curtain rod. Cut a piece of cloth that's 1 inch longer than the curtain's width and about 2½ times as wide as the curtain rod. Finish the narrow edges of this piece with an ironed and stitched double fold or a rolled hem before sewing it onto the panel. Fold the fabric in half lengthwise, and pin the two cut edges along the panel's top edge so that the seam will be on the same side of the panel as the rest of the seams. Slide a curtain rod through the sleeve to hang the curtain with traditional brackets.