Don't Throw Out Your Cardboard Boxes; You Can Turn Them Into Upcycled Pinboards
When doing some spring cleaning or just tidying in general, you may be surprised to find a massive accumulation of cardboard boxes. Whether you acquired them by storing items, moving things into a new home, or doing some massive online retail therapy, a large amount of boxes can become something that needs its own box to be kept in. While they are considered biodegradable and can be responsibly pitched or composted, there are many smart ways to repurpose cardboard boxes if you want to get a little creative. Instead of throwing out your collection of cardboard, upcycle them into a one-of-a-kind pinboard that can be pinned up in any or multiple rooms in your home.
The main component of this DIY is free and something you might already have an abundance of: cardboard boxes. The amount of cardboard you will need will depend on the size of the pinboard you want to create. Once you determine the size, double the amount of cardboard to ensure you have a sturdy backing for your pins to stick into. Gather a few yards of fabric in the print of your choosing for a cute background, spools of ribbon or lace for trim, and fun pins to use for securing things onto your pinboard. Scissors, box cutters, hot glue or an alternate adhesive, a stapler, and painters tape are also needed for assembly.
How to turn an ordinary cardboard box into a pin-up pinboard
To make a larger pinboard, you can tape pieces of cardboard together until you get your desired shape. For smaller projects, using scraps of cardboard can make for uniquely shaped pinboards or, alternatively, pinboard mosaics. Once you decide on the shape, cut and tape your cardboard accordingly. Repeat the process so you have two pieces of identical cardboard. If you want extra reinforcement, you can also add foam or batting in between your cardboard layers. For added audio-blocking functionality, use felt to add thickness to your pinboard as it also helps with sound-dampening.
Simply glue or tape batting, foam, or felt to one piece of cardboard, then tape the other identical piece on top of it to create a cardboard sandwich. Measure out enough of your chosen fabric to cover at least one side of your pinboard, ensuring the excess fabric is fastened to what will be the backside of the board by securing it with staples, hot glue, or an alternative adhesive.
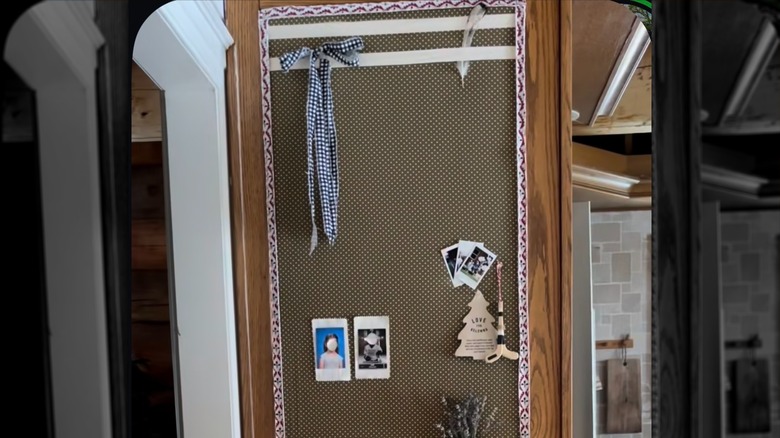
After you DIY your own pinboard for functional wall decor, you will need to secure it onto your chosen surface. If placed on a cabinet or closet door made of wood, you will want to protect the wood grain by applying painters tape onto the surface before adhering your pinboard to it. Apply double-sided tape over the painters tape and stick the pinboard onto that to ensure it stays in place. Once installed in its new home, add a cute lace or ribbon trim around the edges for a cute, whimsical touch. For more versatile and mobile options, you can use Velcro strips to secure your pinboard to a surface, allowing it to be easily removed and transported to different rooms.