The Kitchen Cabinet Method That Tones Down Unwanted Orange Without Paint
We may receive a commission on purchases made from links.
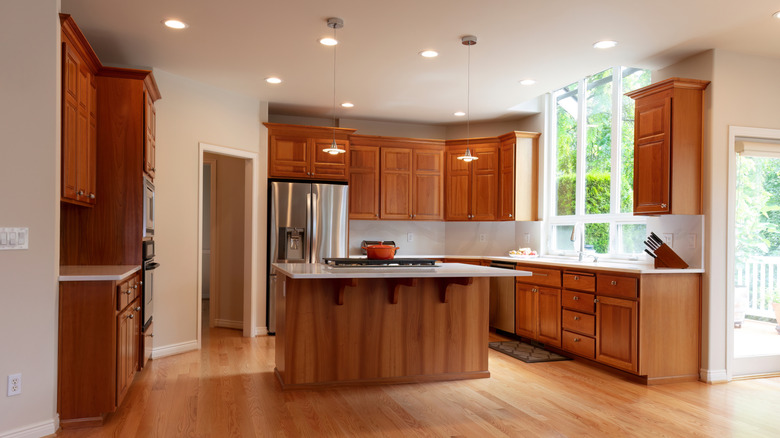
Real wood cabinets are a great investment, but if your kitchen was most recently renovated in the '80s or '90s, there's a massive chance that the chosen finish was a bright, warm stain that leans dangerously far into yellow or orange territory. Surprisingly, the honey oak '90s kitchen trend is starting to look modern again, but it's perfectly acceptable to want to tamp down the saturation a few notches. Unfortunately, this isn't exactly a simple undertaking. Most renovation experts recommend sanding down the cabinets and re-staining them or smacking on a coat of paint. While these are certainly paths you can take, the former option requires quite a bit of elbow grease, while the latter will mean sacrificing that real wood texture. Thankfully, there's a design trick you can use to modernize dated wood cabinets without reaching for the paint or stain, and all it takes is a single, affordable product.
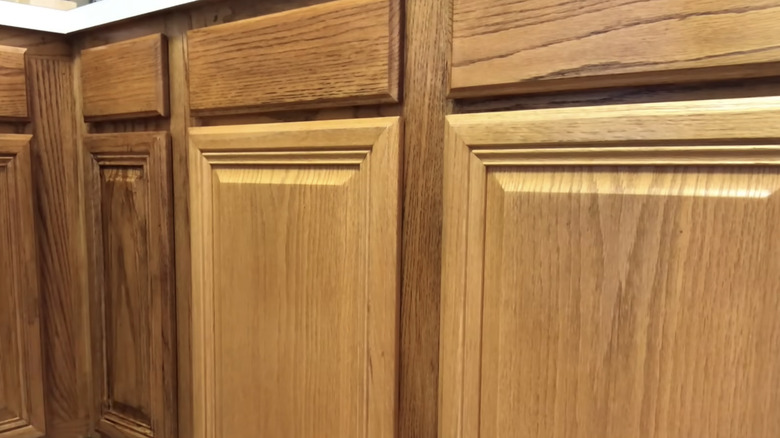
Briwax Furniture Wax can be used to condition and restore tired wood, but if you pick up one of the brand's colored waxes, it will also leave behind a wash of color on the material you're treating. While it's not as concentrated as regular stain, going over a warm-toned cabinet with a bit of cool-toned Briwax can neutralize the orange a bit, while still allowing the texture of the wood to shine. As a bonus, your cabinets will get a lovely conditioning treatment, which will minimize the appearance of wear and tear and ensure the material stays healthy for decades to come.
How to apply Briwax to your cabinets
While updating your cabinets with Briwax is generally a bit easier than painting or staining them, it does still require a bit of effort. Before you begin, give your cabinets a deep clean. The easiest way to clean kitchen cabinets involves using a solution of white vinegar and water to wipe them, but you can opt for any method you prefer, as long as your chosen agent won't damage the wood or its finish. Make sure to get into any nooks and crannies, too, as even a small amount of grime could leave you with an uneven final product. A toothbrush or a rag on the end of a butter knife is great for those stubborn details.
From there, it's time to crack open a can of Briwax and get to work. To apply it, you'll need some gloves and two rags. The first is for the initial application, while the second will be used to clean up any excess wax that didn't soak into the wood. Once you've gathered the materials and the cabinets are ready, simply buff the Briwax into the wood. You should notice the change in color immediately, so if you're unsure about the color you chose, it's a good idea to test out a swatch on a more inconspicuous area, like the back of a cabinet door. Continue throughout the whole kitchen, making sure to pay extra attention to any decorative details. If you've properly wiped off the excess product, your cabinets should be ready to use in a couple of hours.
How to ensure your kitchen cabinet update is successful

To achieve your desired look, possibly the most important part of this DIY is choosing the correct Briwax color. The brand carries 15 different options, including clear and colors that range from Golden Oak to Slate Gray. If your goal is to simply tone down the wood's warmth while still keeping things from getting too dark, Tudor Brown is a good choice. If you're struggling to pick, consider ordering several colors or looking up swatches of the shades from past customers. Just remember that, when applied over a warm wood cabinet, colors will likely appear warmer and darker than a swatch on untreated wood.
After your DIY is complete, you can take a few other steps to modernize your kitchen further. Swapping out hardware is inexpensive and can make a big impact, especially if you decide to go all-in and change out the kitchen faucet, too. Additionally, a fresh coat of paint on the kitchen walls can go a long way in balancing out the tones in the space. It's unlikely that the Briwax will completely eliminate the warm undertones in the wood, so choosing paint colors like sage green, cool gray, or even slate blue for the walls will help bring things into the 21st century. With the right styling, you might even be able to go another few decades without a renovation.