Use An Old Plastic Bottle To DIY Copies Of Your Favorite Plant
We may receive a commission on purchases made from links.
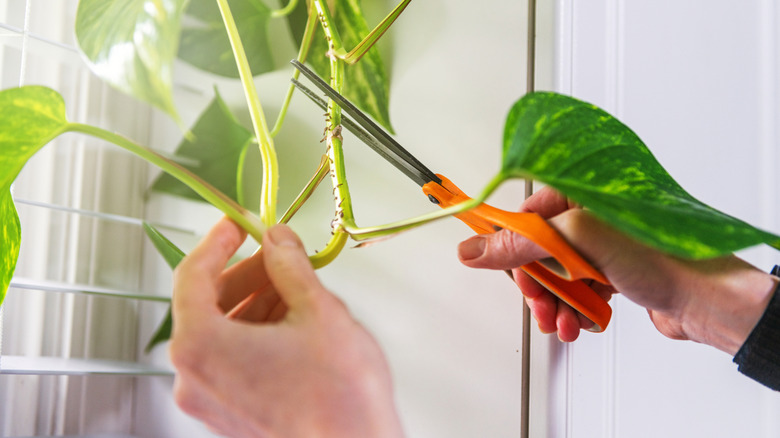
If you love having a space full of plants, propagating is an easy way to fill your home with free greenery year-round. With a simple snip, you can transform one plant into two, and if you're patient, you'll be able to create a room that feels lush and breezy without ever having to shell out any money at your local gardening center. There are tons of pretty plants that only need a little bit of water to propagate, meaning all you'll need to encourage the development of roots is a repurposed bottle or jar, but this doesn't apply to every species. If your intended target would be happier in soil, consider trying out this clever repurposing hack as a way to create a stylish and functional hanging propagation station.
This DIY takes a 2-liter bottle, some plastic netting, zip ties, a plastic tray, some potting soil, and a sponge to complete. Luckily, most of these items are affordable to purchase or products that you might already have lying around your house. Additionally, you'll need a crafting knife, a hot glue gun, pliers, scissors, spray paint (if desired), and a soldering iron. While the hot glue gun and soldering iron might drive up the cost of the project a bit if you don't already have them on hand, these steps can also be accomplished using other tools — it might just take a bit of extra effort. All in all, the final cost of this DIY should be next to nothing, and by using repurposed materials that would otherwise be tossed, you're benefitting both the environment and your wallet.
Creating the structure of your propagation station
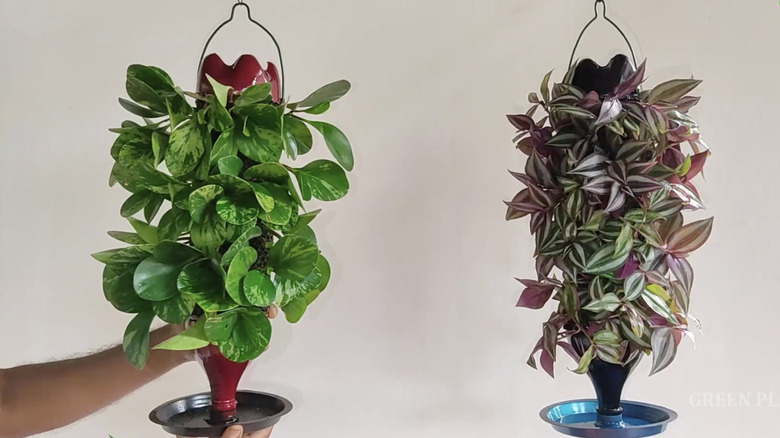
Once you've gathered your materials, it's time to get to work. The basic structure of this propagation station is a tube of netting that's bookended with the top and bottom of a plastic bottle. The center is filled with potting soil, and thanks to the holes in the netting, you're able to place cuttings of your plants directly into the growing medium.
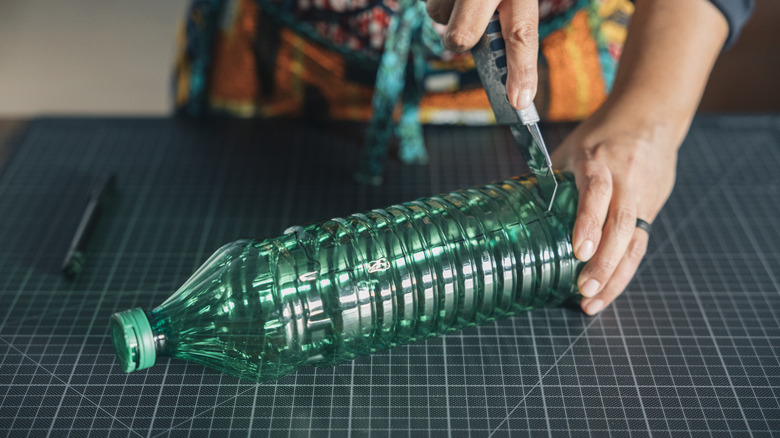
Start by preparing the plastic bottle. Use the craft knife to cut off the top and the bottom, then clean up the edges with your scissors if needed. Grab a section of your netting, then form it into a tube shape that will fit into these bottle pieces. To connect the ends, use your zip ties — the more the better. From there, use your hot glue gun to secure the netting within the bottle pieces. This will be reinforced with more zip ties, so don't worry if it doesn't feel secure enough to hang. For this step, you could also use another kind of adhesive that will work on plastic, like Loctite Plastic Bonder Bonding System.
To increase its security, use your soldering iron to create small holes along the edge of this connection, then weave zip ties through both the plastic and the netting. These holes can also be cut by hand using your crafting knife, though it's important to be precise. Finish off the basic structure by gluing the lid from your bottle to the center of the plastic tray. Trim off the ends of the zip ties, then give everything a coat of spray paint, if desired.
Turning the bottle structure into a functional propagation station
To make this propagation station actually hospitable to plants, you'll need to complete a few more steps. First, make some drainage holes along the neck of your bottle either with your soldering iron or your craft knife. While you're here, you'll also want to cut out the bottom of the bottle to create an opening to fill everything with soil.
Take a section of your sponge and place it in the mouth of the bottle, then screw the bottle onto the lid on the tray. To allow your propagation station to hang, you'll also need to bend a length of wire into a U shape with two hooks at the ends. These hooks will attach to the mesh part of your build and provide a convenient spot for hanging.
Now that you're done building, it's time to fill the propagation station with soil and put it to work. If you're a beginner, stick to the easiest plants to propagate from cuttings for the greatest chance of success. Make sure to water your cuttings regularly (though the sponge in the bottom of the bottle should help to keep things from drying out too quickly), and hang your station in an area that gets plenty of sunlight. Once the cuttings have taken root, you can gently remove them from the mesh and place them in a pot of their own.