DIY A Mud Kitchen With An Affordable IKEA Hack
We may receive a commission on purchases made from links.
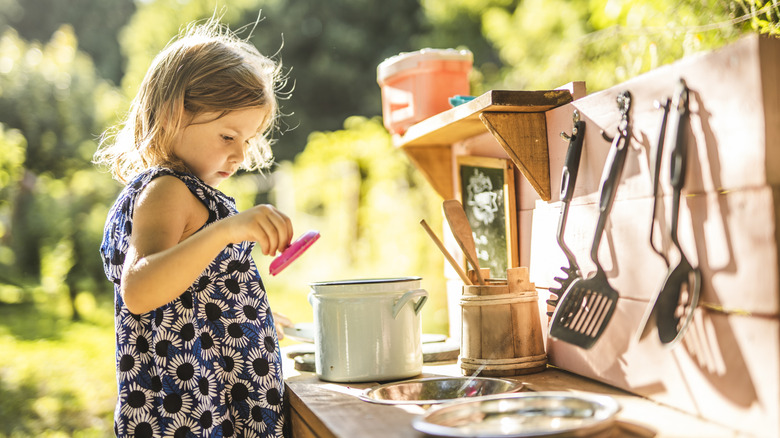
It's an unspoken rule that if a child is near dirt, water, or mud, they are inevitably, inexplicably drawn to it. Okay, maybe that's just our kids, but can we all agree that there is nothing younger children love more than to mixing up mud potions? That's where the magic of mud kitchens comes in. Designed to let kids get outside, get muddy, and let their imaginations run wild, mud kitchens are kid-sized counters with pots, pans, bowls — you name it. Unfortunately, these ready-made mini-sized kitchens don't always have a mini price tag: they range from $100 to $300 and beyond. But thanks to DIYer @josephinewahlgrens, it's now possible to DIY one for about $70 in IKEA products and a couple of afternoons.
In her Instagram video, she assembles one KNAGGLIG box, then builds half of the other, leaving the bottom and one side panel off. She repurposes those to create the backsplash. After adding a touch of paint, she glues the boxes together to create the mud kitchen. She then slides two shallow TROFAST boxes into the open counter and a large TROFAST underneath, and adds a BEKVÄM spice rack and extra hooks and containers for storage.
Our advice? Tackle this project in three stages. First, do the prep work: build the boxes and assemble the backsplash. Next, sand, prime, and paint. (This is important since your mud kitchen will likely spend most of the year outside.) Finally, assemble it into the perfect backyard play station.
Turn KNAGGLIG boxes into a mud kitchen your kids will love

The secret to making your children an adorable mud kitchen is all in the materials. Because most mud kitchens live outside, they need to be assembled and decorated with wood glues, primers, and paints that can withstand the elements (not to mention a daily dousing of mud). A nontoxic waterproof glue, like Titebound III Ultimate Wood Glue, is ideal for making this IKEA hack last. For a lasting color that doesn't fade in the sun or peel from moisture, use an exterior wood primer with weather and UV resistance, such as Zinsser Rust-OLEUM 1-2-3 Plus. As for paint, look for semi-gloss or gloss, like BEHR Premium White Urethane Alkyd Semi-Gloss Enamel, to help keep water and mud at bay.
Start building the mud kitchen by assembling one KNAGGLIG box per the directions. Next, build three sides of the second box and disassemble the remaining side panel. Glue the small pieces from the forth panel horizontally on the inside of the second box's short walls at the top of the vertical supports. Then, take the remaining longer boards and glue them along the backside of the first box's back panel to make the backsplash.
Now onto phase two! Sand any rough areas with 180 grit sandpaper, then smooth with 220 grit. Wipe away any dust, then add a coat (or two — follow the manufacturer directions) of primer, then two coats of exterior paint. Paint all of the wood to prevent water or weather damage. If you aren't using exterior paint, add a coat of clear sealant to protect the wood and color.
Thrifty ways to personalize your new mud kitchen
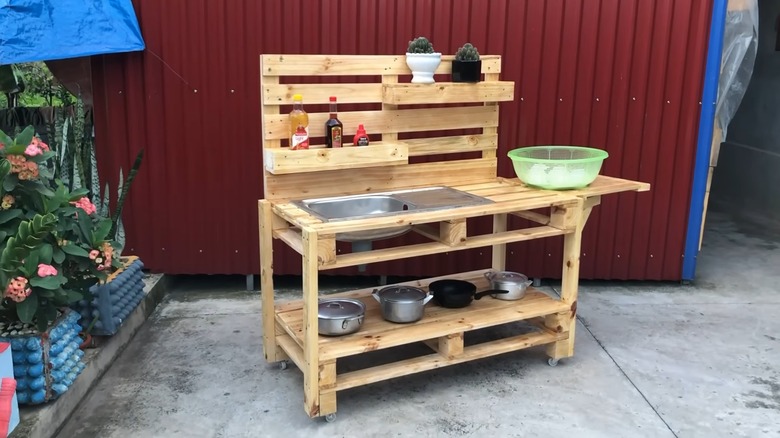
Once you put it all together with your glue (or use nails, like Grip-Rite Exterior Galvanized Spiral-Shank Patio/Deck Nails, for extra support) and let dry, it's time to personalize. To follow in @josephinewahlgrens' footsteps, pick up two shallow TROFAST boxes to fit into the opening on the counter. Hang the beloved BEKVÄM spice rack from the top of the backsplash for more organization (it also works for this hack to keep your child's bedroom clutter-free). Also add in a few hooks and caddies to organize mud kitchen supplies. Head to the thrift store to stock up on plastic or metal bowls, plates, cups, and whisks to create a real kitchen feel your kids will love.
If your kids would prefer a mud workbench (if you know, you know) or even an outdoor painting station, it's easy to modify this IKEA hack to make it work. Swap out the TROFAST box inserts for a spare piece of sanded, primed, and painted plywood to create a sturdy countertop and hang a peg or cork board from the backsplash to create storage for their tools or painting supplies. The beauty of this hack is the base cabinet, which can be modified to not only your budget, but your kids' imaginations.