Keep Toilet Paper Organized With A Storage Upcycle You Already Have
We may receive a commission on purchases made from links.
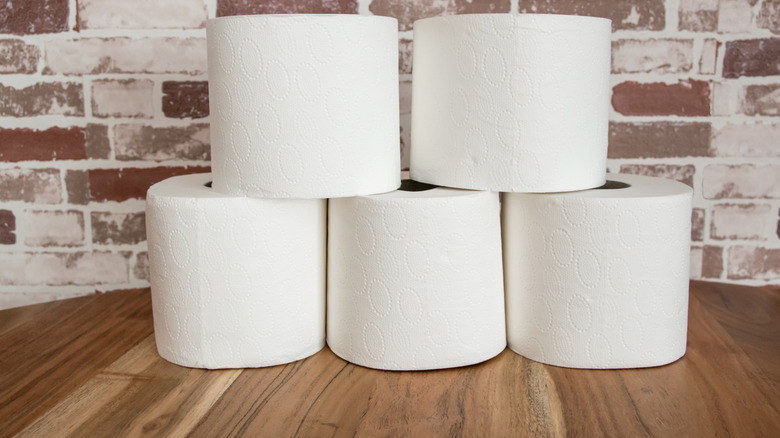
When it comes to keeping the bathroom organized, many homeowners rely on pull-out drawers, wall-mounted or built-in cabinets, vanities, or shelving units. While these are all great storage solutions that help keep your bathroom clutter-free, they may not always check the box for your ideal toilet paper organizer. You want something that can be placed within reach when you finish your business. Something specifically made for this function will also make your bathroom look well put together. But instead of incurring extra costs trying to get the best toilet paper holder on the market, you can save that money and create a unique organizational unit by repurposing plastic water bottles.
This DIY creates a toilet paper holder that can store multiple rolls, while its hanging design saves floor space by using vertical wall space. All you need to build the bathroom organizer is three (or more) large-sized clear plastic bottles, jute twine, some pieces of burlap fabric, and hot glue. The only tools needed are a craft blade or scissors and a hot glue gun. With that, you're ready to start the process.
Crafting your DIY toilet paper organizer

To get started, use scissors or a blade to cut off the top and bottom of the plastic bottle, leaving the middle section. You can smooth the cut edges by holding them against a hot iron for a couple of seconds. Do the same with the other bottles so you end up with three tube-like containers
The next thing is to wrap twine on both ends of each tube on the outer surface. Apply some of the hot glue on the tube before sticking the twine and pressing it in place for a brief moment. Since this is decorative, there's no strict rule for how much twine to use, but three or four loops work well. Next, lay the containers on a flat surface and glue them together so they lie one on top of the other. Finish by passing a loop of jute string through the topmost tube, which is what you'll use to hang the organizer. At this point, you're almost done; all that remains is to style your toilet paper organizer.
How to style and customize your DIY toilet paper organizer
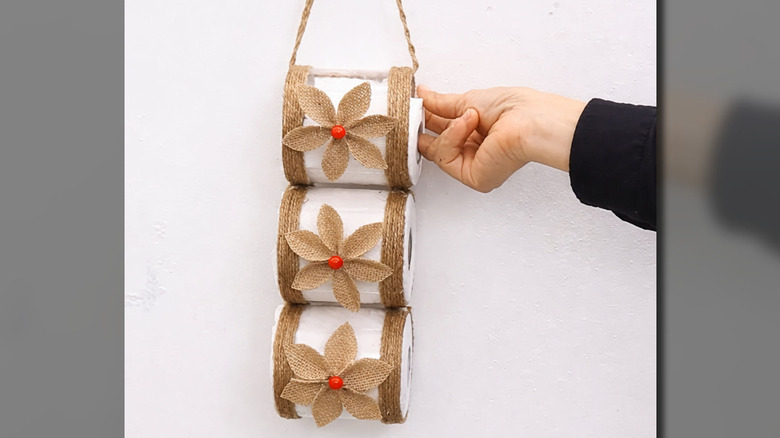
We've already done a bit of styling on this toilet paper holder using the jute twine, but to complete the rustic look, let's add some simple embellishments. Grab the burlap fabric and cut out six leaf-shaped pieces, each about 1 inch long. Dab hot glue on one tip of each 'leaf' and join them together to form a flower. Glue a small red pearl in the middle of the flower, like one of these No Hole Craft Pearl Beads from Amazon. Make two more flowers and attach them to the front of each tube using hot glue. Finally, secure a strong adhesive hook on the wall close to your toilet and hang up your DIY toilet paper storage organizer.
You can vary the final look of this toilet paper holder by making a very small but impactful tweak. Instead of hanging it using jute twine, use a ribbon. In fact, get a red one to match the pearl or go with a different color altogether and change the pearl on the flower decor as well. You can match it to your towels or other decor for a subtle but noticeable impact. For a more glamorous look, add colorful embellishments along the rims of the tubes. Simply glue them on or use the self-stick version for easy attachment. In the end, you'll have a simple way to store toilet paper in the open while keeping it decorative.