Turn An Old Cooking Pan Into A Creative Garden Planter
We may receive a commission on purchases made from links.
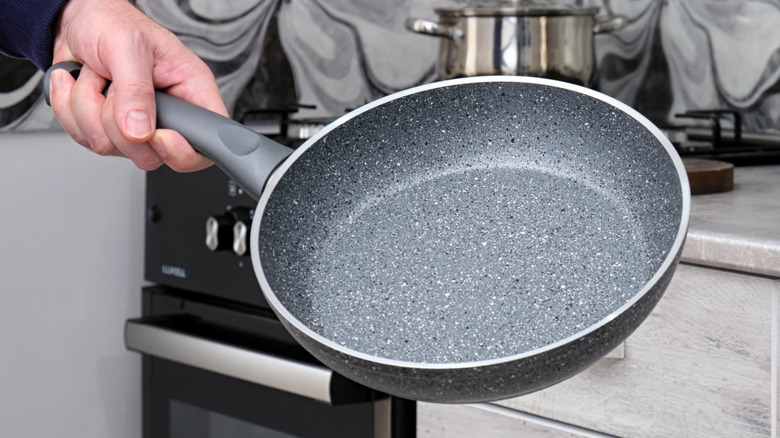
If you're like most people, you probably want to send your old cooking pans straight to the trash once they're scratched and discolored. While your favorite pan may have fried its last egg or flipped its last pancake, it doesn't mean that it's finished. That's because your kitchen isn't the only place where a good pan can come in handy. With a little time, effort, and ingenuity, you can turn a common item into a creative planter or plant stand — your old frying pan. YouTuber and artist Marcie Ziv has come up with a decorative way to repurpose these cookware essentials into useful garden décor that shows off your personality and your green thumb.
One of the coolest things about this DIY project is that it's relatively beginner-friendly. If you're familiar with using a drill and a can of spray paint, you can pull it off. This craft also gives you a creative way to repurpose those old CDs around your home and garden — and tennis balls, too. Not only does making your own planter give you a chance to get those creative juices flowing, but it can also save you money.
While some shallow planters cost less than $2, fancier options with legs go for upwards of $130. The costs can quickly add up if you have lots of plants. Since you probably already have an old frying pan and some old CDs, the only costs you may have to consider are a bag of Qiqiwuba Durable High Elastic Tennis Balls for about $4 and four ⅜-inch Lwcusnj Fully Threaded Stainless Steel Rods for about $19. These rods are 12 inches long, but you can choose any length you prefer. Get four metal washers and nuts, too.
Transforming a frying pan into a quirky planter stand is easier than you think
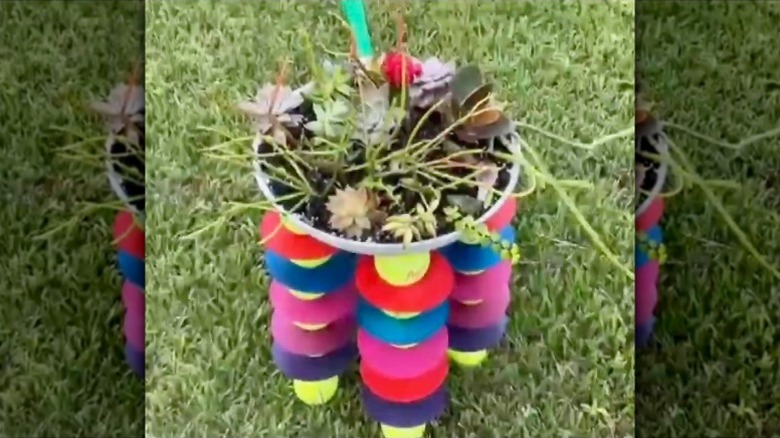
To get started, drill four evenly spaced holes in the base of the old pan using a ⅜-inch drill bit. Then add a few more holes for drainage. Drill a hole right through each tennis ball, too. Hang the CDs on a long wooden dowel and head outside to spray paint them in any colors you prefer. From there, insert the four threaded metal rods into the appropriate holes in the pan, securing them in place with a washer and nut. These will serve as the legs for your planter. Decorate the legs by adding CDs and tennis balls in an alternating pattern.
Perhaps the best thing about this DIY planter stand is that you can add pretty much anything you like to the legs. You could, for example, thread an assortment of Handmade Extra-Large Round Ceramic Beads onto the rods, though at $20 each, it's not the cheapest option. River pebbles with holes drilled into them would add an organic vibe to the planter and be more affordable.
A word of warning: Some pans have a nonstick coating containing per- and polyfluoroalkyl substances (PFAS) that degrade over time. Research published in a 2022 issue of Environment International suggests that high exposure to PFAS can damage plants. The substances also pose health risks to humans, so you may not want to use your frying pan planter for vegetables, fruit, or culinary herbs. Temperature is another thing to consider when using planters made from metal objects like frying pans. Metal heats up quickly in the sun, increasing soil temperatures and stressing your plants. On the flip side, metal planters can get very cold when temperatures drop. If you're concerned, only use your DIY planter indoors.